6-1 error on a Maytag dishwasher: What it means and how to fix it yourself
Steven E / Tuesday July 30, 2024
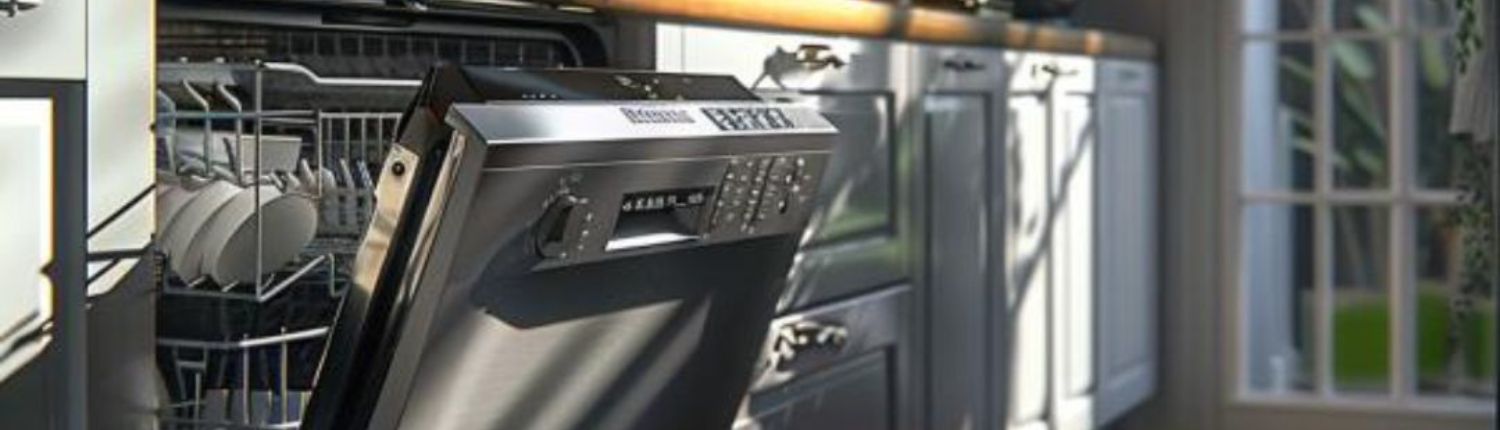
Is your Maytag dishwasher displaying the error code 6-1? Don’t worry — we’ve got you covered. This is a problem that you can fix with a little DIY troubleshooting, and we’re here to walk you through the steps.
If you find out that you need any replacement parts for your Maytag dishwasher while you’re troubleshooting, you can enter your model number at AppliancePartsPros.com to order them. Most orders arrive in just two business days, and we have thousands of free guides to show you how to install your new parts.
Important: The troubleshooting information provided in this article may not apply to your specific appliance model. While we strive to offer helpful advice for DIY appliance repairs, variations in models and configurations can lead to differences in troubleshooting steps, error codes and part replacements. For the most accurate guidance, we strongly recommend consulting the technical sheet for your specific appliance model.
What does the 6-1 error code mean?
The 6-1 error on a Maytag dishwasher usually indicates a problem with the water fill system. It typically means the dishwasher wasn’t able to fill with water within the expected time frame.

The dishwasher has sensors and timers that monitor the filling process. If the water level doesn’t reach the required level within a set amount of time, the 6-1 error code will be triggered.
Safety precautions
When working on any appliance, remember to keep safety first. Here are some tips to keep in mind:
- Always power off and unplug your appliance or switch off the circuit breaker before you attempt any maintenance or replacement work. This keeps you safe by eliminating any risk of electric shock.
- If the appliance has recently been used, give it plenty of time to cool down before working on it.
- Turn off the water supply at the outlet before beginning repairs. Keep towels ready to catch any residual water in the system when removing parts.
- Take your time while working to prevent accidents and personal injuries. Rushing is the enemy of precision.
- Work in a well-lit area so you can see and access appliance parts.
- Keep your workspace free of clutter and other obstacles. Keep children and pets away from the work area.
- Never work on internal parts with wet hands. Make sure the work area is completely dry.
- Check the user manual to see if there are specific installation or safety instructions related to your appliance or replacement part.
- Be gentle when handling or removing parts. Excessive force might damage the appliance or cause personal injury.
- Wear insulated work gloves to protect your hands from sharp metal parts and debris.
- When working with wires, avoid touching any exposed wires or terminals. If you need to touch a wire, use a non-conductive tool or wear insulating gloves to prevent electrical shock.
- Always take photos or make a note of wiring terminals or other connections before disconnecting them to make reassembly easier.
- Don’t test live voltage with a multimeter if you’re unfamiliar with how to prevent short-circuiting.
Read more: Reduce Water Usage In Your Dishwasher
How to troubleshoot the 6-1 error code
Ready? Let’s walk through these steps together so you can make that 6-1 fault code disappear.
NOTE: If you know that your dishwasher is leaking, jump to step 3!
Step 1: Check the water supply
- Find the water supply valve, which is typically located under the kitchen sink or behind the dishwasher.
- Make sure the water supply valve is completely open. If the valve is damaged, replace it.
- Check that the water supply line is the correct size (typically 3/8-inch or 1/2-inch diameter).
- Check for any kinks or clogs in the water supply line. If you find any kinks, straighten them. Carefully remove any clogs that you find.
If the water supply valve is open and the line isn’t blocked, try turning on a nearby faucet to see if the water pressure and flow are only affected at the dishwasher or elsewhere in the home.
Step 2: Check the drain connection
- Allow the dishwasher to complete a normal fill cycle, then drain for 5-10 seconds by pressing the cancel/drain button.
- Open the door and check that water doesn’t siphon out of the unit. If it does, make sure the drain loop (a section of the drain hose that forms a “loop” above the dishwasher tub) is properly attached to the side of the dishwasher tub. Also check that the drain hose is connected to a drain that’s at least 20 inches off the floor.
Adjust the drain hose connection to make sure it’s secure and at the required height.
Step 3: Check for leaks
Check the area under the dishwasher — including around the tub, door, and any visible connections — for any signs of water leaks.
If you find any leaks, find the source, which could be an issue like a worn gasket or loose connection, and repair as needed.
Step 4: Clean the fill valve inlet screen
- Unplug the dishwasher from the power outlet.
- Turn off the water supply to the dishwasher, which can usually be done by closing the shut-off valve behind the unit or under the sink.
- Disconnect the water line from the inlet valve, which is usually located at the back or side of the dishwasher.
- Inspect and clean any debris, mineral deposits, or blockages from the inlet screen of the fill valve.
- Reconnect the water line and turn the water supply back on.
- Plug the unit back in and see if the error code is gone.
Read more: Dishwasher Won’t Start: Top 6 Reasons and Fixes
Additional information
Thank you for reading! We hope this guide helped you get your Maytag dishwasher working again.
If you have any other appliance repair needs or projects, don’t hesitate to explore our other troubleshooting guides and videos.
If you need replacement parts or some extra help with ordering them, grab your model number and head over to AppliancePartsPros.com, where you can chat with a pro, read our DIY blog and more.
Don’t forget to subscribe to us on YouTube and follow us on Facebook, Twitter and Instagram!
With nearly a decade of experience in providing top-notch customer service regarding appliance parts and repair, Steven enjoys sharing practical advice, troubleshooting tips, and interesting information to help readers stay informed.