Fixing leaks in Samsung top-Load washing machines made easy
Steven E / Wednesday March 12, 2025
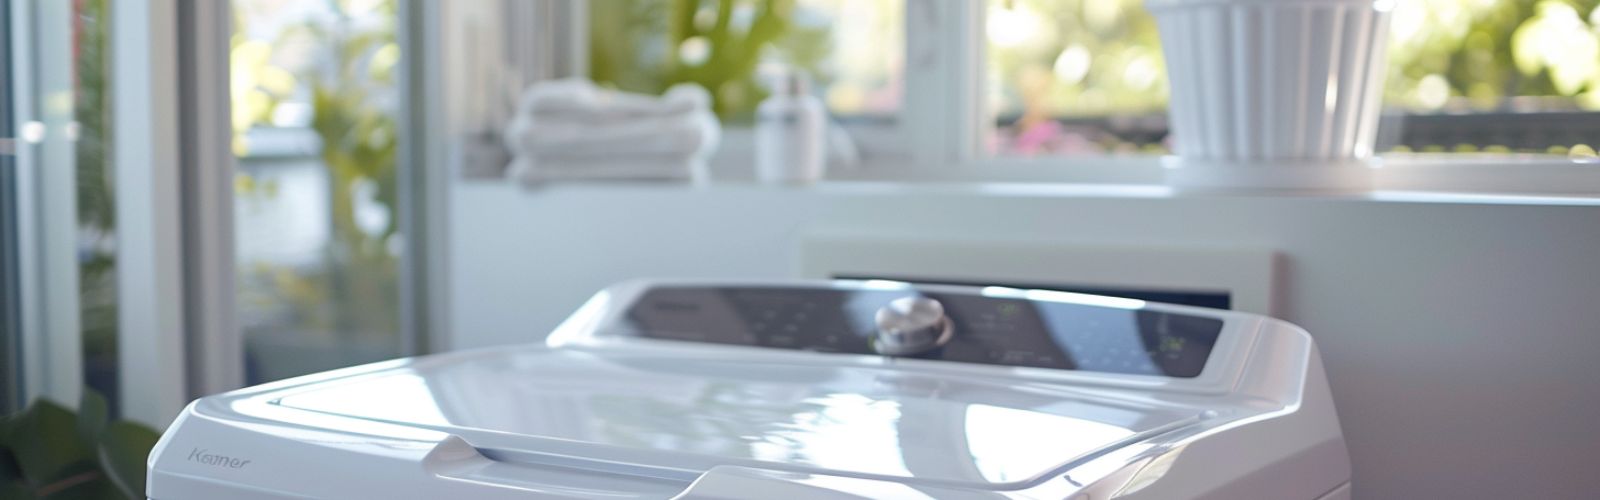
You’re wrapping up laundry day, and as you walk past your Samsung top-load washing machine, you notice a puddle forming beneath it. A leaking washer isn’t just an inconvenience—it can lead to water damage and higher utility bills if left unaddressed. We’re here to help you pinpoint the cause of the leak and guide you through the steps to fix it yourself.
The part replacement information provided in this article may not apply to your specific appliance model. While we strive to offer helpful advice for DIY appliance repairs, variations in models and configurations can lead to differences in troubleshooting steps, error codes and part replacements. For the most accurate guidance, we strongly recommend consulting the technical sheet for your specific appliance model.
Safety precautions
When working on any appliance, remember to keep safety first. Here are some tips to keep in mind:
- Always power off and unplug your appliance or switch off the circuit breaker before attempting any maintenance or replacement work. This keeps you safe by preventing any risk of injury from electric shock.
- Wear insulated work gloves to protect your hands from sharp metal parts, pinching hazards and debris.
- Take your time and don’t rush while working to prevent accidents and personal injuries.
- Work in a well-lit area so you can clearly see and access the interior parts.
- Clear your workspace of clutter and other obstacles. Keep children and pets away from the work area.
- Never work on internal parts with bare wet hands. Make sure the work area is completely dry.
- Check your user manual to see if there are specific installation or safety instructions for your part or appliance.
- Be gentle when handling or removing parts. Excessive force might damage the appliance or cause injury.
- Wear safety glasses when working with chemicals, dust or cleaning large debris to prevent injury.
- If the appliance has recently been used, give it plenty of time for any heating parts to cool down before working on it.
- Take pictures or make a note of wiring terminals or other connections before disconnecting to prevent any problems with reassembly.
- When working with wires, avoid touching any exposed wires or terminals. If you need to touch a wire, use a non-conductive tool or wear insulating gloves to prevent electrical shock.
Troubleshooting causes of leaks
Leaks in Samsung top-load washing machines can stem from several sources. Identifying where the water is coming from is the first step in resolving the problem. Let’s dive into the most common causes and how you can address them.

Inspect the water supply hoses
The water supply hoses connect your home’s water supply to your washing machine. Over time, these hoses can become loose, cracked, or damaged, leading to leaks.
- Unplug the washer: Always start by unplugging your washing machine for safety.
- Turn off water supply: Find the water shut-off valves (usually behind the washer) and turn them off.
- Inspect hoses: Check the hoses for any signs of wear, cracks, or kinks.
- Tighten connections: Ensure that the connections to both the washer and the wall are securely tightened.
- Replace if necessary: If you find damage, replace the hoses with new ones. Use high-quality hoses to prevent future leaks.
Need new hoses? Find compatible Samsung washing machine parts at AppliancePartsPros.com.
Examine the drain hose
The drain hose carries used water out of the washer during the spin cycle. If it’s improperly installed or damaged, it can cause leaks. Steps to check and replace the drain hose:
- Inspect the hose placement: Ensure the drain hose is properly inserted into the standpipe or sink without being pushed too far in, which can cause siphoning.
- Look for damage: Check for cracks, holes, or kinks in the hose.
- Replace if needed: If the hose is damaged, replace it.
- Install new hose: Follow our guide on How to Replace a Samsung Washer Drain Hose for step-by-step instructions.
Check the detergent dispenser
Using too much detergent or the wrong type can cause excessive suds, leading to overflow leaks. Tips to prevent detergent-related leaks:
- Use HE detergent: High-efficiency (HE) detergents are formulated for modern washers.
- Measure carefully: Follow the manufacturer’s recommendations for detergent amounts.
- Clean the dispenser: Remove and rinse the dispenser to clear any blockages.
Level your washing machine
An unlevel washer can cause vibrations that lead to leaks. Steps to level your washer:
- Check the level: Place a bubble level on top of the washer.
- Adjust the feet: Turn the leveling feet clockwise or counterclockwise to raise or lower each corner.
- Secure the feet: Once level, tighten the lock nuts to keep the feet in place.
Check the tub cover gasket
Top-load washers have a tub cover gasket that can wear out over time. Steps to inspect and replace the tub cover gasket:
- Access the gasket: Remove the washer’s top panel to access the tub cover gasket.
- Inspect for wear: Look for signs of deterioration, cracks, or misalignment.
- Clean the gasket: Dirt and detergent buildup can prevent a proper seal. Clean it with a mild detergent.
- Replace if damaged: If cleaning doesn’t help, replace the gasket with a new one from our selection of Samsung washer parts.
Examine the water inlet valve
The water inlet valve controls the flow of water into your washer. If it’s malfunctioning, it can cause leaks during the fill cycle. Steps to test and replace the water inlet valve:
- Unplug the washer: Always disconnect power before repairs.
- Locate the valve: It’s usually at the back of the washer where the supply hoses connect.
- Inspect for damage: Look for cracks or corrosion.
- Test with a multimeter: Use a multimeter to perform a resistance test on the valve’s solenoids. Measure the resistance across the terminals, and compare the reading to the manufacturer’s specifications. A significant deviation indicates the valve is faulty.
- Replace if faulty: Install a new valve if it doesn’t meet the specified resistance values.
Examine internal hoses and connections
Several internal hoses connect different parts of your washer. Leaks can occur if any of these hoses are compromised. Steps to inspect internal hoses:
- Unplug the washer and turn off water supply: Safety first.
- Access internal parts: Remove the washer panels to expose internal hoses.
- Inspect hoses: Look for signs of wear, cracks, or loose connections.
- Tighten or replace: Secure any loose clamps and replace damaged hoses.
Look at the drain pump
The drain pump expels water from the washer during the drain cycle. A faulty pump can leak water onto the floor. Steps to diagnose and replace the drain pump:
- Listen for unusual sounds: A noisy pump may indicate it’s failing.
- Inspect for leaks: Check around the pump for signs of water.
- Test the pump: Use a multimeter to perform a resistance test on the pump motor. Measure the resistance across the pump’s terminals, and compare the reading to the manufacturer’s specifications. A reading outside of this range indicates the pump is defective.
- Replace the pump: If defective, install a new pump by following guidelines in our repair help section.
Inspect the outer tub
A cracked or damaged outer tub can leak water during wash or spin cycles. Steps to inspect the outer tub:
- Access the tub: You’ll need to disassemble the washer cabinet to reach the tub.
- Look for cracks: Inspect the tub thoroughly for any signs of damage.
- Replace if necessary: If the tub is damaged, it may need professional replacement.
Additional information
Thanks for reading! If you still need some replacement parts, grab your model number and head over to AppliancePartsPros.com. We offer over two million parts and most orders arrive in two business days. If you need some help with finding the right part or placing an order, you can contact our team at 1 (877) 477-7278.
While you’re waiting for your new part to arrive, you can explore our DIY blog and watch thousands of video tutorials on our YouTube channel.
Be sure to follow us on Facebook, Twitter and Instagram to see our latest repair guides!
With nearly a decade of experience in providing top-notch customer service regarding appliance parts and repair, Steven enjoys sharing practical advice, troubleshooting tips, and interesting information to help readers stay informed.