How to replace a worn-out leaf blower belt
Steven E / Monday March 17, 2025
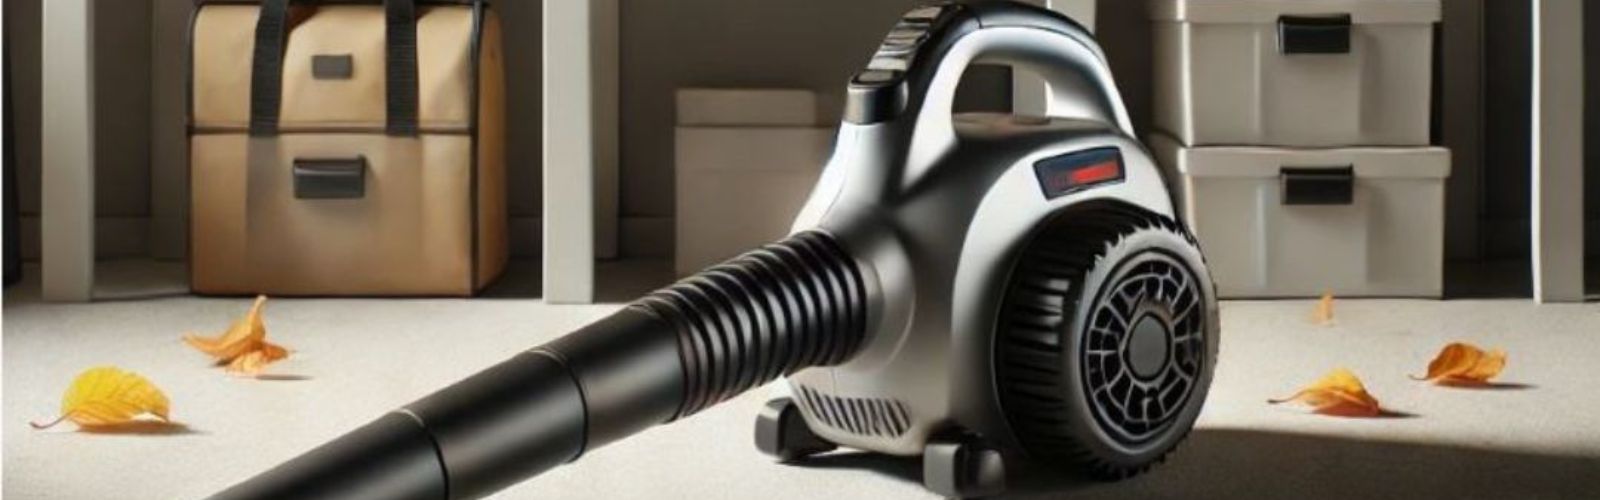
Is your leaf blower not packing the punch it used to? The drive belt might be on its last legs. Changing it out could bring back that strong airflow you miss. Let’s dive into how you can get your blower humming again.
Just a note: This guide might not match your exact leaf blower model. We aim to give helpful tips for all DIY repairs, but different models can have their own unique issues. For the best advice, check your manufacturer’s manual or reach out to us with any questions.
Why the leaf blower belt matters
The drive belt is the unsung hero connecting your engine to the fan, making that airflow happen. Over time, it can get worn out, stretched, or even snap, leaving you with a blower that doesn’t blow. Staying on top of belt maintenance keeps your leaf blower running like a champ.
Signs it’s time to replace the belt
- Weak airflow or lackluster performance
- Weird squealing or squeaking sounds when running
- The belt looks cracked, frayed, or worn out
- The fan isn’t spinning even though the engine’s on
Before you jump into replacing
Before you go swapping out the belt, it’s smart to make sure it’s actually the problem. Taking a step-by-step approach can save you some headaches.

- Take a look: Check out the belt for any obvious damage like cracks or fraying. If it looks beat up, it’s probably time for a new one.
- Check the tension: See if the belt’s too loose. A slack belt can slip off the pulleys, making your blower wimpy. Your manual should tell you the right tension.
- Inspect the pulleys: Make sure the pulleys aren’t damaged or misaligned, and that there’s no gunk messing things up.
- Motor and electrical check: If the belt and pulleys seem fine, the motor might be the issue. For electric blowers, you can use a multimeter to check the motor windings. Remember, sometimes you need more than just a continuity test, you might need to measure resistance to pinpoint the problem.
- Look at switches and wires: Use a continuity test to see if any switches or wires are busted or have shorts.
By going through these steps, you’ll have a better idea if replacing the belt is really what’s needed.
What you’ll need
- A new drive belt that fits your leaf blower model
- Sockets or wrenches
- Flat-head and Phillips screwdrivers
- A spring clamp or a helpful friend (optional)
- Gloves and safety glasses
Safety first!
When working on any appliance, remember to keep safety first. Here are some tips to keep in mind:
- If working indoors, make sure there is adequate ventilation to prevent the buildup of exhaust fumes. Carbon monoxide poisoning can be a serious risk.
- Wear insulated work gloves to protect your hands from sharp metal parts, pinching hazards and debris.
- Never attempt to service or repair while it is running or when the engine is still warm. Wait for all moving parts to come to a complete stop.
- Exercise extreme caution when working near blades, augers, or any other moving parts. Keep your hands, fingers, and clothing clear of these areas at all times.
- If the appliance has recently been used, give it plenty of time for any hot parts to cool down before working on it.
- Empty the gas tank before beginning any work. Refill using fresh fuel.
- When working with wires, avoid touching any exposed wires or terminals. If you need to touch a wire, use a non-conductive tool or wear insulating gloves to prevent electrical shock.
- Take your time and don’t rush while working to prevent accidents and personal injuries.
- Work in a well-lit area so you can clearly see and access the interior parts.
- Clear your workspace of clutter and other obstacles. Keep children and pets away from the work area.
- Be gentle when handling or removing parts. Excessive force might damage the appliance or cause injury.
- Wear safety glasses when working with chemicals, dust or cleaning large debris to prevent injury.
- When not in use, store the machine in a safe and dry location.
Find your leaf blower’s model number
Knowing the exact model number helps you get the right belt. You’ll usually find it on a label or plate somewhere on the blower. If you’re not sure where to look, check out our guide on how to find your appliance’s model number.
Step-by-step: replace the belt
Step 1: Get your workspace ready
Set up in a clean, well-lit spot. Lay out your tools and the new belt so you don’t have to hunt for anything.
Step 2: Cut the power
- For gas-powered blowers, pull off the spark plug wire.
- Electric model? Unplug it.
- Running on batteries? Take out the battery pack.
Step 3: Remove the belt cover
- Find the belt cover, usually on the side.
- Use the right socket or wrench to take off the screws or bolts holding it on.
- Carefully remove the cover to expose the belt and pulleys.
Step 4: Take off the old belt
- Snap a pic or sketch of how the belt is routed around the pulleys. It’ll help when you’re putting on the new one.
- If there’s a drive engagement lever, use a spring clamp to hold it down, or ask someone to help. This eases the tension on the belt.
- Slip the belt off the engine pulley first, then the rest.
Step 5: Put on the new belt
- Compare the old belt with the new one to make sure they’re the same.
- Route the new belt around the pulleys, just like the old one.
- Make sure it’s seated properly without any twists.
- If there’s a tensioner or idler pulley, adjust it to fit the new belt.
Step 6: Put it all back together
- Reinstall any belt guides or keepers you took off.
- Place the belt cover back on.
- Tighten up the bolts or screws, snug but not overly tight.
Step 7: Give it a test run
- Double-check everything before powering up, the belt’s on right, the tension’s good and all parts are secure.
- Reconnect the spark plug wire, plug it back in, or pop in the battery.
- Fire up the leaf blower and see how it runs.
- Listen for odd noises and make sure the belt’s doing its job.
- If everything sounds and feels right, you’re good to go!
Keep your belt in good shape
- Regularly check the belt for wear and tear.
- Keep the belt and pulleys clean, with no debris or buildup.
- If your blower has more than one belt, consider replacing them all at once so they wear evenly.
- Follow the maintenance schedule in your owner’s manual.
Need parts?
Using quality parts makes a difference. Head over to AppliancePartsPros.com to find the right belt for your model. We’ve got a huge selection and an easy search tool to help you out.
More help and resources
If you need a hand with anything else, check out our repair help section. We’ve got plenty of guides and expert advice. We’re here to help you every step of the way.
Fixing up your leaf blower yourself not only feels great but also saves you money. With a few tools and the right parts from AppliancePartsPros.com, you can handle it like a pro.
Stay in touch for more tips and updates. Follow us on Facebook and Twitter. Do you have questions or need help finding a part? Don’t hesitate to reach out to our friendly customer service team.
With nearly a decade of experience in providing top-notch customer service regarding appliance parts and repair, Steven enjoys sharing practical advice, troubleshooting tips, and interesting information to help readers stay informed.