How to replace an igniter on a gas furnace
Steven E / Wednesday January 22, 2025
On a gas furnace, the igniter is responsible for lighting the burner by igniting the gas, allowing your furnace to heat the air. Common signs that indicate the need for replacement include a furnace that doesn’t produce heat, a clicking sound without ignition, or an igniter that glows but doesn’t ignite. Fortunately, with a few basic tools and some patience, you can tackle this repair yourself and get your gas furnace back in working order. So, let’s get started!
Heads up: The part replacement information provided in this article may not apply to your specific appliance model. While we strive to offer helpful advice for DIY appliance repairs, variations in models and configurations can lead to differences in troubleshooting steps, error codes and part replacements. For the most accurate guidance, we strongly recommend consulting the technical sheet for your specific appliance model.
Safety precautions
Before you get started, it’s super important to stay safe. Here’s what you need to keep in mind:
- Turn off the power to the appliance by unplugging it or switching off the circuit breaker before starting any maintenance or repairs. This protects you from the risk of electric shock.
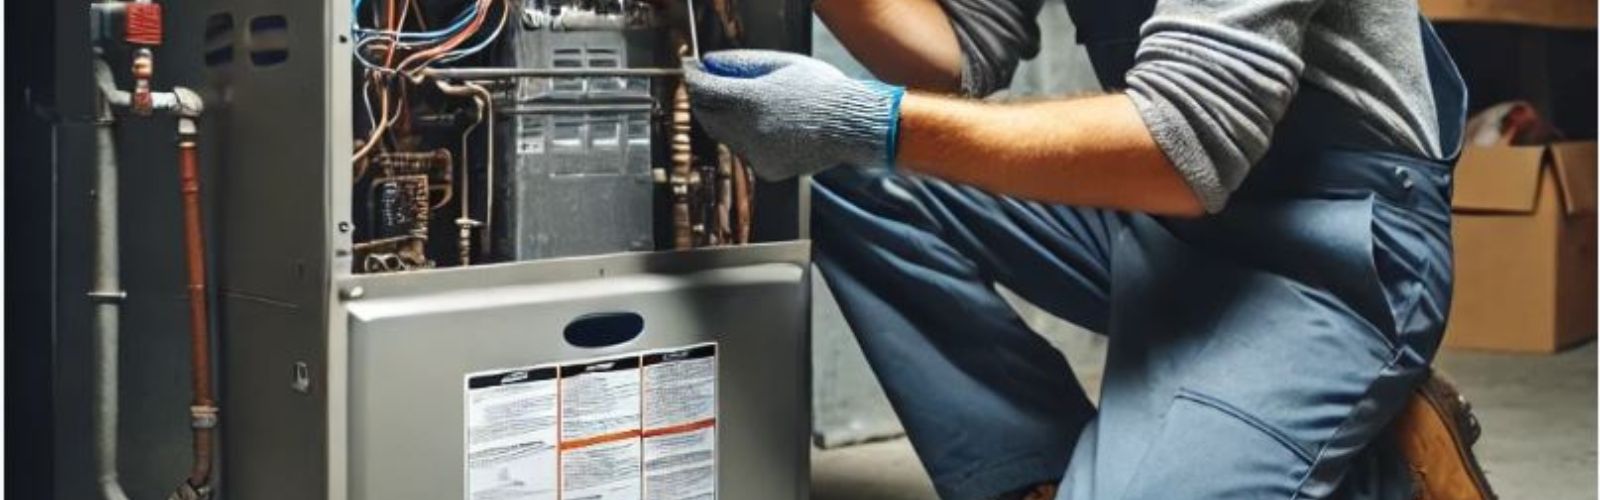
- Wear insulated gloves to shield your hands from sharp edges, pinching hazards, or debris.
- Work at a steady pace and take your time to avoid accidents or injuries.
- Make sure your workspace is well-lit so you can clearly see and access the parts you’re working on.
- Keep the area clear of clutter, and ensure children and pets stay out of the workspace.
- Never handle internal parts with wet hands. Check that both your hands and the work area are completely dry.
- Refer to your appliance’s user manual for any specific instructions or safety guidelines related to the part or repair.
- Handle parts gently to avoid damage to the appliance or potential injuries from applying too much force.
- Use safety glasses when dealing with chemicals, dust, or large debris to protect your eyes from harm.
- If the appliance was recently used, give it enough time to cool down before working on any heated components.
- Take photos or notes of wiring connections and terminals before disconnecting anything to make reassembly easier.
- Avoid touching exposed wires or terminals. If you must handle wires, use non-conductive tools or wear insulated gloves to minimize the risk of electrical shock.
Read more: 12 things you should know about portable space heaters

Tools and materials you need
Get your gear together before you dive in to keep things running smoothly:
- New igniter (make sure it’s compatible with your model before installing)
- Screwdriver
- Nut driver or socket wrench
- Work gloves and safety goggles
Read more: Your guide to choosing a space heater
Replacement steps
Step 1: Disassembly and removal
- Before you begin, make sure the furnace is completely powered off. Switch off the furnace at the thermostat and unplug it, or turn off the circuit breaker to the furnace.
- Turn off the gas supply to ensure safety during the repair process.
- The igniter is usually found in the upper compartment of the furnace near the burner assembly. Depending on your furnace model, it may be a glow bar, spark igniter, or a smart valve igniter.
- Use a screwdriver to remove any screws securing the access panel(s) to the furnace. Carefully take off the panel to expose the igniter.
- Locate the wire connector attached to the igniter. Gently disconnect the wire to fully remove the igniter. Keep track of how the wire is connected, as you’ll need to reconnect it to the new igniter.
- The igniter is usually secured to a mounting bracket with a single screw. Use a screwdriver to unscrew and remove the mounting screw.
- Carefully remove the old igniter. If you’re replacing a glow bar-style igniter, inspect the filament for any cracks or damage. For a spark igniter or smart valve igniter, check for any frayed wires or signs of wear.
- If you’re unsure whether the igniter is faulty, use a multimeter to check for continuity. Set the multimeter to continuity mode and place the probes on the igniter’s terminals.
- If there’s no continuity, the igniter needs to be replaced.
Step 2: Installation and reassembly
- If you are installing a glow bar-style igniter, be extra careful with the filament, as it’s fragile.
- For a universal igniter, trim the wires and strip about a quarter inch of insulation from each wire.
- Insert the new igniter into the burner housing carefully, ensuring it is placed in the same position as the old one.
- If you’re installing a glow bar-style igniter, thread and tighten the mounting screw to secure the igniter in place.
- For spark igniters or smart valve igniters, install them in the same manner, securing them with the mounting screw and connecting the wires.
- If you’re using a universal igniter, connect the wire connector to the new igniter’s wires. Use wire nuts to secure the connections.
- For pre-wired igniters, simply connect the wire connector to the new igniter, ensuring a secure and proper fit.
- Once the new igniter is installed and wired correctly, replace the furnace access panel or panels. Secure them with screws.
- Turn the gas supply back on, followed by restoring power to the furnace by plugging it in or flipping the circuit breaker back on.
- Set the thermostat to a temperature higher than the current room temperature. The furnace should begin the ignition process and start heating.
- Listen for the furnace to ignite, and check to make sure it’s operating correctly.
Read more: 12 simple space heater safety tips for this winter
Need help finding the right part?
Thanks for reading! We hope this guide helped you replace the igniter on your furnace.
If you still need some replacement parts, grab your model number and head over to AppliancePartsPros.com. We offer over two million parts and most orders arrive in two business days. If you need some help with finding the right part or placing an order, you can contact our team at 1 (877) 477-7278.
While you’re waiting for your new part to arrive, you can explore our DIY blog and watch thousands of video tutorials on our YouTube channel.
Be sure to follow us on Facebook, Twitter and Instagram to see our latest repair guides!
With nearly a decade of experience in providing top-notch customer service regarding appliance parts and repair, Steven enjoys sharing practical advice, troubleshooting tips, and interesting information to help readers stay informed.