How to replace GE fridge evaporator fan motor assembly WR60X10307
Steven E / Wednesday April 17, 2024
Is your GE refrigerator suddenly lacking its usual chill? The culprit might be a faulty evaporator fan motor, crucial for keeping things cool inside. Don’t worry—our step-by-step how-to guide and handy video tutorial below will help you effortlessly replace it, saving you time and a costly service call.
Need a part? Search below using your appliance model number to find exactly what you need:
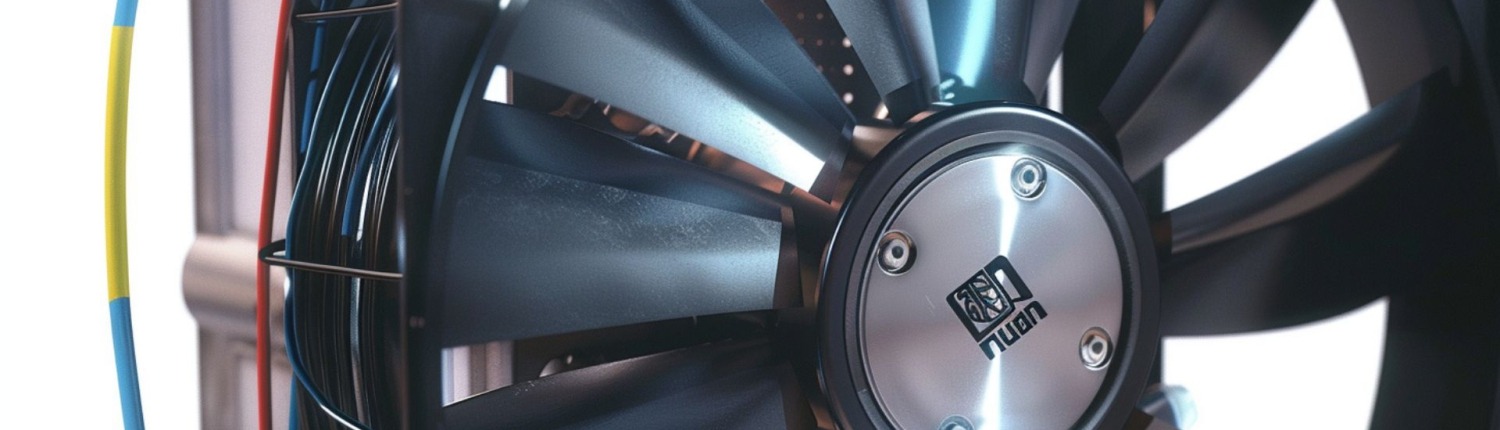
The evaporator fan is a key part of your refrigerator’s cooling system that pulls air through the evaporator coils to remove heat from the circulating air within the unit. The evaporator fan motor assembly WR60X10307 is located in the back of the freezer in side-by-side units. It includes a two-wire thermistor in the harness.

If you need a new evaporator fan motor assembly for your GE fridge, you can use your model number to find what you’re looking for at AppliancePartsPros.com. We also have thousands of free DIY troubleshooting and repair guides to help you fix your fridge yourself.
What you need
- 1/4-inch nut driver
- Phillips head screwdriver
- Flat head screwdriver
- Replacement evaporator fan motor assembly (make sure it’s compatible with your specific model before installing)
Keep safety first
When working on any appliance, always keep safety first to avoid personal injury or damage to the appliance or its parts. Here are some safety tips to keep in mind:
- Always power off and unplug your appliance or switch off the circuit breaker before you attempt any maintenance or replacement work. This keeps you safe by preventing any risk of electric shock.
- Turn off the water supply at the outlet before beginning repairs. Keep towels ready to catch any residual water in the system when removing parts.
- If the appliance has recently been used, give it plenty of time to cool down before working on it.
- Take your time while working to prevent accidents and personal injuries. Rushing is the enemy of precision.
- Work in a well-lit area so you can clearly see and access appliance parts.
- Keep your workspace free of clutter and other obstacles. Keep children and pets away from the work area.
- Never work on internal parts with wet hands. Make sure the work area is completely dry.
- Check the user manual to see if there are specific installation or safety instructions related to your appliance or replacement part.
- Be gentle when handling or removing parts. Excessive force might damage the appliance or cause personal injury.
- Wear insulated work gloves to protect your hands from sharp metal parts and debris.
- When working with wires, avoid touching any exposed wires or terminals. If you need to touch a wire, use a non-conductive tool or wear insulating gloves to prevent electrical shock.
How to replace the evaporator fan motor assembly
Follow these steps to swap out the evaporator fan motor in your GE fridge without the need for a professional service call:
Step 1: Remove interior freezer parts
- Unplug the fridge from the power outlet.
- Remove the ice bucket by lifting the front end and sliding it out.
- Take out the shelves by sliding them to the side, lifting them and pulling them out.
- Lift the wire baskets and slide them out.
- Press the side locking tabs and detach the light cover.
- Unscrew and remove the light bulbs.
Step 2: Detach the ice maker assembly
- Unplug the electric connection at the top of the assembly.
- Use a 1/4-inch nut driver to remove the four screws holding the ice maker’s auger motor.
- Unplug the wire connector at the back and remove the entire assembly.
- Take out the two support brackets that are held with 1/4-inch screws.
Now that the ice maker is detached, you’ll have open access behind it.
Step 3: Remove the support rails
Use a 1/4-inch nut driver to remove the screws so you can take off the rear panel and expose the fan motor housing.
Step 4: Disconnect the wiring
- Remove the two light bulb sockets by releasing the tabs with a flathead screwdriver.
- Detach the socket wiring with the flathead screwdriver.
- Unplug the thermistor connection that’s attached to the evaporator coils.
- Disconnect the fan motor’s electrical connector.
Step 5: Remove the fan motor cover
Remove the two 1/4-inch screws securing the fan motor cover, then take off the metal cover to expose the motor.
Step 6: Unplug & remove the old motor
- Carefully unplug the evaporator fan motor’s electrical connector.
- Slide off the plastic fan blade.
- Use a 1/4-inch nut driver to remove the two screws that hold the motor in place.
- Detach the old motor and set it aside.
Save any small parts or brackets from the old motor since some may need to be transferred over to the new motor.
Step 7: Install the new evaporator fan motor
- Transfer over any brackets or clips from the old motor.
- Reattach the plastic fan blade onto the new motor’s shaft.
- Secure the new motor with the two 1/4-inch screws.
- Plug in the electrical connector.
- Make sure the blade spins properly.
Step 8: Reassemble the freezer parts
- Reinstall the motor cover and rear access panel.
- Reconnect all wiring harnesses and light sockets.
- Replace the support rails and ice maker assembly.
- Reinsert all shelves, baskets and ice bucket.
- Double-check that all the parts are securely in place.
Step 9: Test the refrigerator
- Plug the fridge back in.
- Reconnect the water supply.
- Let the fridge run for several hours so the internal temperature can stabilize.
- Listen to the fridge to make sure the fan is running quietly.
- Check the temperature of the freezer and fridge compartments to make sure they’re cooling properly.
More information
Thanks for reading! We hope this guide helped you replace the evaporator fan motor assembly in your GE refrigerator.
If you still need some replacement parts, grab your model number and head over to AppliancePartsPros.com. We offer over 2 million parts and most orders arrive in 2-3 business days. If you need some help with finding the right part or placing an order, you can contact our team at 1 (877) 477-7278.
While you’re waiting for your new part to arrive, you can explore our DIY blog and watch thousands of video tutorials on our YouTube channel. We can also help you troubleshoot common fridge problems here.
Be sure to follow us on Facebook, Twitter, and Instagram to see our latest repair guides!
 https://www.appliancepartspros.com/b/wp-content/uploads/2025/09/groovetopia_macro_shot_of_frost_crystals_forming_irregular_patt_37deb777-ed26-4ba3-927c-946d5393a753.png
816
1456
appthr
https://www.appliancepartspros.com/b/wp-content/uploads/2020/11/app-logo-std.png
appthr2025-09-24 13:04:442025-09-25 06:50:45Refrigerator Sealed Systems: Where DIY Stops and Gauges Begin
https://www.appliancepartspros.com/b/wp-content/uploads/2025/09/groovetopia_macro_shot_of_frost_crystals_forming_irregular_patt_37deb777-ed26-4ba3-927c-946d5393a753.png
816
1456
appthr
https://www.appliancepartspros.com/b/wp-content/uploads/2020/11/app-logo-std.png
appthr2025-09-24 13:04:442025-09-25 06:50:45Refrigerator Sealed Systems: Where DIY Stops and Gauges Begin https://www.appliancepartspros.com/b/wp-content/uploads/2025/06/20250618_1202_Refrigerator-Door-Gasket-Issue_simple_compose_01jy1wbpw8fxvvpx4nn5ejvsk3.png
1024
1536
Steven E
https://www.appliancepartspros.com/b/wp-content/uploads/2020/11/app-logo-std.png
Steven E2025-06-20 06:21:482025-08-20 12:16:14How to Replace Door Gasket W10355582 on a Whirlpool Fridge
https://www.appliancepartspros.com/b/wp-content/uploads/2025/06/20250618_1202_Refrigerator-Door-Gasket-Issue_simple_compose_01jy1wbpw8fxvvpx4nn5ejvsk3.png
1024
1536
Steven E
https://www.appliancepartspros.com/b/wp-content/uploads/2020/11/app-logo-std.png
Steven E2025-06-20 06:21:482025-08-20 12:16:14How to Replace Door Gasket W10355582 on a Whirlpool Fridge https://www.appliancepartspros.com/b/wp-content/uploads/2025/06/20250617_1527_Refrigerators-Ice-Maker_simple_compose_01jxznp0v6ebzsggaqpx90xtq8.png
1024
1536
Steven E
https://www.appliancepartspros.com/b/wp-content/uploads/2020/11/app-logo-std.png
Steven E2025-06-20 06:06:492025-06-20 06:06:58Whirlpool Fridge Not Making Ice? How To Troubleshoot the Sensor
https://www.appliancepartspros.com/b/wp-content/uploads/2025/06/20250617_1527_Refrigerators-Ice-Maker_simple_compose_01jxznp0v6ebzsggaqpx90xtq8.png
1024
1536
Steven E
https://www.appliancepartspros.com/b/wp-content/uploads/2020/11/app-logo-std.png
Steven E2025-06-20 06:06:492025-06-20 06:06:58Whirlpool Fridge Not Making Ice? How To Troubleshoot the SensorWith nearly a decade of experience in providing top-notch customer service regarding appliance parts and repair, Steven enjoys sharing practical advice, troubleshooting tips, and interesting information to help readers stay informed.