A step-by-step guide to replacing a bathroom fan motor
Steven E / Tuesday March 25, 2025
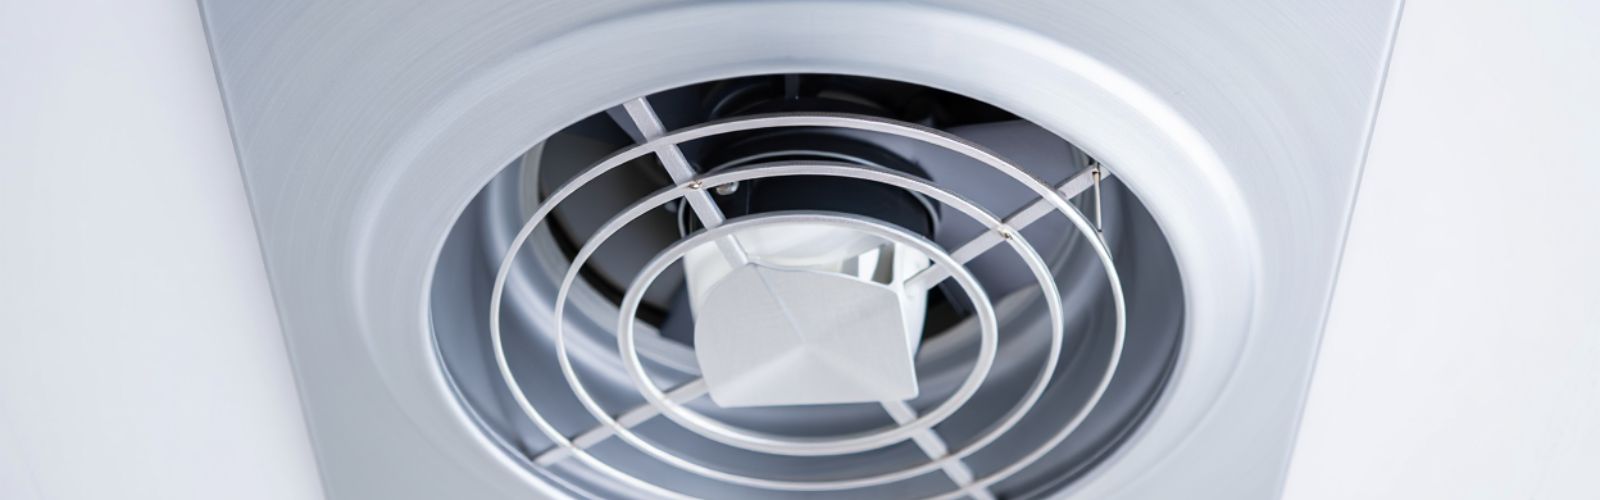
Bathroom fans are essential for keeping humidity and odors at bay. If your fan is acting up, running sluggishly, or making weird noises, chances are the motor’s to blame. Swapping out the motor yourself can bring back that fresh air and help prevent moisture buildup in your bathroom.
The advice here might not fit your exact appliance model. We do our best to give useful tips for all kinds of DIY appliance fixes, but different models can have their own quirks, different troubleshooting steps, error codes, parts, you name it. For spot-on guidance, it’s best to check your appliance’s manual or get in touch with us if you’ve got questions.
Why replace a bathroom fan motor
When your bathroom fan’s motor is working properly, it gets rid of moisture and nasty smells effectively. But when it starts to wear out, you might hear humming sounds, notice weak airflow, or it could stop working altogether. Too much humidity isn’t good, it can cause mold and mess up your paint. So, it’s a good idea to tackle a failing motor as soon as you spot any problems. By swapping out the motor, you’re giving your fan a new lease on life and keeping your bathroom healthier.
Getting ready
Before you start yanking out the old motor, it’s wise to have a solid game plan. A bit of prep work can save you from headaches and unnecessary time without a working fan. Make sure to jot down your bathroom fan’s model info so you can get the right replacement motor.

If you’re not sure about your fan’s model or its parts, check out our guide on how to find your appliance’s model number. Having that model number and brand on hand makes hunting down the exact replacement a breeze. Feel free to swing by our repair help section too, where you’ll find more DIY tips for other home projects you might be tackling.
Safety first
Start by turning off the power at your circuit breaker for the bathroom fan, and then, just to be extra safe, switch off the fan’s wall switch too. Might be a good idea to label the breaker so nobody flips it back on by accident. This way, you’re avoiding any electrical shocks while working with the wiring. Always double-check that the fan isn’t getting power by trying to turn it on at the switch. If it stays off, you’re good to go.
Tools you need
You’re gonna need a few basic tools and supplies to swap out that bathroom fan motor:
- Screwdriver set (both flathead and Phillips)
- Needle-nose pliers to grip and guide wires
- Wire strippers (optional, if you need to tweak wiring)
- Replacement fan motor (make sure it matches your old motor’s specs)
- Clean cloth or soft brush to wipe away dust
- Vacuum for sucking up debris inside the fan housing
- Protective gloves and safety glasses
Replacement steps
Remove the old motor
In a lot of bathroom fans, the motor assembly comes out as one piece. Sometimes the motor includes the impeller or blower wheel; other times, the motor’s separate from the fan blade. Be sure to check the instructions that come with your new motor for any specifics, but the general steps below should cover most situations.
- First, you’ll need to take off the vent cover to get at the motor’s mounting spots. If your fan has a light fixture, don’t forget to unplug it and set the bulb somewhere safe. Most fan covers just pull straight down, and then you squeeze a couple of metal springs to pop the cover off completely.
- Disconnect the motor wiring. If your model has a quick-connect harness, just unplug the motor from the fan housing. In other fans, you might see wires connected with wire nuts. Carefully twist the wire nuts counterclockwise to take them off.
- Make sure to keep track of which wires go together, usually black to black (hot) and white to white (neutral). If there’s a ground wire (typically green or bare), note where it’s connected.
- Unfasten the motor assembly. Find the screws or clips that hold the motor assembly to the fan housing. Unscrew or unclip them. Support the motor assembly with one hand so it doesn’t drop. The blower wheel or fan blade usually stays attached to the motor shaft.
- Remove the motor from the housing. Gently lower the motor assembly. Carefully pull it out of the ceiling opening, making sure you don’t snag any wires or connectors.
- If it’s a tight fit, try tilting or rotating the assembly a bit. Avoid forcing it out at sharp angles to prevent damaging the fan housing.
- Separate the fan blade or blower wheel (if needed). Some fan motors have the blower wheel or fan blade secured with a set screw on the motor shaft. Loosen the set screw with a small hex key or screwdriver, then slide the fan blade off the shaft. Keep the set screw somewhere safe or lightly reattach it to the wheel so it doesn’t get lost.
- Now that you’ve got the motor out, give it a quick once-over. If you notice heavy dust buildup, remember that this can shorten the motor’s life. Debris can weigh down the blower wheel and make it spin unevenly.
- If the fan blade looks bent or cracked, it’s a good idea to replace it for smooth operation. You can also use a cloth or brush to clear out any big chunks of debris inside the fan housing.
Install the new motor
Putting in the new motor is pretty much the reverse of taking the old one out, but keep an eye out for any differences in wiring or mounting hardware. Double-check that you’ve got the right part before you dive in, and make sure the motor spins freely when you turn it by hand.
- Prepare the new motor. Unpack the new motor. Make sure the assembly matches up with your old part’s orientation. If the new motor doesn’t include a blower wheel, attach your old one by lining up the setscrew hole with the flat side of the motor shaft. Tighten the setscrew snugly, but be careful not to strip it.
- Position the motor assembly in the housing. Lift the new motor into place. Line up any guide tabs or brackets with the slots. Hold the unit as you set it up, making sure the fan blade spins freely inside the housing without rubbing against anything.
- Secure the motor assembly. Attach the mounting screws or clips. Tighten them evenly to keep the motor level. Check that the blower wheel or fan blade is still centered and isn’t touching the housing.
- Reconnect the wiring. If your fan uses a quick-connect harness, just plug it back in. For wire nut connections, match black to black and white to white, then secure them with wire nuts. Twist each nut clockwise until it’s tight, and give each wire a gentle tug to make sure they’re connected solidly. Reattach the ground wire if there is one.
- Check for obstructions. Before putting the cover back on, take a look inside the housing for any debris. Vacuum or brush away any dust that could get sucked up when you turn on the fan. Keeping the fan housing clean helps your new motor run efficiently and last longer.
Test and confirm proper operation
Once you’ve got the motor secured and all the wiring hooked up, it’s time to make sure everything’s working:
- Line up the metal springs or clips on the sides of the cover, then insert them into the slots in the fan housing. Gently push the cover up so it’s snug against the ceiling. If your cover has a light, don’t forget to reattach the bulb and wiring harness.
- Head over to your circuit breaker panel and flip the breaker back on. Go back to the bathroom and turn on the fan switch.
- Your bathroom fan should be running smoothly without too much noise. You can feel the airflow if you put your hand near the vent. If you notice any weird grinding or rattling sounds, turn the fan off right away and check if something’s misaligned or if the blower wheel is loose. Fix it up as needed.
Once the fan motor’s running smoothly, you’re all set. Over the next few days, keep an ear out for any changes in noise. If it’s humming quieter and clearing out steam faster, then your new motor’s doing the trick.
More help
If you’re unsure about any parts or want to make sure you’re getting the right replacement for your model, don’t hesitate to visit us at AppliancePartsPros.com. You’ll find plenty of resources and can get the exact parts you need. Our repair help section has more tips, and we’re always here to answer questions. If you’ve got questions about your specific model or need help troubleshooting other appliances, swing by our site or give us a shout. We’re here to support your DIY projects every step of the way.
We’d love for you to follow us on social media for more home repair tips and updates. You can find us on Facebook and Twitter. We love hearing about your DIY victories and are here to help if you hit any snags.
Read more:
Diy Mrcool Units: Do Your Own Heating And Air Conditioning
Choosing An Air Conditioner: How Many BTUs Do I Need?
How to get better air quality from your window air conditioner
With nearly a decade of experience in providing top-notch customer service regarding appliance parts and repair, Steven enjoys sharing practical advice, troubleshooting tips, and interesting information to help readers stay informed.