Complete Guide to Maintaining Your KitchenAid Stand Mixer
Steven E / Thursday September 4, 2025
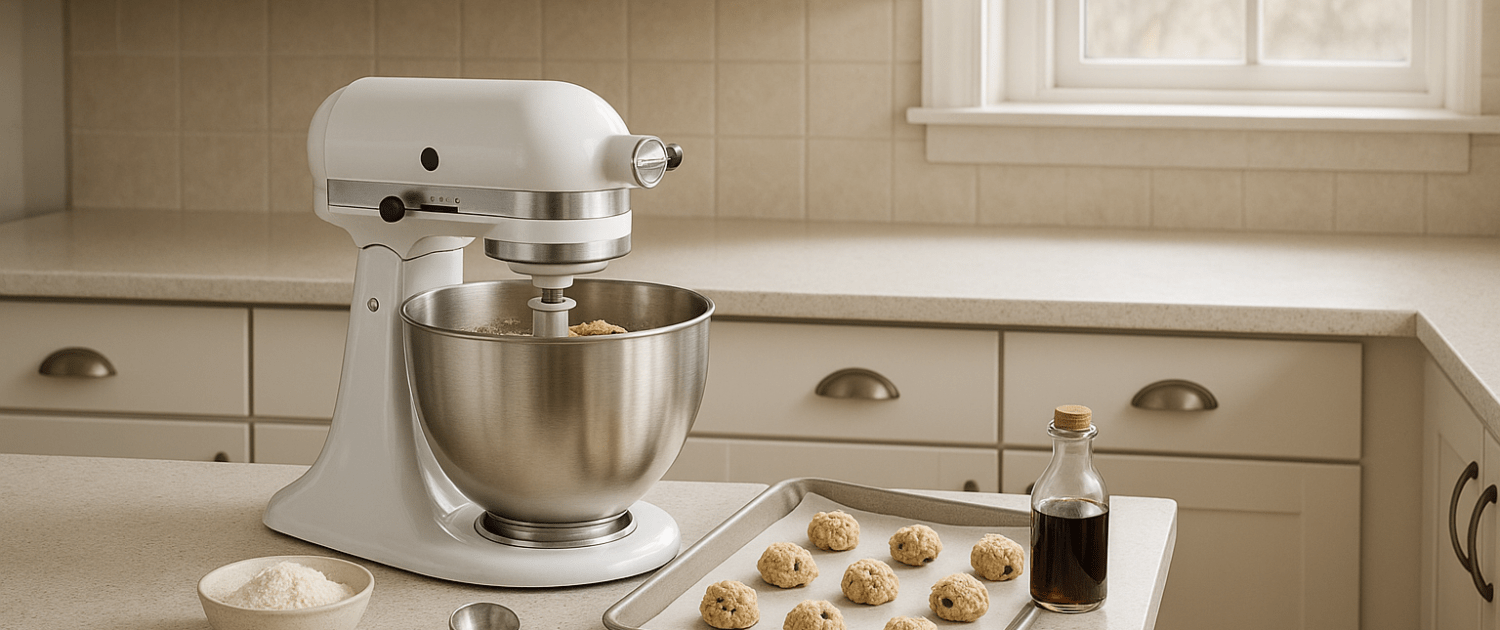
Your KitchenAid stand mixer is a kitchen workhorse, but like any tool, it needs a little TLC to keep going strong. The good news? With just a few simple maintenance steps, you can keep it running smoothly for years, maybe even decades. Let’s dive into the complete guide to maintaining your KitchenAid stand mixer so it lasts practically forever.
Why Maintenance Matters (Beyond “Because It’s Expensive”)
Think of your stand mixer like a small car engine that lives on your counter. Inside that pretty shell are gears, grease, carbon brushes, and a motor working hard every time you make bread or brownies. A few simple habits will:
- Keep performance strong (no more sluggish whipping or uneven mixing).
- Prevent cosmetic damage (chipping, discoloration, rust).
- Avoid expensive repairs (blown gears from overloads are no fun).
- Extend lifespan, well beyond the warranty.
Your Mixer’s Makeup, in 30 Seconds
- Motor head: The “brain” and engine.
- Planetary hub: The rotating part that spins the attachment.
- Accessory hub (front): Where you mount the grinder, pasta, spiralizer, etc.
- Tilt-head lock or bowl-lift lever: Secures the head/bowl while mixing.
- Speed control lever: 0–10; each speed has a job.
- Bowl + attachments: Flat beater, dough hook, wire whip, and any specialty tools.
Quick-Start Maintenance Schedule
After every use (2–5 minutes):
- Wipe the motor head and base with a damp cloth; dry immediately.
- Wash the bowl and attachments; dry thoroughly.
- Inspect the beater shaft for residue; wipe clean.
- Check the tilt-head lock or bowl-lift to ensure it’s secure.
Weekly (or after heavy baking days):

- Clean the planetary hub (the metal ring that spins) and the area under it.
- Remove the accessory hub cap, wipe the socket, and re-cap snugly.
- Do the dime test (beater height check) if you notice scraping or unmixed spots.
Monthly:
- Run the mixer on speed 10 (empty) for 1 minute to redistribute internal grease, which helps prevent “grease weeping.”
- Inspect the cord for nicks and the plug for heat or deformation.
- Check that all feet are level so the bowl sits flat.
Yearly (or every 6–12 months for heavy bread bakers):
- Deep clean crevices, knobs, and vents.
- Inspect attachments for wear (flaking coating, bent wires). Replace if needed.
- Consider grease replacement every 3–5 years (or sooner with heavy loads).
Cleaning 101: The Right Way (and What to Avoid)
The Motor Head & Base
- Do: Wipe with a damp microfiber cloth and mild dish soap. Immediately dry with a soft towel to avoid water spots.
- Don’t: Use abrasives, bleach, or soak the mixer. Water + motor = bad day.
The Bowl
- Stainless steel: Dishwasher safe. If you get rainbow heat marks, a stainless cleaner or baking soda paste restores shine.
- Glass: Dishwasher safe, but handwashing prolongs clarity. Avoid sudden temperature shocks.
- Ceramic (if you have one): Handwash to protect finish; avoid banging the rim on the bowl-lift arms.
Attachments
- Traditional coated flat beater/dough hook: Many modern ones are top-rack dishwasher safe, but handwashing extends life and prevents potential coating wear.
- Polished aluminum (older models): Handwash only, dishwashers can oxidize aluminum (that gray rub-off).
- Stainless steel beaters/hooks/whips: Dishwasher safe and damage-resistant.
- Wire whip: Handwash and dry immediately to prevent water trapped in the hub.
The Dime Test: Perfecting Beater Height
Too high, and the ingredients hang out at the bottom. Too low, and the beater scrapes the bowl.
- Place a dime in the empty bowl.
- Attach the flat beater and lock the head or bowl in place.
- Turn to speed 1.
- Watch the dime: it should vibrate and move slightly, not stay still, and definitely not get stuck under the beater.
Adjust:
- Tilt-head models: Turn the small screw at the neck (clockwise lowers; counterclockwise raises). Tiny turns, ⅛ rotation at a time.
- Bowl-lift models: Turn the screw on the bowl-lift bracket (same idea: tiny adjustments).
Re-test until the dime glides easily.
Grease 101: What’s Normal, What’s Not
Inside your mixer is food-grade grease that keeps gears happy. A few notes:
- A light oil sheen around the planetary hub or attachment shaft after storage can be normal. Wipe it off and run the mixer for a minute empty to re-distribute grease.
- Frequent drips or visible blobs of grease = time to replace the internal grease or check seals.
- If you regularly knead heavy doughs, plan on a grease refresh every 3–5 years.
Deep-Clean Moves (15 Minutes, Tops)
Once a month, or after a marathon bake, do this:
- Unplug. Always.
- Remove attachments, bowl, and hub cap. Handwash and dry.
- Clean the planetary hub. Wrap a toothpick with a cloth to clean gunk around the ring. Wipe the shaft.
- Detail the speed lever track and tilt hinge with a damp Q-tip or soft brush.
- Polish & protect. A mild stainless or appliance polish keeps the paint shiny and easier to wipe next time.
- Check screws & feet. Tighten anything that’s worked loose; level the feet so the mixer doesn’t shimmy.
Storage Tips That Work
- Countertop? Great, less banging around in cupboards. Park it where there’s airflow and no heat source nearby.
- Cover it. A breathable mixer cover keeps dust and grease mist off the finish.
- Attachment parking: A shallow drawer or bin lined with a towel prevents scratches and bent whip wires.
- Cord care: Loosely loop; don’t fold sharply near the plug.
Keep It Pretty: Finish Care
- Painted finishes: Soft cloth + mild soap. Avoid citrus solvents and abrasive pads.
- Matte or specialty colors: Spot test cleaners; some polishes leave haze.
- Glass bowls: Avoid metal utensils to keep them crystal clear.
Where To Find Us
If you need any replacement parts for your appliances, you can enter your model number at AppliancePartsPros.com to locate and order them quickly. Most orders arrive in just two business days, and we have tons of great information in our repair help section and YouTube videos to help you troubleshoot.
Stay connected with the latest DIY tips, tutorial videos, and repair guides by following us on Facebook, Instagram, and Twitter. We love hearing about your repair stories and successes. If you need more help or want personalized guidance, feel free to contact or call us at 877-477-7278. We’re ready to help you take on your next project with confidence!
Since 1999, AppliancePartsPros.com has helped millions of people repair their broken appliances by providing high-quality original parts at well below retail prices, free support and troubleshooting, and award-winning customer service from an expert, friendly, US-based customer support team!
 https://www.appliancepartspros.com/b/wp-content/uploads/2025/09/20250902_1604_Cozy-Country-Laundry_simple_compose_01k460chwnemn9kxzss4s0w8yr.png
1024
1536
Steven E
https://www.appliancepartspros.com/b/wp-content/uploads/2020/11/app-logo-std.png
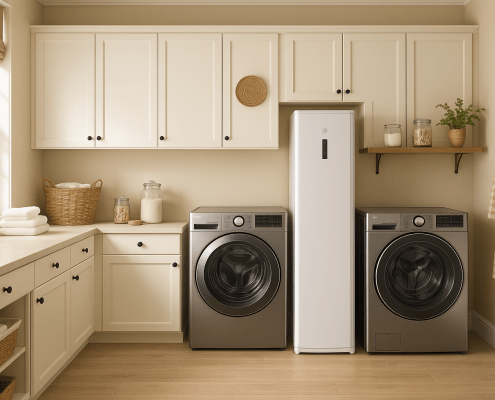
Steven E2025-09-05 10:33:302025-09-05 10:33:38When and How to Clean Your Steam Closet’s Water Tank
https://www.appliancepartspros.com/b/wp-content/uploads/2025/09/20250902_1604_Cozy-Country-Laundry_simple_compose_01k460chwnemn9kxzss4s0w8yr.png
1024
1536
Steven E
https://www.appliancepartspros.com/b/wp-content/uploads/2020/11/app-logo-std.png
Steven E2025-09-05 10:33:302025-09-05 10:33:38When and How to Clean Your Steam Closet’s Water Tank https://www.appliancepartspros.com/b/wp-content/uploads/2025/09/20250626_1532_Luxury-Laundry-Retreat_simple_compose_01jypvj1sye128rnzdeje9fzse.png
1024
1536
Steven E
https://www.appliancepartspros.com/b/wp-content/uploads/2020/11/app-logo-std.png
Steven E2025-09-05 10:21:462025-09-05 10:21:54How to Fix Lint Buildup in a Laundry Steam Closet
https://www.appliancepartspros.com/b/wp-content/uploads/2025/09/20250626_1532_Luxury-Laundry-Retreat_simple_compose_01jypvj1sye128rnzdeje9fzse.png
1024
1536
Steven E
https://www.appliancepartspros.com/b/wp-content/uploads/2020/11/app-logo-std.png
Steven E2025-09-05 10:21:462025-09-05 10:21:54How to Fix Lint Buildup in a Laundry Steam Closet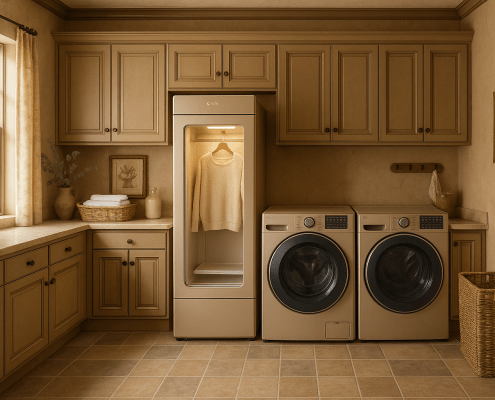 https://www.appliancepartspros.com/b/wp-content/uploads/2025/09/20250905_1121_Elegant-Laundry-Room_simple_compose_01k4d7e16qe33aqsnbg4pgwtwh.png
1024
1536
Steven E
https://www.appliancepartspros.com/b/wp-content/uploads/2020/11/app-logo-std.png
Steven E2025-09-05 10:13:342025-09-05 10:14:09How to Descale and Flush the Water System in a Steam Closet
https://www.appliancepartspros.com/b/wp-content/uploads/2025/09/20250905_1121_Elegant-Laundry-Room_simple_compose_01k4d7e16qe33aqsnbg4pgwtwh.png
1024
1536
Steven E
https://www.appliancepartspros.com/b/wp-content/uploads/2020/11/app-logo-std.png
Steven E2025-09-05 10:13:342025-09-05 10:14:09How to Descale and Flush the Water System in a Steam ClosetWith nearly a decade of experience in providing top-notch customer service regarding appliance parts and repair, Steven enjoys sharing practical advice, troubleshooting tips, and interesting information to help readers stay informed.
Leave a Reply
Want to join the discussion?Feel free to contribute!