Deep clean your freezer in 6 easy steps
Samantha Bullington / Friday January 5, 2024
Knowing how to clean your upright or chest freezer is important if you want it to continue working properly and extend its lifespan. Built-up frost and grime can reduce your freezer’s efficiency and lead to premature wear and damage over time.
If you need any replacement parts for your freezer, grab your model number and head over to AppliancePartsPros.com to place an order. Most orders arrive in just a few days, and we have thousands of free videos to show you how to install your new parts.
READ MORE: How To Clean Refrigerator Coils
Safety precautions
General
- Always power off and unplug your freezer or switch off the circuit breaker before attempting any maintenance or replacement work. This keeps you safe by preventing any risk of electric shock.
- If the freezer has recently been used, give it plenty of time to cool down before working on it.
- Take your time and don’t rush while working to prevent accidents and personal injuries.
- Work in a well-lit area so you can clearly see and access freezer parts.
- Keep your workspace free of clutter and other obstacles. Keep children and pets away from the work area.
- Be gentle when handling or removing parts. Excessive force might damage the freezer or cause personal injury.
Cleaning
- Consider wearing safety glasses and/or a dust mask when working with chemicals, dust or a large amount of debris to prevent irritation or injury.
- Avoid mixing cleaning products since reactions between products can produce hazardous fumes.
- Try to use cleaning products specifically designed for your appliance and carefully follow the instructions.
- Never use abrasive scouring powders or chemicals.
- Keep all cleaners and supplies locked up and safely out of reach of children.
- Keep your work area ventilated while using cleaning products. Open windows if possible or use fans.
- Rinse surfaces thoroughly after cleaning to prevent residue buildup.
- Check your appliance manual for any special cleaning instructions.
- Keep cleaning solutions, sponges or rags away from controls, outlets and other electrical components where moisture could cause shorts.
- Let all parts fully dry after cleaning and before plugging appliances back in.
Step 1 – Remove contents and defrost your freezer
- Unplug the freezer and remove the drain plug if your unit has one.
- Remove all frozen food items from the freezer and transfer them to ice boxes or wrapped cardboard boxes for temporary storage.
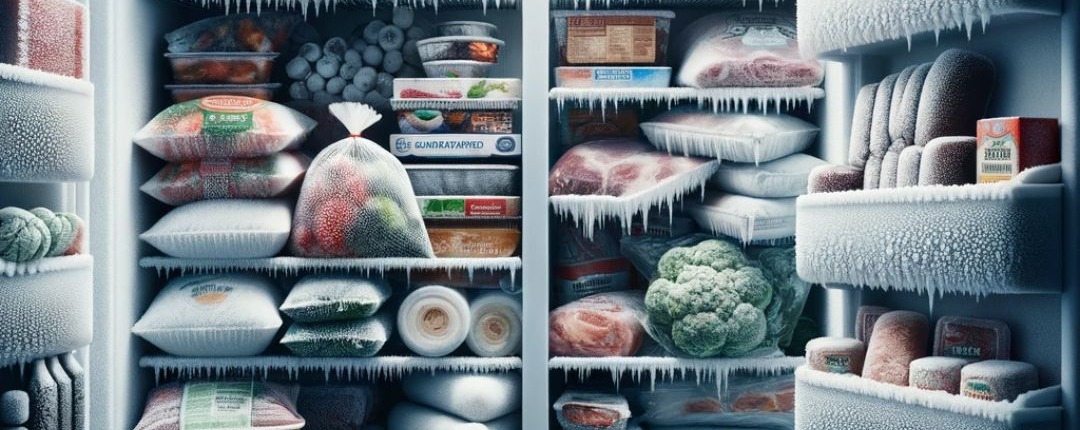
- Check each item for signs of freezer burn, such as white frost or ice crystals on the surface, or shriveled and dried-out appearance. Discard any old or freezer-burned items.
- Open the lid on your chest freezer or prop the door open on your upright freezer to allow the interior to reach room temperature. You may want to place a tray or towels at the bottom of your upright freezer to catch any water drips.
- Wait for the frost to soften and melt so you can dry it with a cloth. Avoid using any scrapers or abrasive tools that may damage the unit.
READ MORE: What Temperature Should A Refrigerator Be Set To?

Step 2 – Clean interior surfaces
With the freezer interior thawed, you can now easily scrub away grime using a baking soda and water paste, dish soap diluted in warm water or white vinegar.
- Use a sponge or soft, clean microfiber cloth to apply the cleaning solution of your choice.
- Scrub from the top and work your way down, starting with the top panel and working down the side walls to the bottom surface.
READ MORE: 4 Simple Ways to Reduce Kitchen Waste
Step 3 – Wipe away the residue
After scrubbing the inside of the freezer, wipe away any leftover grime and cleaning solution with a damp cloth or sponge.
Wipe the top surfaces first and then gradually work your way down the sides.
Step 4 – Inspect and clean the door
Don’t stop at the interior! Now is a good time to check the door for damage and debris.
- Look over the rubber gasket and plastic liner of the chest freezer lid or upright freezer door for any cracks, tears, or deformities. If you notice any damage to the gasket, you’ll want to replace it to make sure the freezer works and seals properly.
- If the gasket and liner look good, just scrub them with some dish soap and water or a baking soda and water solution and rinse them off.
READ MORE: Chest Freezer Organization
Step 5 – Clean the outside
- Wipe down the outer surfaces with an appliance-safe cleaning spray or solution and a sponge or soft cloth. Avoid harsh chemicals or abrasives that could scratch or dull the surfaces.
- Pay special attention to any exterior compressor grills. Make sure you clear away all dust and debris clumps.
- Check the ventilation grills for any clogs or debris and clean them as needed. Clogged grills can lead to overheating, reduced cooling, and even compressor failure.
READ MORE: 10 Hacks for Better Food Preservation in Your Freezer
Step 6 – Replace the drain plug and restore power
- Replace the freezer’s interior drain plug if your model contains one. This prevents humid room air from entering and forming frost while the freezer cools back down.
- Make sure everything is thoroughly dry before you plug the cord back in.
- Restore power to the freezer and make sure it restarts and begins cooling properly before returning any frozen food contents to their places.
READ MORE: How to prevent freezer burn
More information
Thanks for reading! We hope this guide helped you clean your chest or upright freezer.
If you have any other appliance repair needs or projects, you can find more resources including our DIY blog at AppliancePartsPros.com. There, you can enter your model number to order the exact parts you need. Most orders arrive in two business days.
You can also reach our award-winning customer service team at 1-877-477-7278, chat with a pro on our website and watch thousands of free video tutorials on our YouTube channel.
Hey there, I’m Samantha and I’m super excited to be a part of the Appliance Parts Pros team! With 9 years of experience, I’ve had the awesome opportunity to assist countless customers in troubleshooting their home appliances and finding DIY repair solutions.