Dryer Drum Belt Replacement: A Step-by-Step Guide to Fixing Your Dryer
APP Expert / Monday February 27, 2023
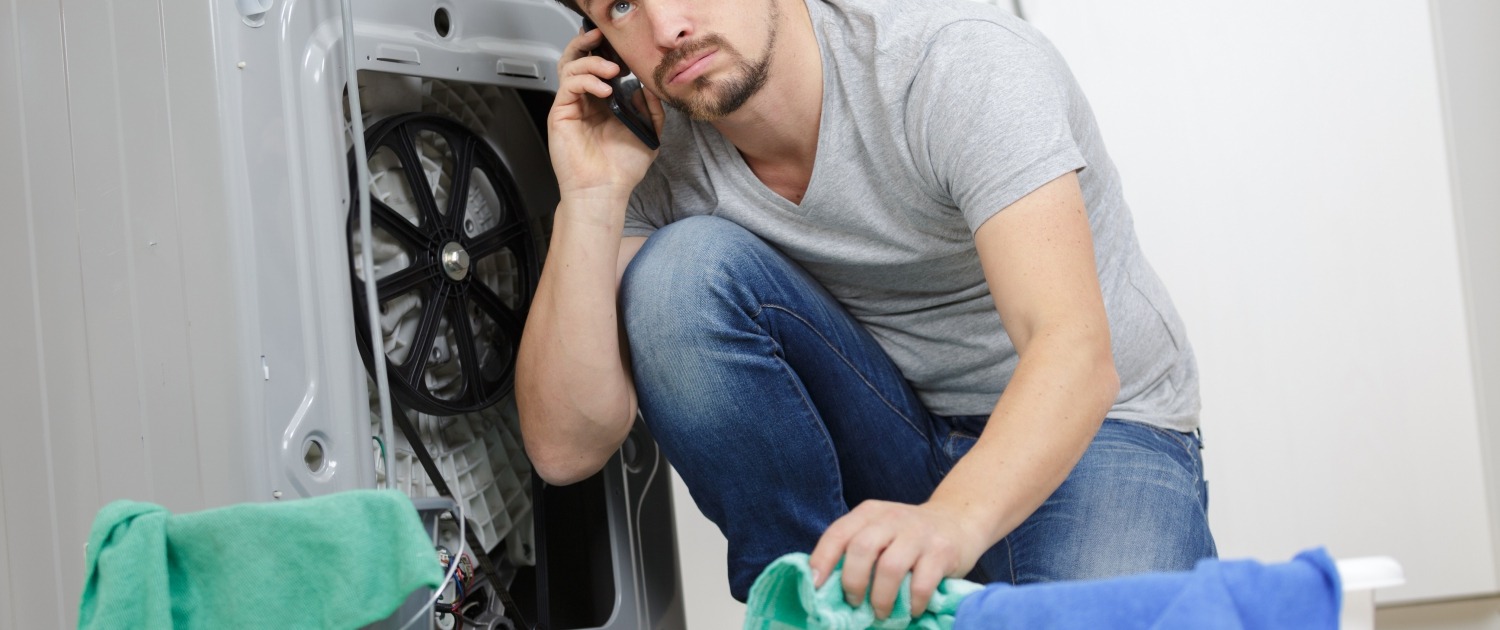
Attention homeowners: if your dryer’s drum has stopped spinning, don’t rush to call a technician just yet. The culprit might be something as simple as a worn-out belt, a common issue that you can fix yourself without breaking the bank. Dive into our handy guide and accompanying how-to video below to learn step-by-step how to replace the dryer belt and reclaim your laundry day.
Easily Repair Your Dryer Yourself
Dryer problems? Okay, don’t panic! Yeah, it’s a big, pricey appliance, and having your laundry day interrupted is a unique kind of stress, but this doesn’t need to be an expensive or time consuming fix. Your dryer may’ve stopped tumbling, but you don’t need to buy a whole new appliance, or even get a repair technician on the phone!
If your dryer’s drum isn’t spinning, it’s probably just the belt causing problems: an inexpensive part that’s quick and easy to replace with some basic tools. You can absolutely do this yourself, and in this article, we’re laying out the steps to show you how. With this article and our how-to video, you’ll have your dryer back in working order in no time!
Signs of a Bad Dryer Belt
A dryer’s drum or drive belt is a rubber hoop that connects the dryer’s drum to the motor via pulley system, allowing the drum to spin and tumble your clothes during a cycle. Most likely, you’re replacing the belt on your dryer because the old one has snapped, but how can you tell if that’s happened?
- The most obvious sign is that the drum isn’t turning when the dryer is running. If you’re trying to dry your clothes but the drum won’t turn even though everything else sounds like it’s working, then it’s probably the belt causing problems. It may have snapped or come loose.
- Unusual rhythmic thumping sounds could be a sign of a loose or stretched belt. If you’re getting a “tennis balls in the dryer” kind of sound and you don’t have any tennis balls in the dryer, that could be the belt going bad. While your dryer will still work with a weakened belt, it’s better for the overall life of your appliance if you replace it once you know the belt is deteriorating.
- If the dryer won’t start, or if it stops spinning before your clothes are dry, this could potentially be a problem with the belt. However, these issues are symptoms of many potential problems in your dryer, so you’ll want to do a visual inspection of the belt to make sure it’s the culprit.
Dryer belts are put under a lot of stress. Between the constant motion and prolonged exposure to high temperatures, they’re bound to start warping, wearing out, or thinning eventually. If your dryer belt isn’t broken, but you think it’s starting to go, you can test it by manually turning your dryer’s drum. If there’s resistance, your belt is still probably in decent shape. If the drum spins freely, then your dryer’s drive belt is either slack or broken.
You can also check things out by lifting the lid on your dryer. You’ll need to remove some screws first to pop the top free, but once you’ve got it out of the way, you should have a clear view of both the tub and the belt, allowing you to check to see if it’s broken or worn out.
Finding the Right Replacement Dryer Belt
As with all things appliance repair-related, you want to start with your dryer’s model number. If you don’t have your manual, you can still find it on the body. Check inside the door and on the sides and back of the unit for a sticker listing this information.
Once you have that model number, you can easily get the exact OEM part you need at AppliancePartsPros.com. Order online and you’ll have it in just a few days!
How To Replace A Dryer Drum Belt
For this guide and in the companion video, we disassembled and replaced the belt on a Whirlpool dryer. No matter the make and model of your dryer, the process is probably pretty similar, so you can still use our walkthrough! If the steps don’t seem to be lining up perfectly, consult your appliance’s manual. It may be that a given component is installed elsewhere in the appliance.
Tools for the job
- A compatible OEM dryer drum belt
- Phillips and flathead screwdrivers
- Socket or nut driver (5/16 in for our sample dryer)
- Putty knife
- Work gloves
Before beginning any repairs, be sure to disconnect the appliance from power either by unplugging it or flipping its circuit breaker off. Never work on an appliance that is still receiving power. Once that’s done, we can get to it!
Replacing a dryer drum belt
To access and replace the old belt, we’ll need to disassemble most of the dryer. That may seem like a pretty big job, but it’s surprisingly easy, and should only take you a few minutes. Don’t worry! We’ll go over how it’s done here, but if you’d like a more indepth look at dryer disassembly, check out our full How To Disassemble A Dryer text and video guide.
- Remove the dryer top.
- You’ll first need to remove some screws near the lint trap – you may just need to flip the lid up, or remove the lint trap completely depending on your appliance.
- Then pop the lid loose by sliding a putty knife beneath it about two inches in from the front corners.
- Once it’s loose, you should be able to just lift it up and out of the way. No need to remove it completely. You can set it on a counter or tabletop to brace it.
- Disconnect the door switch. You’ll be able to find the door switch’s wire harness near the front of the dryer. Use a flathead screwdriver to release the locking clip holding the two halves of the harness together, and then pull or pry them apart.
- Remove the two screws holding the front panel on. These are hex head screws that you can remove with a socket or nut driver. On our Whirlpool dryer, the screws were 5/16 inch.
- Remove the front panel. The process is slightly different depending on the type of dryer you have:
- If your front panel is one single piece, pull the front panel forward and then lift it up to remove it. Make sure you’ve got it clear of the bottom mounting brackets before pulling it away completely.
- If your dryer has two front panels – a smaller access panel and a larger top panel – there are a couple of extra steps:
- Use a putty knife to pop the lower access panel out of place.
- Remove the springs on either side of the lower panel.
- Loosen the screws on the upper panel enough that you can remove it. Don’t take the screws all the way out!
- Get the old belt off the pulleys. You’ll probably need to get down on the floor for this step, since the pulley is usually on the bottom, near the back of the appliance. Press the idler pulley arm toward the outside of the dryer to slacken the belt enough that you can get it off the motor pulley.
- Remove the old belt. Once it’s disconnected from the pulleys, the old belt should simply slide off the drum.
- Smooth any twists out of the new belt before sliding it onto the drum. You can lift the drum itself to make this a little easier if you need to. Get the new belt into the same spot the old belt was in on the tub (when it was working). If your dryer has seen some use, the old belt should have left some marks on the tub that will make this easier.
- Hook the new belt onto the pulleys. Lift the idler pulley, pushing it toward the side of the machine. Thread a loop of the belt through the idler pulley’s lower opening and then hook that loop around the motor pulley.
That’s it! You’ve installed a new dryer belt. Now it’s time to reassemble everything. - Reinstall the front panel:
- For a single piece front panel:
- Start by lining the panel up to those brackets and then pushing it down on them. You will need to lift the dryer drum up while you do this to get the drum to line up properly with the front seal.
- Reinstall the hex head mounting screws.
- For a two-piece front panel:
- Set the main panel into place on the two mounting screws you loosened earlier, then tighten those screws down.
- Reinstall the upper screws.
- Put the lower panel’s springs back in place.
- Slide the lower panel back onto its tabs and press it into place.
- For a single piece front panel:
- Reconnect the door switch. This is as easy as plugging the two halves of the wire harness back together.
- Put the dryer lid back on. Press it into place, making sure it’s seated on the locking tabs, and then reinstall the mounting screws by the lint trap.
Wrapping Up
That’s it! You’ve successfully installed a new drive belt and reassembled your dryer. The last thing to do before you’re all wrapped up is restore power to your dryer and run a test cycle to make sure everything’s working as it should. If you need a bit more guidance on this particular job, check out our tutorial video. It provides an in-depth look at how this job is done.
Need more tips, tutorials, or genuine OEM replacement parts? Keep AppliancePartsPros.com in mind. You can get OEM replacement dryer belts from us, and our friendly staff is happy to help you fix your appliances yourself.
Hi! I’m Matt H., and I’m thrilled to be your guide through the world of appliance repair with over 25 years of invaluable experience in the industry.
From the early days of my career, I have been deeply passionate about appliances and their inner workings. Over the years, I’ve seen it all – from vintage models to the latest cutting-edge technology – and I’ve dedicated myself to mastering the art of repair. With a toolbox in one hand and a wealth of knowledge in the other, I’ve tackled every challenge that has come my way, learning and growing with each repair.
Join me as we dive into the intricacies of appliance repair. From step-by-step repair guides to explanations of common problems and their solutions, I’ll be here to simplify the repair process and empower you with the knowledge you need to keep your appliances running smoothly.
Feel free to explore our blog, ask questions, and leave comments – this platform is a space for learning, sharing, and growing together. Let’s work together to ensure that your appliances continue to serve you for years to come.
Thank you for joining me on this journey, and I look forward to being your go-to resource for all things related to appliance repair!


