Easy Fixes for Errors E6 and E7 on Your Thermador Range
Steven E / Tuesday May 13, 2025
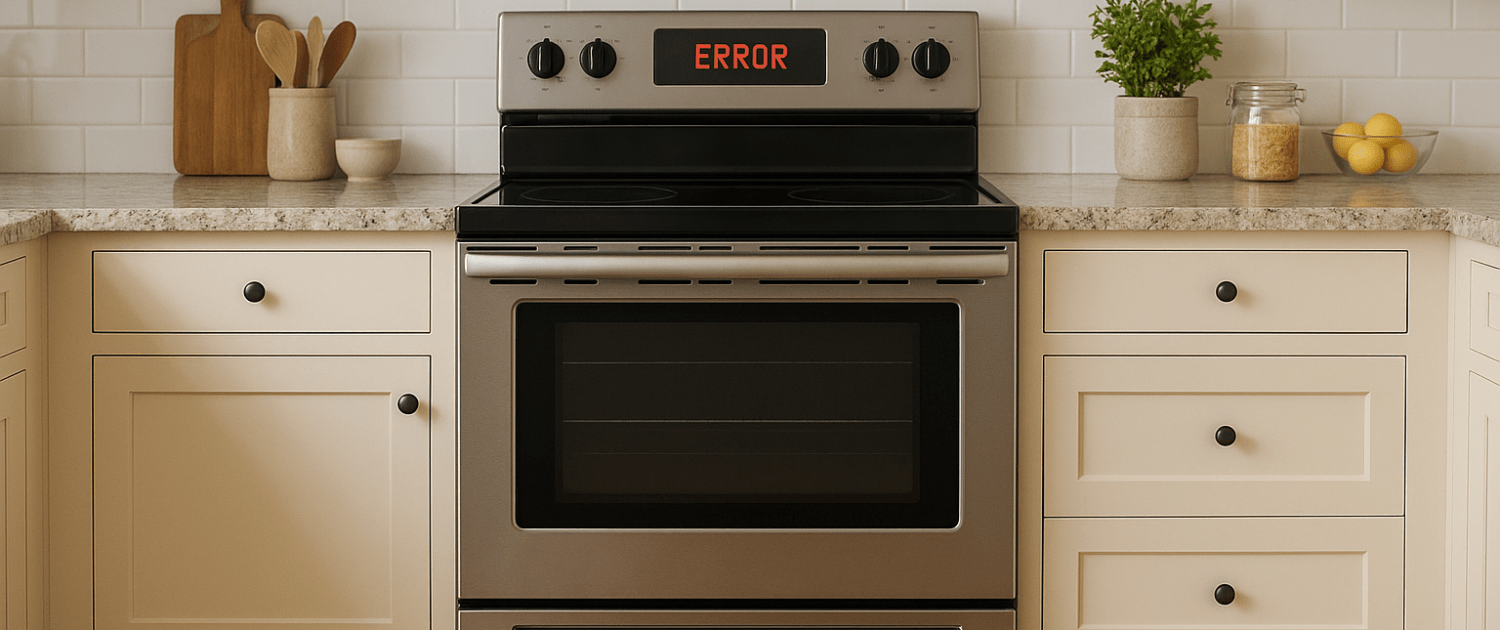
If your Thermador range is flashing an E6 or E7 error code, don’t stress, it’s something you can handle without calling in a repair tech. We’ll walk you through what those codes actually mean, what might be causing them, and how you can fix the issue and get back to cooking without the hassle. Let’s get your range working again!
If you find out that you need any replacement parts for your appliance while you’re troubleshooting, you can enter your model number at AppliancePartsPros.com to order them. Most orders arrive in just two business days, and we have thousands of free guides to show you how to install your new parts.
The information in this article may not apply to your specific appliance model. We recommend consulting your manufacturer’s documentation or contact us with any questions.
What causes the error codes?
The E6 error code indicates that during a normal cooking mode like bake, convection bake, or multi-rack bake, the oven cavity temperature has overshot beyond the allowed maximum limit, normally around 550°F to 575°F depending on the model.

Some potential causes of E6 over-temperature errors include:
- Failing oven temperature sensor providing inaccurate high readings
- The defective control board stuck in maximum heating mode
- Shorted keypad buttons sending erroneous commands
- Damaged heating element stuck in the “on” position
- Loss of critical safety thermostats or thermal fuses
The E7 error code signifies overheating has occurred during the high-temperature self-cleaning cycle. Typical causes are:
- Faulty oven sensor providing false extreme temperature values
- The control board not properly regulating element power during self-clean
- Failure of the electronic control board itself
- Malfunctions of self-clean thermostats or thermal fuse failures
So both E6 and E7 imply that the regulation of power to the heating elements has been compromised, resulting in uncontrolled oven overheating above safe limits.
Safety precautions
When working on any appliance, remember to keep safety first. Here are some tips to keep in mind:
- Always power off and unplug your appliance or switch off the circuit breaker before attempting any maintenance or replacement work. This keeps you safe by preventing any risk of injury from electric shock.
- Wear insulated work gloves to protect your hands from sharp metal parts, pinching hazards and debris.
- Take your time and don’t rush while working to prevent accidents and personal injuries.
- Work in a well-lit area so you can clearly see and access the interior parts.
- Clear your workspace of clutter and other obstacles. Keep children and pets away from the work area.
- Never work on internal parts with bare wet hands. Make sure the work area is completely dry.
- Check your user manual to see if there are specific installation or safety instructions for your part or appliance.
- Be gentle when handling or removing parts. Excessive force might damage the appliance or cause injury.
- Wear safety glasses when working with chemicals, dust or cleaning large debris to prevent injury.
- If the appliance has recently been used, give it plenty of time for any heating parts to cool down before working on it.
- Take pictures or make a note of wiring terminals or other connections before disconnecting to prevent any problems with reassembly.
- When working with wires, avoid touching any exposed wires or terminals. If you need to touch a wire, use a non-conductive tool or wear insulating gloves to prevent electrical shock.
- Don’t test wiring with a multimeter for live voltage if you’re unfamiliar with how to prevent short circuiting when testing.
Troubleshooting steps
Oven sensor testing
When an E6 or E7 is present, begin troubleshooting by thoroughly testing the oven temperature sensor:
- Remove power from the oven and remove the bottom panel to access the sensor.
- Check that the sensor probe is securely installed in the factory’s original position on the oven’s rear wall.
- Verify wires have no damage, cuts, burnt insulation, or loose spade connectors.
- Using a multimeter, check sensor resistance based on ambient temperature and compare it to published specifications.
- Monitor resistance values while gradually warming the sensor probe with a hair dryer. Resistance should increase smoothly with no jumps or drops.
- Out-of-spec resistance values or erratic unreasonable measurements indicate a faulty sensor requiring replacement.
In many cases, E6/E7 overheating is caused by the oven sensor providing inaccurate data to the control board.
Control board replacement
If the oven temperature sensor thoroughly tests good, replacing the electronic control board is the next logical step:
- Research your oven model number to obtain the correct replacement control board part number and purchase the board accordingly by clicking here.
- Turn off the power at the breaker panel and unplug the oven if possible.
- Label and disconnect all connections to the control board.
- Remove mounting screws and extract old boards.
- Carefully install replacement boards ensuring all wires go to the proper terminals. Double-check work.
- Secure the new board in place with mounting screws.
- Restore power. Recalibration of the oven sensor will be required after the control board swap.
- Retest oven operation. E6/E7 errors should be cleared if caused by a faulty control board.
Take extreme care when handling and installing replacement control boards to avoid damaging sensitive components.
Recalibrating oven sensor after control board replacement
After installing a new oven control board, the temperature sensor must be recalibrated to properly work with the new electronics:
- Initiate service mode by pressing and holding Bake, Broil, and Clean keys for 3-5 seconds until the display flashes.
- Press Bake once to view the current sensor offset value.
- Use the up/down arrows below the keys to modify the offset until the number matches the target calibration value printed on the sticker on the back of the oven or inside the oven door.
- Press Clean again to exit service mode once the target value is dialed in.
- Perform an oven test cycle to validate error codes are cleared after recalibration.
Proper temperature sensor calibration is essential to resolve over-temp errors after the control board or sensor replacement.
Additional information
Thank you for reading! We hope this guide helped you get your range working again.
If you have any other appliance repair needs or projects, don’t hesitate to explore our other troubleshooting guides and videos.
If you need replacement parts or some extra help with ordering them, grab your model number and head over to AppliancePartsPros.com, where you can chat with a pro, read our DIY blog and more.
Don’t forget to subscribe to us on YouTube and follow us on Facebook, Twitter and Instagram!
 https://www.appliancepartspros.com/b/wp-content/uploads/2025/05/20250509_1251_Oven-Display-Error_simple_compose_01jttz893ze0brtea6zebdkk8h.png
1024
1536
Steven E
https://www.appliancepartspros.com/b/wp-content/uploads/2020/11/app-logo-std.png
Steven E2025-05-13 06:22:432025-05-13 06:22:52How to Troubleshoot Error Code F121 on a Bosch Oven
https://www.appliancepartspros.com/b/wp-content/uploads/2025/05/20250509_1251_Oven-Display-Error_simple_compose_01jttz893ze0brtea6zebdkk8h.png
1024
1536
Steven E
https://www.appliancepartspros.com/b/wp-content/uploads/2020/11/app-logo-std.png
Steven E2025-05-13 06:22:432025-05-13 06:22:52How to Troubleshoot Error Code F121 on a Bosch Oven https://www.appliancepartspros.com/b/wp-content/uploads/2025/05/20250509_1241_Oven-Display-Error_simple_compose_01jttynxn9em8vg36w1rd6q03y-1.png
869
1536
Steven E
https://www.appliancepartspros.com/b/wp-content/uploads/2020/11/app-logo-std.png
Steven E2025-05-13 06:20:592025-05-13 06:21:07Bosch Oven F112 and F114 Error Codes Explained
https://www.appliancepartspros.com/b/wp-content/uploads/2025/05/20250509_1241_Oven-Display-Error_simple_compose_01jttynxn9em8vg36w1rd6q03y-1.png
869
1536
Steven E
https://www.appliancepartspros.com/b/wp-content/uploads/2020/11/app-logo-std.png
Steven E2025-05-13 06:20:592025-05-13 06:21:07Bosch Oven F112 and F114 Error Codes Explained https://www.appliancepartspros.com/b/wp-content/uploads/2025/05/20250509_1232_Wall-Oven-Error_simple_compose_01jtty4dzjeh19sp117fpdcd2w.png
1024
1536
Steven E
https://www.appliancepartspros.com/b/wp-content/uploads/2020/11/app-logo-std.png
Steven E2025-05-13 06:18:362025-05-13 06:18:44Bosch Oven Showing Error Code F45? Here’s How to Troubleshoot
https://www.appliancepartspros.com/b/wp-content/uploads/2025/05/20250509_1232_Wall-Oven-Error_simple_compose_01jtty4dzjeh19sp117fpdcd2w.png
1024
1536
Steven E
https://www.appliancepartspros.com/b/wp-content/uploads/2020/11/app-logo-std.png
Steven E2025-05-13 06:18:362025-05-13 06:18:44Bosch Oven Showing Error Code F45? Here’s How to TroubleshootWith nearly a decade of experience in providing top-notch customer service regarding appliance parts and repair, Steven enjoys sharing practical advice, troubleshooting tips, and interesting information to help readers stay informed.