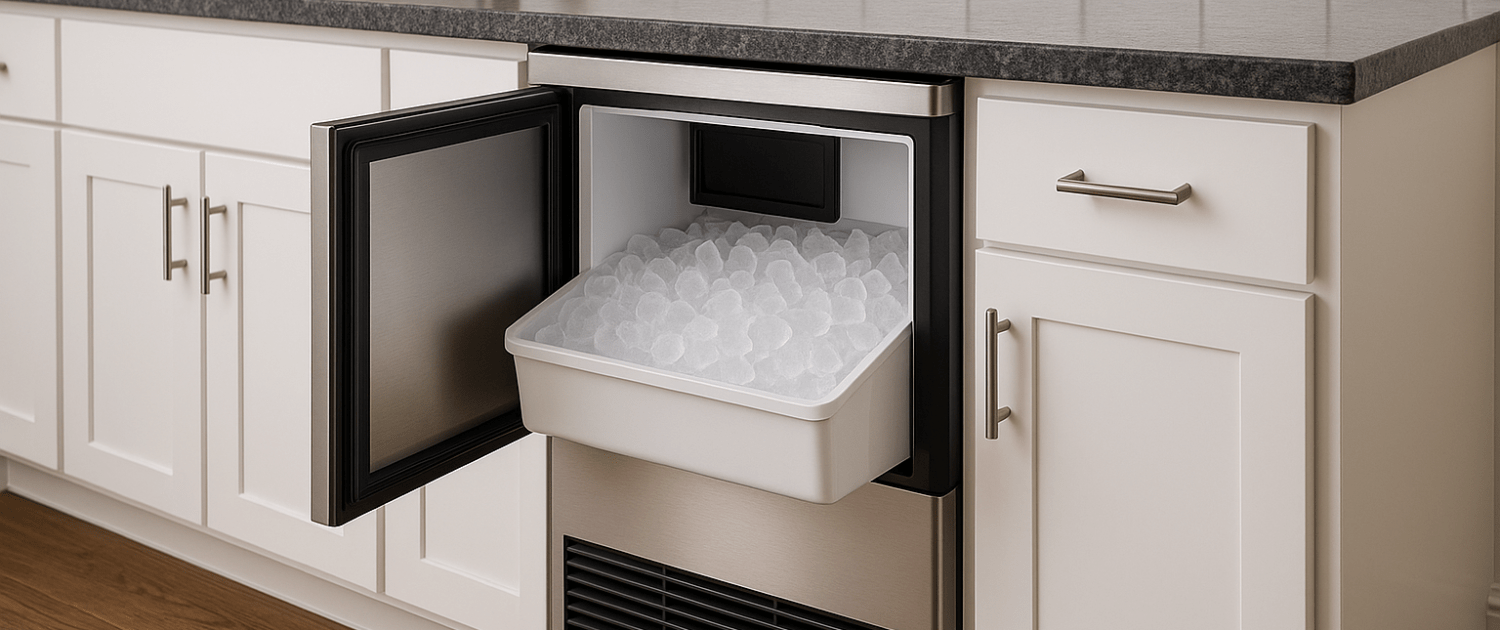
Expert Tips for Fixing Your KITCHENAID Ice Machine Bin Thermistor
Steven E / Tuesday November 25, 2025
Looking for the right part? Enter your appliance model number below to find the exact match and get your appliance running like new again!
When your KitchenAid freestanding ice machine stops making ice or starts making way too much of it, it can turn into a real mess fast. Maybe the bin is empty and you are wondering why nothing is happening. Or maybe you open the door and ice comes pouring out like an avalanche. Either way, the most likely troublemaker is the bin thermistor.
The good news? This is one of the easiest parts to check and replace. You do not need special training, you do not need fancy tools, and you definitely do not need to stress. You can fix this yourself and get your ice machine back to behaving like it should.

Let’s walk through what the thermistor does, why it fails, how to test it, and what it takes to swap in a new one.
What the Bin Thermistor Actually Does
Think of the bin thermistor as the “fullness sensor” for your ice machine. Its whole job is to tell the machine when the ice bin is full and when to stop making more ice. When the thermistor is working, everything stays balanced.
But when the thermistor fails, the machine gets confused. That confusion shows up in a few ways:
- The ice machine won’t stop making ice
- Ice spills out when you open the door
- The bin stays empty even though the machine sounds like it is running
- Ice production becomes random or inconsistent
- The machine seems confused about when to stop and start
If any of this sounds familiar, the thermistor is a great place to start your troubleshooting.
Tools You’ll Need
Nothing fancy here. Just a few basic items:
- Quarter inch nut driver
- Multimeter
- Flashlight or small work light
- Towel
The towel is more important than you might think. The screws inside this machine are stainless steel, and stainless screws do not stick to magnets. Drop one into the ice bin and you will be digging around forever. Drop one into the drain and things get even worse. A towel over the ice saves you a headache.
And of course, unplug the machine or switch off the breaker before you get started.
What the Cutting Grid Has to Do With All This
Before you get to the thermistor, you will run into the cutting grid. That’s the part that slices the ice slab into cubes. The thermistor sits nearby, so the grid has to come out to give you room to work and test things.
While the grid is out, it is a good time to glance at it. If the wires look broken or gunked up with mineral buildup, you may want to address that later. For now, just keep track of your screws and clear the workspace.
How to Test the Thermistor
Now for the important part. Testing the thermistor tells you right away whether it is working.
Here is what to do:
- Unplug the machine
- Unplug the thermistor connector
- Set your multimeter to measure resistance (ohms)
- Touch the probes to the two pins in the connector
A healthy thermistor should read around 10,000 ohms at about 77 degrees Fahrenheit.
If you get a reading that is way higher, way lower, jumping around, or not reading at all, the thermistor is bad. A failing thermistor might even give a good reading one minute and a bad one the next. That inconsistency is another sign it needs to go. This quick check saves you from guessing.
Replacing the Bin Thermistor
Once the test confirms your thermistor is bad, the replacement is about as easy as repairs get.
Here is how it goes:
- Use a quarter inch nut driver
- Loosen the screw holding the thermistor (no need to remove it completely)
- Slide the thermistor out from under the screw
- Unplug it
- Slide the new thermistor in
- Tighten the screw
- Make sure the new thermistor is pointed in the correct direction
- Reconnect the plug
- Reinstall the cutting grid
That’s it. Once the machine gets power again, it will start reading the bin level correctly.
Why the Thermistor Angle Matters
One small detail that makes a big difference is the position of the thermistor. It needs to be pointed the right way so it can sense the ice level accurately.
If it is bent or aimed off to the side, the machine will misread the bin level and you will still end up with too much or too little ice. When installing the new one, give it a quick check to make sure it is sitting where the old one was.
Wrapping Up
A KitchenAid freestanding ice machine that is not making ice or making way too much of it can be frustrating, but the fix is often simple. The bin thermistor is one of the most common causes of those exact problems, and testing it only takes a minute with a multimeter.
Replacing it is straightforward, and once it is in place, your machine should go right back to normal. No more overflowing ice. No more empty bins.
Just grab your model number, find the correct part at AppliancePartsPros.com, and you will have your ice machine back to normal in no time.
If you need help with your next project, we are always here for you.
Where To Find Us
If you need any replacement parts for your appliances, you can enter your model number at AppliancePartsPros.com to locate and order them quickly. Most orders arrive in just two business days, and we have tons of great information in our repair help section and YouTube videos to help you troubleshoot.
Stay connected with the latest DIY tips, tutorial videos, and repair guides by following us on Facebook, Instagram, and Twitter. We love hearing about your repair stories and successes. If you need more help or want personalized guidance, feel free to contact or call us at 877-477-7278. We’re ready to help you take on your next project with confidence!
Since 1999, AppliancePartsPros.com has helped millions of people repair their broken appliances by providing high-quality original parts at well below retail prices, free support and troubleshooting, and award-winning customer service from an expert, friendly, US-based customer support team!
 https://www.appliancepartspros.com/b/wp-content/uploads/2025/11/20251113_1357_Under-Counter-Ice-Machine_simple_compose_01k9z94tefeeqbcjc3j4va5kph.png
1024
1536
Steven E
https://www.appliancepartspros.com/b/wp-content/uploads/2020/11/app-logo-std.png
Steven E2025-11-25 13:04:572025-11-25 13:05:04Expert Tips for Fixing Your KITCHENAID Ice Machine Bin Thermistor
https://www.appliancepartspros.com/b/wp-content/uploads/2025/11/20251113_1357_Under-Counter-Ice-Machine_simple_compose_01k9z94tefeeqbcjc3j4va5kph.png
1024
1536
Steven E
https://www.appliancepartspros.com/b/wp-content/uploads/2020/11/app-logo-std.png
Steven E2025-11-25 13:04:572025-11-25 13:05:04Expert Tips for Fixing Your KITCHENAID Ice Machine Bin Thermistor https://www.appliancepartspros.com/b/wp-content/uploads/2025/05/20250514_1026_Cozy-Kitchen-Corner_simple_compose_01jv7jyc5dfdebzqk4xsj0pd5e.png
1024
1536
Steven E
https://www.appliancepartspros.com/b/wp-content/uploads/2020/11/app-logo-std.png
Steven E2025-05-14 07:34:472025-05-14 07:34:54Step-by-Step Under-Counter Ice Maker Installation Guide
https://www.appliancepartspros.com/b/wp-content/uploads/2025/05/20250514_1026_Cozy-Kitchen-Corner_simple_compose_01jv7jyc5dfdebzqk4xsj0pd5e.png
1024
1536
Steven E
https://www.appliancepartspros.com/b/wp-content/uploads/2020/11/app-logo-std.png
Steven E2025-05-14 07:34:472025-05-14 07:34:54Step-by-Step Under-Counter Ice Maker Installation Guide https://www.appliancepartspros.com/b/wp-content/uploads/2025/02/APP-blog-square-63.jpg
1080
1080
Steven E
https://www.appliancepartspros.com/b/wp-content/uploads/2020/11/app-logo-std.png
Steven E2025-02-14 13:15:462025-08-06 10:54:11Ice maker vs. no ice maker in a refrigerator: Which is best?
https://www.appliancepartspros.com/b/wp-content/uploads/2025/02/APP-blog-square-63.jpg
1080
1080
Steven E
https://www.appliancepartspros.com/b/wp-content/uploads/2020/11/app-logo-std.png
Steven E2025-02-14 13:15:462025-08-06 10:54:11Ice maker vs. no ice maker in a refrigerator: Which is best?With nearly a decade of experience in providing top-notch customer service regarding appliance parts and repair, Steven enjoys sharing practical advice, troubleshooting tips, and interesting information to help readers stay informed.
Leave a Reply
Want to join the discussion?Feel free to contribute!