How to Clean a KitchenAid Stand Mixer After an Overflow
Steven E / Thursday September 4, 2025
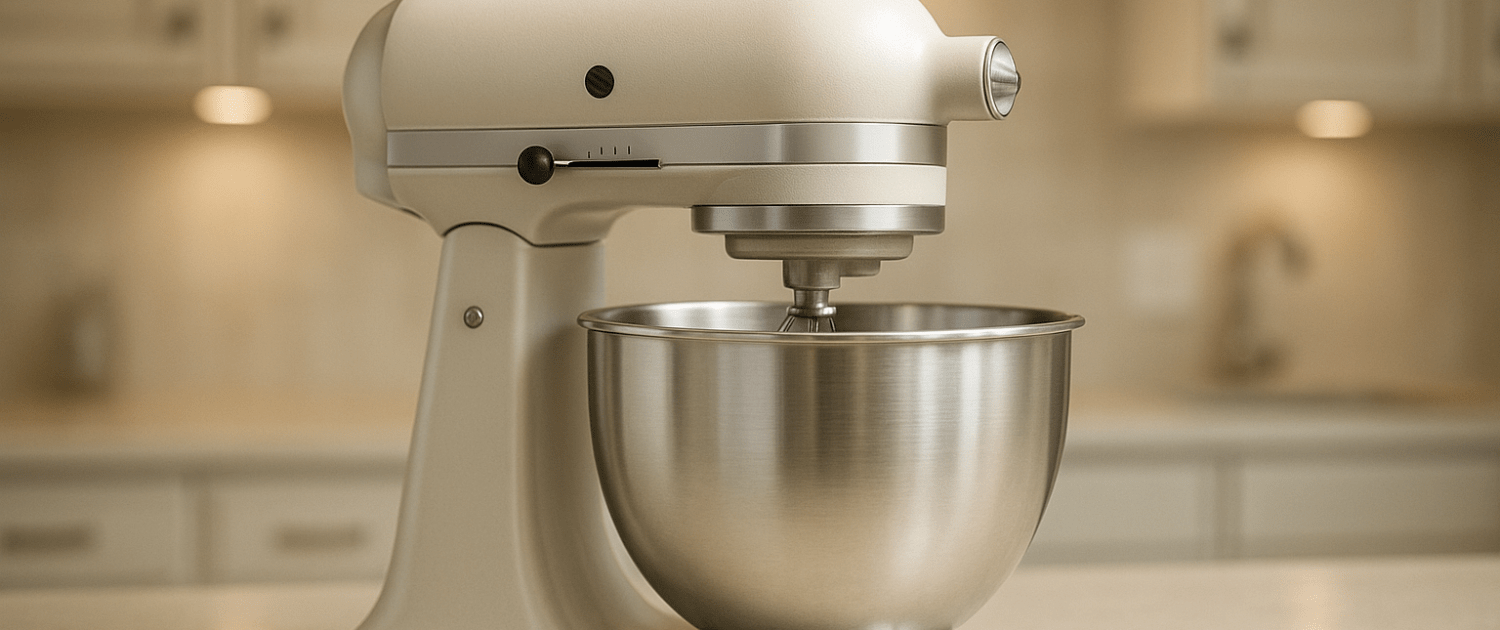
KitchenAid stand mixer overflows happen to careful bakers and pros alike. The good news: you can clean up quickly without damaging your mixer or turning your counter into a mess. We’ll walk you through the fastest way to get your mixer, bowl, and attachments sparkling again. Grab a couple of towels, a soft cloth, and a deep breath. In a few minutes, your mixer will look and run like nothing ever happened.
The First 60 Seconds
- Switch to off and unplug immediately. Safety first.
- Lift the head (tilt-head) or lower the bowl (bowl-lift) and remove the beater/whisk. Drop it into your sink.
- Scrape the bulk. Use a spatula or paper towels to scoop batter back into the bowl or trash.
- Contain the mess. Lay a dish towel around the base to catch drips.
When the crisis is contained, move to a careful cleanup.
What You’ll Need
- Soft microfiber cloths (a few)
- Paper towels or a flexible scraper
- Mild dish soap
- Warm water in a small bowl (not a sprayer)
- Cotton swabs or a soft pastry brush
- Toothpicks or plastic skewers (for seams and crevices)
- A small bowl of 50/50 water + white vinegar (for sugar crust and deodorizing)
- Optional: a dab of food-safe mineral oil for the beater shaft
- For stubborn stuck-on goo: baking soda paste (baking soda + a few drops of water)
Avoid: abrasive scouring pads, harsh cleaners, pressure sprayers, and letting water run into the head or vents.
Step-By-Step: The Thorough Clean
Disassemble the easy stuff

- Remove the bowl and set it in the sink.
- Remove the attachment (flat beater, dough hook, whisk).
- Take off the pouring shield/splash guard if you used one.
- Unscrew the hub cover knob (front power hub) and wipe around it if batter splashed that far. Reattach the cover after cleaning.
Dishwasher notes:
- Stainless bowls and most coated beaters/hooks are dishwasher-safe (top rack for small parts).
- Burnished/uncoated aluminum attachments (they look like raw metal) should be hand-washed and dried immediately to avoid dulling or gray residue.
- Wire whisks with a plastic/metal hub: many are top-rack safe, but check your model; hand-washing preserves the wires.
Clean the bowl and attachments
- Wash the bowl, beater/hook/whisk, and shield with hot, soapy water.
- For dried sugar or meringue cement, soak in warm water for 5–10 minutes or use a vinegar-damp cloth to soften.
- Rinse and dry thoroughly, especially the whisk wires and the underside of the beater hub.
Wipe the mixer head and base
- Dip a microfiber cloth in warm, soapy water; wring it out hard so it’s just damp.
- Wipe the head, neck, and base. Keep the cloth away from vents, speed control, and the seam where the head meets the gear housing.
- Follow with a second cloth dampened in clean water to remove soap film, then dry.
Stubborn sugar crust?
- Press a cloth soaked in 50/50 vinegar/water on the spot for 30–60 seconds, then wipe.
- For clingy bits, use a baking soda paste gently with your fingertip; rinse and dry.
Detail the crevices (this is where overflow hides)
Use cotton swabs or a soft pastry brush around:
- The planetary (the spinning part that holds the beater)
- The drip ring just above the planetary
- The attachment hub rim
- The speed control knob edges
- The bowl-lift arms (bowl-lift models)
- The hinge area (tilt-head) and the lock lever recess
If the batter snuck behind the decorative trim band (the metal band around the head), you can carefully loosen its single screw (usually at the back or side), lift the band off, clean, dry, and reinstall. Don’t over-tighten; snug is enough.
The planetary & drip ring
- Batter loves to cling under the drip ring and around the planetary hub. Wrap a damp cloth around your finger and rotate the planetary by hand to clean the underside and the “shoulders.”
- If your model’s drip ring is removable (many slide down with a gentle push), you can ease it off to wipe behind it. Dry fully and push it back until it seats evenly.
Under the base and the cord
- Tip the mixer slightly (keep it supported) and wipe under the base and around the rubber feet; overflows drip here and get sticky.
- Wipe the power cord with a soapy cloth, then a clean, damp cloth, and dry. Keep the plug dry.
- Wipe the exterior clean and let the mixer air-dry 24–48 hours in a warm, dry spot.
A Quick “Don’ts” List
- Don’t submerge the mixer head or let water pour into seams/vents.
- Don’t yank sticky batter off with scouring pads; soak/soften first.
- Don’t store attachments while still damp. Water spots and corrosion are party crashers.
- Don’t leave sugar messes to dry overnight; sugar turns to cement.
Preventing the Next Overflow
Respect capacity
Every model has limits, and they vary. As a general rule of thumb:
- Foamy mixes (whipped cream, egg whites): keep the bowl no more than halfway full when whipping starts, the volume will expand fast.
- Cakes & quick batters: don’t exceed roughly two-thirds of the bowl.
- For bread doughs: start smaller, especially with high-hydration doughs that “climb.”
When in doubt, split recipes into two batches. It’s faster than cleaning a geyser.
Start low, then go
Speed 1–2 is your friend for combining dry/wet ingredients. Once flour is hydrated (no dust cloud), step up gradually. Most overflows happen in the first 30 seconds because we get speed-happy.
Use the shield (or a towel)
The pouring shield isn’t just a chute; it tames splatter. If you don’t have one, drape a clean kitchen towel loosely over the top while mixing (keep the beater clear).
Add in stages
Pour liquids slowly along the side of the bowl. For powdered sugar or cocoa, add in thirds with a short mix between each.
Watch the whisk wires
If you’re using the wire whisk, keep mixtures at or below the midpoint of the wires before whipping. The whisk creates huge volume quickly, give it headroom.
Keep it centered and locked
- For tilt-head models, lock the head before mixing.
- Ensure the bowl is properly seated (twist-and-lock or snap-in). A loose bowl equals wobbles equals spills.
Pause and scrape
Stop the mixer once or twice to scrape down the bowl. This evens the mix and reduces the temptation to crank the speed to “pull things together.”
Troubleshooting After an Overflow
- Weird noise? Stop. Unplug. Remove the bowl and attachment; check for dried gunk around the planetary or shaft. Clean, dry, and test again at speed 1.
- Burning smell? It could be residue on the motor housing heating up, but if it persists after a full clean and a short test run, contact support.
- Stutter or hesitation? Batter might still be binding the planetary area. Re-clean behind the drip ring and around the shaft.
Where To Find Us
If you need any replacement parts for your appliances, you can enter your model number at AppliancePartsPros.com to locate and order them quickly. Most orders arrive in just two business days, and we have tons of great information in our repair help section and YouTube videos to help you troubleshoot.
Stay connected with the latest DIY tips, tutorial videos, and repair guides by following us on Facebook, Instagram, and Twitter. We love hearing about your repair stories and successes. If you need more help or want personalized guidance, feel free to contact or call us at 877-477-7278. We’re ready to help you take on your next project with confidence!
Since 1999, AppliancePartsPros.com has helped millions of people repair their broken appliances by providing high-quality original parts at well below retail prices, free support and troubleshooting, and award-winning customer service from an expert, friendly, US-based customer support team!
Looking for the right part? Enter your appliance model number below to find the exact match and get your appliance running like new again!
 https://www.appliancepartspros.com/b/wp-content/uploads/2025/09/20250709_1340_Modern-Kitchen-Setup_simple_compose_01jzr47f29eta8qkm70jtkda7v.png
1024
1536
Steven E
https://www.appliancepartspros.com/b/wp-content/uploads/2020/11/app-logo-std.png
Steven E2025-09-05 10:48:472025-09-05 10:48:54How to Clean KitchenAid Mixer Attachments Without Damaging Them
https://www.appliancepartspros.com/b/wp-content/uploads/2025/09/20250709_1340_Modern-Kitchen-Setup_simple_compose_01jzr47f29eta8qkm70jtkda7v.png
1024
1536
Steven E
https://www.appliancepartspros.com/b/wp-content/uploads/2020/11/app-logo-std.png
Steven E2025-09-05 10:48:472025-09-05 10:48:54How to Clean KitchenAid Mixer Attachments Without Damaging Them https://www.appliancepartspros.com/b/wp-content/uploads/2025/09/20250709_1340_Modern-Kitchen-Setup_simple_compose_01jzr47f2cenv9y2rk00bw2z7x.png
1024
1536
Steven E
https://www.appliancepartspros.com/b/wp-content/uploads/2020/11/app-logo-std.png
Steven E2025-09-05 10:44:172025-09-05 10:44:25Keep Your KitchenAid Stand Mixer Fresh: Daily Cleaning Guide
https://www.appliancepartspros.com/b/wp-content/uploads/2025/09/20250709_1340_Modern-Kitchen-Setup_simple_compose_01jzr47f2cenv9y2rk00bw2z7x.png
1024
1536
Steven E
https://www.appliancepartspros.com/b/wp-content/uploads/2020/11/app-logo-std.png
Steven E2025-09-05 10:44:172025-09-05 10:44:25Keep Your KitchenAid Stand Mixer Fresh: Daily Cleaning Guide https://www.appliancepartspros.com/b/wp-content/uploads/2025/09/20250709_1336_Luxury-Kitchen-Baking-Scene_simple_compose_01jzr40p6pe09bgx9cmjyb2agj.png
1024
1536
Steven E
https://www.appliancepartspros.com/b/wp-content/uploads/2020/11/app-logo-std.png
Steven E2025-09-05 08:53:312025-09-05 08:53:41KitchenAid Stand Mixers: Classic vs. Digital Comparison
https://www.appliancepartspros.com/b/wp-content/uploads/2025/09/20250709_1336_Luxury-Kitchen-Baking-Scene_simple_compose_01jzr40p6pe09bgx9cmjyb2agj.png
1024
1536
Steven E
https://www.appliancepartspros.com/b/wp-content/uploads/2020/11/app-logo-std.png
Steven E2025-09-05 08:53:312025-09-05 08:53:41KitchenAid Stand Mixers: Classic vs. Digital ComparisonWith nearly a decade of experience in providing top-notch customer service regarding appliance parts and repair, Steven enjoys sharing practical advice, troubleshooting tips, and interesting information to help readers stay informed.
Leave a Reply
Want to join the discussion?Feel free to contribute!