How to clean a snow blower carburetor like a pro
Steven E / Thursday February 20, 2025
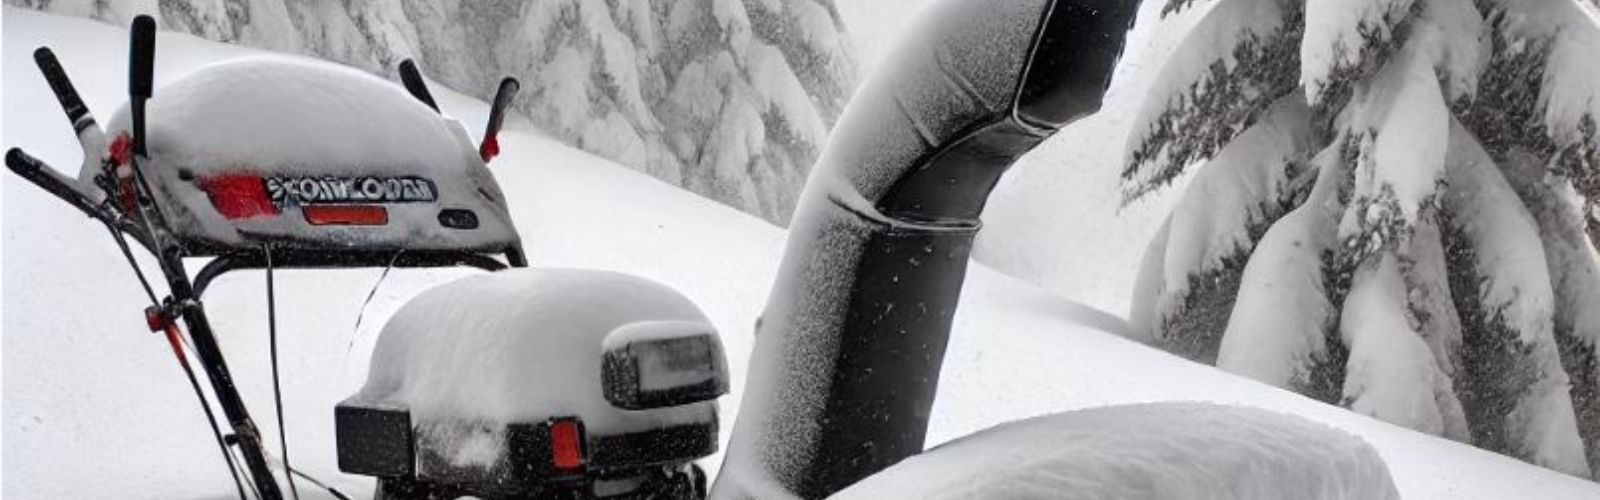
When the snow is piling up, the last thing you need is a snow blower that sputters or refuses to start. A clogged carburetor is often the culprit, but don’t worry, cleaning it isn’t as daunting as it sounds. With a bit of effort and the right steps, you can restore your snow blower to its best shape.
Heads up: The advice in this guide covers common solutions, but snow blower models can vary. Some machines may have unique error codes, part configurations, or troubleshooting steps. For the most accurate guidance, always check your owner’s manual or reach out to us if you have questions.
Why clean the carburetor?
The carburetor is essential to your snow blower’s performance, combining air and fuel to keep the engine running smoothly. Over time, things like old fuel, debris, and varnish can build up and clog the carburetor, causing poor performance, trouble starting, or even stalling. Giving it a regular cleaning ensures your engine runs efficiently and helps your snow blower last longer.
How to tell if your carburetor needs attention
Before diving into repairs, confirm that your carburetor is the culprit. Look for these common signs:

- Difficulty starting the engine.
- Sluggish performance or jerky operation.
- Excessive fuel consumption.
- Black smoke from the exhaust.
If any of these sound familiar, it’s time to roll up your sleeves and clean the carburetor.
Read more: Snowblower chute won’t turn: A troubleshooting guide
What you’ll need
Gather these tools and materials before starting:
- Carburetor cleaner spray.
- Compressed air or a thin wire for cleaning small openings.
- Screwdrivers (flathead and Phillips).
- Wrenches or a socket set.
- Safety gear: gloves and goggles.
- Your snow blower’s manual for reference.
Pro tip: Not sure about specific parts? Locate your model number to ensure you get the right information and replacement parts if needed. You can learn how to find your appliance’s model number here.
Read more: How to replace a snow blower auger belt
Safety precautions
When working on any appliance, remember to keep safety first. Here are some tips to keep in mind:
- If working indoors, make sure there is adequate ventilation to prevent the buildup of exhaust fumes. Carbon monoxide poisoning can be a serious risk.
- Wear insulated work gloves to protect your hands from sharp metal parts, pinching hazards and debris.
- Never attempt to service or repair while it is running or when the engine is still warm. Wait for all moving parts to come to a complete stop.
- Exercise extreme caution when working near blades, augers, or any other moving parts. Keep your hands, fingers, and clothing clear of these areas at all times.
- If the appliance has recently been used, give it plenty of time for any hot parts to cool down before working on it.
- Empty the gas tank before beginning any work. Refill using fresh fuel.
- When working with wires, avoid touching any exposed wires or terminals. If you need to touch a wire, use a non-conductive tool or wear insulating gloves to prevent electrical shock.
- Take your time and don’t rush while working to prevent accidents and personal injuries.
- Work in a well-lit area so you can clearly see and access the interior parts.
- Clear your workspace of clutter and other obstacles. Keep children and pets away from the work area.
- Be gentle when handling or removing parts. Excessive force might damage the appliance or cause injury.
- Wear safety glasses when working with chemicals, dust or cleaning large debris to prevent injury.
- When not in use, store the machine in a safe and dry location.
Steps to clean the carburetor
Access the carburetor
The carburetor’s location may vary by model. Follow these steps:
- Remove the housing cover with a screwdriver to expose the engine components.
- Locate the carburetor near the fuel tank and air filter.
- Consult your manual if you’re unsure.
Clean the carburetor
- Remove the carburetor bowl. Place a container beneath it to catch any fuel. Unscrew the bolt holding the bowl and gently take it off.
- Inspect the bowl. Look for debris, varnish, or water. Wipe it clean with a cloth.
- Apply carburetor cleaner to all visible parts, focusing on small openings and jets.
- Use compressed air or a thin wire to unclog the jets and passages.
- For heavy buildup, remove the carburetor entirely and soak it in cleaner. Dry thoroughly before reassembly.
Reassembly
- Reattach the bowl, ensuring the gasket is intact. Replace it if necessary.
- Reconnect any linkages and springs to their original positions.
- Replace the housing cover and screws.
- Reconnect the spark plug wire securely.
Read more: Snow blower won’t shift: A troubleshooting guide
Keep your snow blower in top form
By following these steps, you’re well on your way to being your own snow blower mechanic. A clean carburetor not only makes your machine run better but also saves you money on repairs down the line. Remember, a little maintenance goes a long way toward keeping your equipment reliable season after season.
Need parts or a bit more guidance? We’re here to help at AppliancePartsPros.com. With our huge inventory and expert advice, tackling DIY repairs is easier than you think.
Stay in the loop with more tips and updates. Follow us on Facebook and Twitter for the latest in appliance care and maintenance.
Got questions or need a hand? Don’t hesitate to reach out to our friendly team. We’re all about helping you keep your appliances running smoothly.
With nearly a decade of experience in providing top-notch customer service regarding appliance parts and repair, Steven enjoys sharing practical advice, troubleshooting tips, and interesting information to help readers stay informed.