How to Fix Water Leaks in Your Upright Freezer
Steven E / Wednesday April 9, 2025
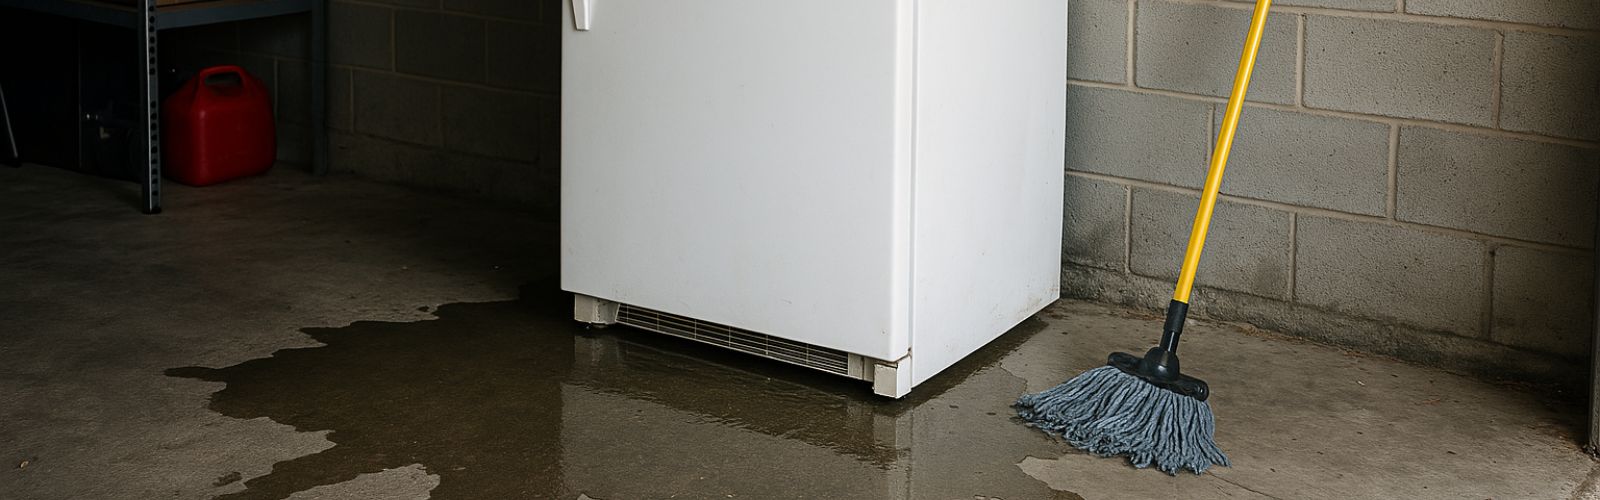
Seeing water pooling under or around your freezer can be a real annoyance. Don’t worry; many leaking issues have simple, fixable causes. We’ll walk you through nine common reasons behind a leaking freezer and provide steps to help you resolve these issues on your own.
Clogged Defrost Drain
Most modern freezers use an automatic defrost cycle that melts frost buildup. The water produced flows through a small drain tube to a drain pan underneath for evaporation. Over time, food particles, debris, or even ice buildup can clog this drain. When the passage is blocked, water backs up and may leak inside the compartment or collect at the base of your appliance.
- Unplug the Freezer: Always disconnect the power before you begin any repair work. Safety comes first when working near electrical components and water.
- Access the Drain: Open your freezer and locate the drain hole. Often, this is found at the back or the bottom of the compartment. You might need to remove shelves or interior panels to get a proper look.
- Flush the Drain: Fill a turkey baster with warm water and gently release the water into the drain. This helps dissolve any grease, food particles, or ice that may be clogging it. Alternatively, a flexible tool such as a pipe cleaner or a specialized drain snake can be used carefully to dislodge debris without puncturing or damaging the drain tube.
- Defrost as Needed: If you suspect the drain is iced over, unplug your freezer and allow it to defrost fully (24–48 hours with the door open). Once thawed, flush the drain with warm water to ensure proper flow.
- Test the Flow: Plug your freezer back in and observe a defrost cycle to confirm that water is flowing correctly into the drain pan.
Cracked or Overflowing Drain Pan
Underneath your freezer, a drain pan catches water from the defrost cycle so it can evaporate. Over time, exposure to heat or prolonged use may cause the pan to crack. In addition, if your freezer produces more water than the pan can handle due to a clogged drain or excessive frost, the pan may overflow, leading to leaks.
- Locate the Drain Pan: The pan is typically found near the compressor area or at the back of the appliance.
- Inspect the Pan: Carefully slide the pan out and look for visible cracks or damage. Also, check if the pan is simply overflowing with water.
- Clean or Replace: If the pan is cleanable but just overloaded, empty the water and clean the area. However, if you see any clearly visible cracks, it’s best to order a replacement from our parts.
- Manage the Overflow: Once cleaned and, if necessary, replaced, make sure that the defrost cycle isn’t producing excessive water. Check other parts, like the drain tube and door seals, to prevent future overflow.
Poor Door Seal (Gasket)
The door gasket plays a crucial role in keeping warm, humid air out of your freezer. When the gasket becomes worn or dirty or develops small rips, warm air can infiltrate. This causes extra frost buildup inside, which in turn melts during the defrost cycle and overwhelms the drainage system.

- Examine the Gasket: Open your freezer door and inspect the rubber gasket for cracks, tears, or areas that appear stiff or misshapen. A simple test is to place a dollar bill between the gasket and the freezer; if it slips out too easily, your seal isn’t tight enough.
- Clean the Seal: Use warm, soapy water and a soft cloth to clean the gasket. This removes any food residue and debris that may affect its performance.
- Replace If Necessary: If cleaning does not help or the gasket is visibly damaged, it’s time to replace it.
- Test the Seal: After cleaning or replacing the gasket, test the seal by closing the door on a flat object (like a dollar bill) to confirm it holds securely.
Improper Leveling
A properly leveled freezer ensures that water flows toward the designated drain during the defrost cycle. Freezers are designed to sit level from side to side and to have a slight tilt backward. If your freezer tilts forward or isn’t level, water may pool at the front and eventually leak out when you open the door or during defrost.
- Check with a Level: Place a level on top of your freezer to verify that it is even. A level reading helps you determine if any adjustments are required.
- Adjust the Feet: Most freezers have adjustable leveling legs. Follow your manufacturer’s instructions to adjust the front legs or rollers so the back sits slightly higher than the front, usually by 1/4 to 1/2 inch.
- Tighten and Secure: Once you have the correct tilt, ensure the leveling feet are securely tightened. This prevents the freezer from shifting over time.
- Run a Test Cycle: Perform a short defrost cycle and check that water now consistently flows to the drain pan rather than collecting at the front.
External Condensation
Sometimes what appears to be a leak is actually condensation forming on the exterior of your freezer. In humid environments, moisture in the air can condense on the cold surfaces of your freezer, especially around door seals or near the hinges. This isn’t a leak from the internal systems, but it can be mistaken for one.
- Examine Door Seals: Check the freezer door’s gasket to ensure it is sealed tightly and remains free from dirt or damage that could promote condensation.
- Utilize Built-In Features: Some freezers are equipped with an energy saver or humidity control switch. Make sure any door heaters or de-icing features are turned on to help prevent condensation buildup.
- Control Ambient Humidity: If the room is exceptionally humid, consider using a dehumidifier to reduce the moisture level in the air.
- Monitor Changes: After adjusting the door seals and room humidity, observe the exterior of your freezer over several days to ensure that condensation has been minimized.
Where To Get More Help
Keeping your stove in top shape is easier when you have the right information and genuine replacement parts on hand. If you need any replacement parts for your appliances, you can enter your model number at AppliancePartsPros.com to locate and order them quickly. Most orders arrive in just two business days, and we have tons of great information in our repair help section and YouTube videos to help you troubleshoot.
Stay connected with the latest DIY tips, tutorial videos, and repair guides by following us on Facebook, Instagram, and Twitter. We love hearing about your repair stories and successes. If you need more help or want personalized guidance, feel free to reach out. We’re ready to help you take on your next project with confidence. Happy repairing, and thank you for trusting AppliancePartsPros.com as your go-to resource for parts and repair help!
The information in this article may not apply to your specific appliance model. We recommend consulting your manufacturer’s documentation or contact us with any questions.
Keep Reading:
Why Is My Refrigerator Leaking Brown Liquid? Here’s How to Fix It
With nearly a decade of experience in providing top-notch customer service regarding appliance parts and repair, Steven enjoys sharing practical advice, troubleshooting tips, and interesting information to help readers stay informed.