How to Install a Range Hood: A Step-by-Step DIY Guide
Steven E / Tuesday April 15, 2025
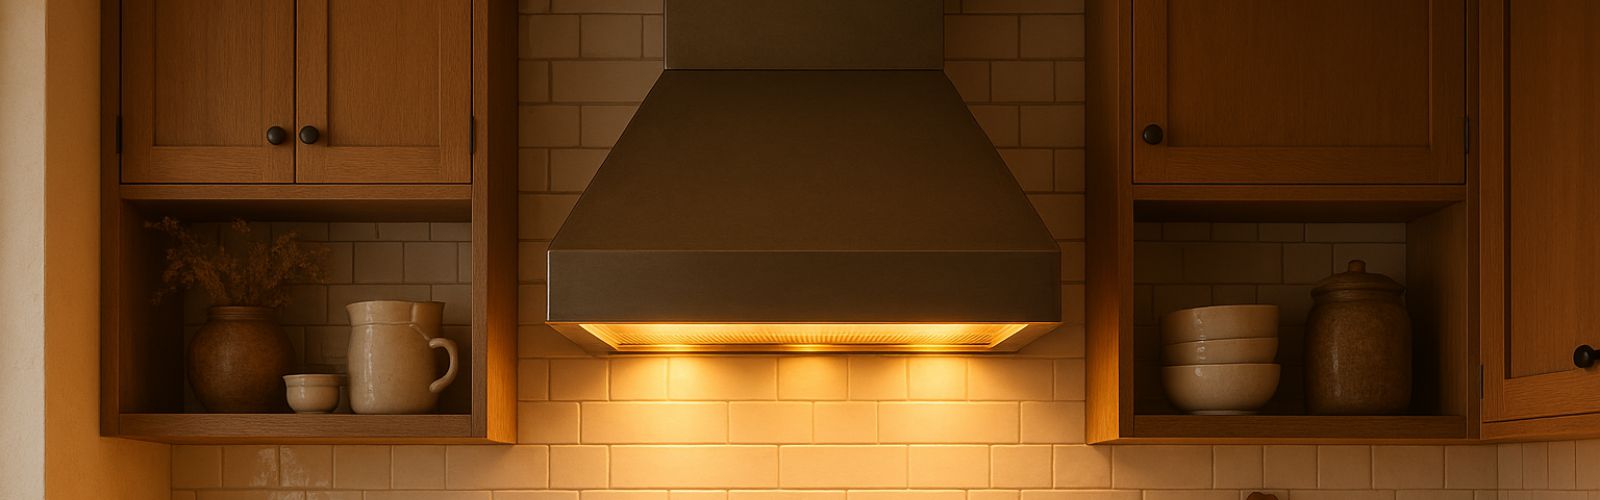
Installing a range hood might sound like a job best left to the pros, but if you’ve got basic tools, a free weekend, and a little patience, it’s totally doable. Whether you’re replacing an old hood or putting one in for the first time, this guide will walk you through how to install a range hood the safe and easy way.
By the end, you’ll be ready to enjoy cleaner air, fewer cooking smells, and a kitchen that feels just a little more like your own.
Why You Need a Range Hood (If You Don’t Have One Yet)
Before we dive into tools and wiring, let’s talk about why range hoods matter. A range hood is more than just a fancy fan above your stove, it’s your kitchen’s first line of defense against:
- Smoke and steam
- Grease particles floating through the air
- Lingering food odors
- Heat buildup while cooking
A good range hood keeps your kitchen fresher, protects your walls and cabinets from grease, and even helps with lighting if it includes built-in lamps.

If you’re cooking on a regular basis, a range hood is 100% worth the upgrade.
Types of Range Hoods
Before installation, you need to know what kind of range hood you’re dealing with. Here are the most common types:
- Under-Cabinet Range Hood: This is mounted under a cabinet directly above your stove.
- Wall-Mounted Chimney Hood: Installed directly on the wall, often with a decorative chimney.
- Island Range Hood: Hangs from the ceiling over an island cooktop. A bit more advanced for DIY, but still possible.
- Ducted vs. Ductless: Ducted range hoods vent air outside. Ductless models filter air and recirculate it back into the kitchen.
Note: This guide focuses on installing a ducted under-cabinet range hood, which is one of the most common DIY setups. If you’re installing a wall-mount or island hood, many of the same principles apply, but you may need additional bracing or ductwork.
Tools and Materials You’ll Need
Here’s your installation checklist. Gather everything before you start, it makes the whole process smoother.
Tools:
- Drill/driver
- Screwdrivers (flathead and Phillips)
- Measuring tape
- Level
- Pencil or marker
- Wire strippers
- Stud finder
- Utility knife or drywall saw
- Safety goggles
- Gloves
Materials:
- Your new range hood
- Mounting screws (usually included)
- Metal ducting (if not already in place)
- Electrical wire nuts or connectors
- Foil tape or duct tape
- Wall anchors (if needed)
- Power cord (direct wire or plug-in)
Step-by-Step: How to Install a Range Hood
Step 1: Turn Off Power
First things first, turn off the power to the area where you’ll be working. This usually means flipping the breaker for your kitchen. Use a voltage tester to confirm the wires are dead before touching anything.
Safety is non-negotiable.
Step 2: Remove the Old Hood (if applicable)
If you’re replacing an old unit:
- Disconnect the power (usually a hardwire connection).
- Remove screws holding the hood to the cabinet or wall.
- Carefully pull the hood down, supporting its weight.
- Disconnect ductwork (if present) and cap wires with wire nuts.
Clean the area so you’re working with a fresh surface.
Step 3: Measure and Mark for Installation
Use your measuring tape to figure out the right height:
- For electric ranges, most range hoods should sit 20 to 24 inches above the cooktop.
- For gas ranges, the height should be 24 to 30 inches (check your manufacturer’s recommendations).
Use your level and pencil to mark:
- The center of the cooktop on the underside of the cabinet
- Screw hole positions
- The cutout area for the duct and/or electrical wiring (if not already there)
Double-check everything before cutting!
Step 4: Cut Openings for Duct and Wiring
If this is a first-time install or you’re changing duct locations:
- Use a drywall saw or utility knife to cut an opening for the ductwork (usually 3.25″ x 10″ or 6″ round).
- If hardwiring, cut a small hole for your power cable to pass through the back or top of the hood area.
Pro tip: Always wear safety goggles when cutting through cabinets or drywall.
Step 5: Attach the Ductwork
If you’re installing a ducted hood, now’s the time to:
- Secure your ductwork (horizontal or vertical) depending on your vent path.
- Use metal tape to seal all joints, regular duct tape won’t hold up over time.
- Make sure your duct leads outside (through the wall or ceiling) and includes a vent cap with a backdraft damper.
If you’re installing a ductless model, insert the charcoal filter inside the hood as instructed.
Step 6: Make Electrical Connections
Most hoods are hardwired, though some plug into an outlet. If yours is a hardwire model:
- Pull the electrical cable through the knockout hole in the hood.
- Match wire colors: black to black (hot), white to white (neutral), and green or bare copper to green screw (ground).
- Twist wire connectors on securely and tuck the wires safely into the wiring compartment.
Important: If you’re not confident working with electrical wiring, it’s okay to call in a licensed electrician for this step.
Step 7: Mount the Range Hood
With wiring and ductwork in place, it’s time to hang your new hood.
- Align the hood with the pre-marked screw holes.
- Have a helper hold the unit in place or use a temporary wood block to prop it up.
- Insert screws into the mounting points through the cabinet or wall and tighten securely.
- Make sure the unit is level before fully tightening.
Some models have brackets or slots to help you hang it before securing the final screws.
Step 8: Final Setup and Test
- Turn the power back on at the breaker.
- Turn on the hood’s fan and lights to test functionality.
- Check for air leaks at the duct joints and listen for odd noises.
- Confirm air is venting outside (if ducted) or recirculating properly (if ductless).
If everything looks good, congrats, you just installed a range hood!
When to Call a Pro
DIY installation is great, but some situations are better left to the pros, such as:
- Installing ductwork through walls or ceilings for the first time
- Hardwiring into complex electrical systems
- High-end or oversized hoods that require custom bracing
- Homes with existing code violations or questionable wiring
Final Thoughts and Where To Find Us
Installing a range hood is one of those home improvement projects that’s both totally manageable and super rewarding. In just a few hours, you can transform the look and feel of your kitchen while making it a cleaner, healthier space to cook and live in.
If you need any replacement parts for your appliances, you can enter your model number at AppliancePartsPros.com to locate and order them quickly. Most orders arrive in just two business days, and we have tons of great information in our repair help section and YouTube videos to help you troubleshoot.
Stay connected with the latest DIY tips, tutorial videos, and repair guides by following us on Facebook, Instagram, and Twitter. We love hearing about your repair stories and successes. If you need more help or want personalized guidance, feel free to reach out. We’re ready to help you take on your next project with confidence!
The information in this article may not apply to your specific appliance model. We recommend consulting your manufacturer’s documentation or contact us with any questions.
 https://www.appliancepartspros.com/b/wp-content/uploads/2025/05/20250408_1337_Cozy-Glowing-Kitchen_simple_compose_01jrb7n2fcean9e5h49djpvx2x.png
1024
1536
Steven E
https://www.appliancepartspros.com/b/wp-content/uploads/2020/11/app-logo-std.png
Steven E2025-05-07 12:05:252025-05-07 12:05:34Why Your Range Hood Fan Turns On by Itself and How to Fix It
https://www.appliancepartspros.com/b/wp-content/uploads/2025/05/20250408_1337_Cozy-Glowing-Kitchen_simple_compose_01jrb7n2fcean9e5h49djpvx2x.png
1024
1536
Steven E
https://www.appliancepartspros.com/b/wp-content/uploads/2020/11/app-logo-std.png
Steven E2025-05-07 12:05:252025-05-07 12:05:34Why Your Range Hood Fan Turns On by Itself and How to Fix It https://www.appliancepartspros.com/b/wp-content/uploads/2025/04/APP-blog-square-138.jpg
1080
1080
Steven E
https://www.appliancepartspros.com/b/wp-content/uploads/2020/11/app-logo-std.png
Steven E2025-04-22 06:12:072025-04-22 06:12:16Differences between ducted and ductless range hoods
https://www.appliancepartspros.com/b/wp-content/uploads/2025/04/APP-blog-square-138.jpg
1080
1080
Steven E
https://www.appliancepartspros.com/b/wp-content/uploads/2020/11/app-logo-std.png
Steven E2025-04-22 06:12:072025-04-22 06:12:16Differences between ducted and ductless range hoods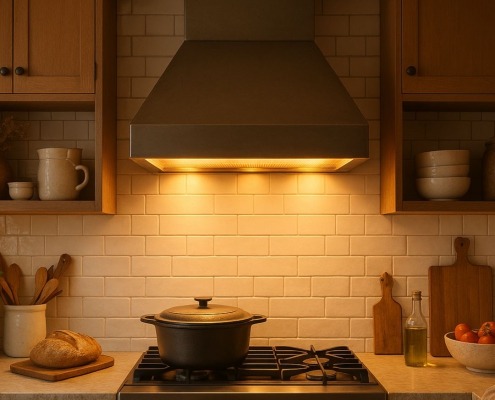 https://www.appliancepartspros.com/b/wp-content/uploads/2025/04/APP-blog-square-92.jpg
1080
1080
Steven E
https://www.appliancepartspros.com/b/wp-content/uploads/2020/11/app-logo-std.png
Steven E2025-04-15 13:18:302025-04-15 13:18:41How to Install a Range Hood: A Step-by-Step DIY Guide
https://www.appliancepartspros.com/b/wp-content/uploads/2025/04/APP-blog-square-92.jpg
1080
1080
Steven E
https://www.appliancepartspros.com/b/wp-content/uploads/2020/11/app-logo-std.png
Steven E2025-04-15 13:18:302025-04-15 13:18:41How to Install a Range Hood: A Step-by-Step DIY GuideWith nearly a decade of experience in providing top-notch customer service regarding appliance parts and repair, Steven enjoys sharing practical advice, troubleshooting tips, and interesting information to help readers stay informed.