How to keep your garage Frigidaire/Electrolux refrigerator running with heater kit 5303918301
Samantha Bullington / Tuesday January 9, 2024
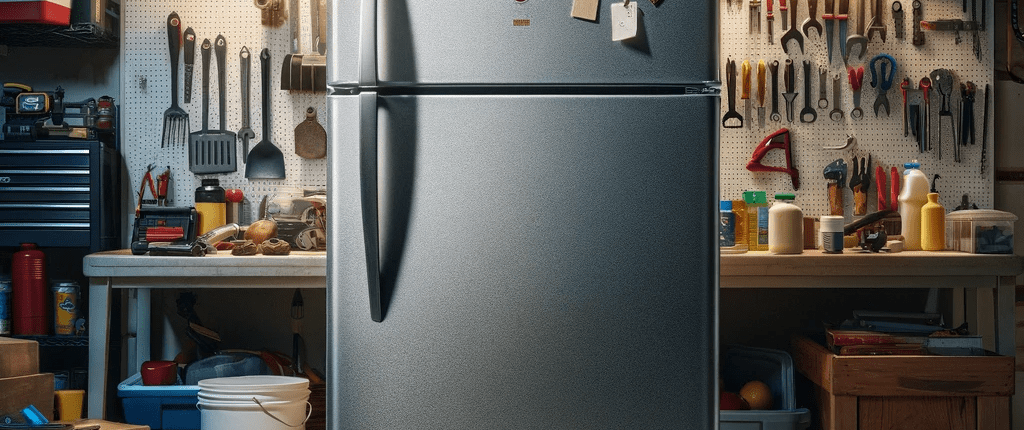
It may sound counterintuitive, but regular refrigerators aren’t designed to function in temperatures much below room temperature. If you live in a climate with very cold winters, it can be a challenge to maintain a refrigerator in your garage.
But before you give up on having that handy extra fridge space, installing a refrigerator garage heater kit could be the solution. You can find heater kit 5303918301 for your Frigidaire/Electrolux fridge here.
NOTE: The Frigidaire refrigerator garage heater kit 5303918301 is only designed for Frigidaire top freezer models and will NOT work on units manufactured before 2001 or units that have electronic control boards. Your unit must also have a defrost timer and cold control for the heater kit to work.
If you need a replacement part for your refrigerator, you can use your model number to find what you need at AppliancePartsPros.com. We also have thousands of free DIY troubleshooting and repair guides to help you fix your appliance yourself.

Disclaimer: The information provided in this article is based on general service manuals and may not apply to your specific appliance model. While we strive to offer helpful advice for DIY appliance repairs, variations in models and configurations can lead to differences in troubleshooting steps, error codes, and part replacements. For the most accurate guidance, we strongly recommend consulting the instruction sheet for your part.
READ MORE: How To Clean Refrigerator Coils
What is a refrigerator garage heater kit?
A garage heater kit for your refrigerator is an accessory that keeps your fridge working correctly in unheated spaces like garages. It includes a heating unit that you can install inside the fridge, near the thermostat.
In a way, the heater tricks the fridge into turning on its compressor, even when it’s very cold. It does this by warming up the area right around the fridge’s internal thermostat. That way the thermostat thinks the fridge is warmer than it is.
Do I need a garage refrigerator heater kit?
A garage heater kit can be extremely useful for keeping a refrigerator working properly if:
- You live in an area with cold winter temperatures that frequently drop below 45°F. Temperatures this low could cause cooling issues in the fridge.
- You need extra fridge space and want to use a second unit in your garage.
- You’ve noticed your garage refrigerator is freezing items or struggling to maintain a consistent internal temperature.
If your garage stays warmer most of the year, you may only need to use the heater kit during the coldest winter months.
Consider the following benefits of adding a garage refrigerator heater kit:
- It allows you to keep using a second refrigerator in cold spaces where it normally wouldn’t function well.
- You avoid losing perishable food items due to inconsistent temperatures and freezing.
- The relatively low-cost kit prevents you from replacing the refrigerator or moving it to another location.
READ MORE: A Complete Guide to Refrigerator Organization
Limitations of heater kits
While refrigerator garage heater kits work extremely well for the right applications and fridges, there are some limitations to them:
- They only work on units with mechanical thermostats. Electronic temperature sensors won’t interface properly with these simple heating units.
- The fridge will need to run more frequently in cold weather despite having the heating kit. This may lead to increased energy consumption compared to a fridge without the accessory.
- The compressor and other systems could wear out a little faster from increased cycling during winter. However, the heater kit prevents the interior from extreme freezing temperatures, which is most damaging to components.
While garage refrigerator heaters aren’t some kind of “magic fix” that makes the fridge completely immune to cold temperatures, they can improve its function enough to make it worth installing.
READ MORE: How To Deep Clean Your Refrigerator
How to install garage heater kit 5303918301
What you need
- 1/4-inch nut driver
- Phillips screwdriver
- Garage heater kit 5303918301
Keep safety first
When working on any appliance, always keep safety first to avoid personal injury or damage to the appliance or parts. Here are some safety tips to keep in mind:
- Always power off and unplug your fridge or switch off the circuit breaker before attempting any maintenance or replacement work. This keeps you safe by preventing any risk of electric shock.
- If the fridge has recently been used, give it plenty of time to cool down before working on it.
- Take your time and don’t rush while working to prevent accidents and personal injuries.
- Work in a well-lit area so you can clearly see and access appliance parts.
- Keep your workspace free of clutter and other obstacles. Keep children and pets away from the work area.
- Never work on internal parts with wet hands. Make sure the work area is completely dry.
- Check the user manual to see if there are specific installation or safety instructions related to your fridge or replacement part.
- Be gentle when handling or removing parts. Excessive force might damage the fridge or cause personal injury.
- Wear insulated work gloves to protect your hands from sharp metal parts and debris.
- When working with wires, avoid touching any exposed wires or terminals. If you need to touch a wire, use a non-conductive tool or wear insulating gloves to prevent electrical shock.
- Consider wearing safety glasses and/or a dust mask when working with chemicals, dust, or a large amount of debris to prevent irritation or injury.
READ MORE: What Temperature Should A Refrigerator Be Set To?
Installation steps
- Unplug the refrigerator.
- Use the 1/4-inch nut driver to remove the four screws holding the control box to the cabinet.
- Unplug the connector so you can remove the control housing from the unit.
- Use the Phillips screwdriver to remove the two screws holding the defrost timer to the control box.
- Pull back the defrost timer and bend the heater into a U shape.
- Peel off the paper backing from the heater.
- Align the heater holes with the defrost timer mounting pegs.
- Place the heater against the control box and press down over the entire surface of the heater.
- Set the defrost timer back into position and screw it in place.
- Unplug the two leads from the cold control.
- Plug the orange lead into the orange lead and reconnect it to the cold control.
- Plug the black lead into the black lead and reconnect it to the cold control.
- Put the connector back in place and reinstall the control box.
- Plug the refrigerator back into the outlet.
- Give the refrigerator a few hours to make sure it’s working properly and maintaining the desired temperature.
Keep in mind that the heater kit is designed to operate with the freezer and fresh food compartments set to the mid-way position, so you may need to adjust the fridge.
The heater kit will constantly operate at a very low heat to allow the defrost control and cold control to operate as they would in a controlled climate. The heater doesn’t need to be removed once it’s installed, even in warmer settings.
READ MORE: 4 Simple Ways to Reduce Kitchen Waste
More information
Thank you for reading! We hope this guide helped you get your refrigerator working again.
If you have any other appliance repair needs or projects, don’t hesitate to explore our other troubleshooting guides and videos.
If you need replacement parts or some extra help with ordering them, grab your model number and head over to AppliancePartsPros.com, where you can chat with a pro, read our DIY blog, and more.
Be sure to subscribe to us on YouTube and follow us on Facebook, Twitter, and Instagram!
Hey there, I’m Samantha and I’m super excited to be a part of the Appliance Parts Pros team! With 9 years of experience, I’ve had the awesome opportunity to assist countless customers in troubleshooting their home appliances and finding DIY repair solutions.