How to replace a leaf blower fuel line in 5 easy steps
Steven E / Friday March 14, 2025
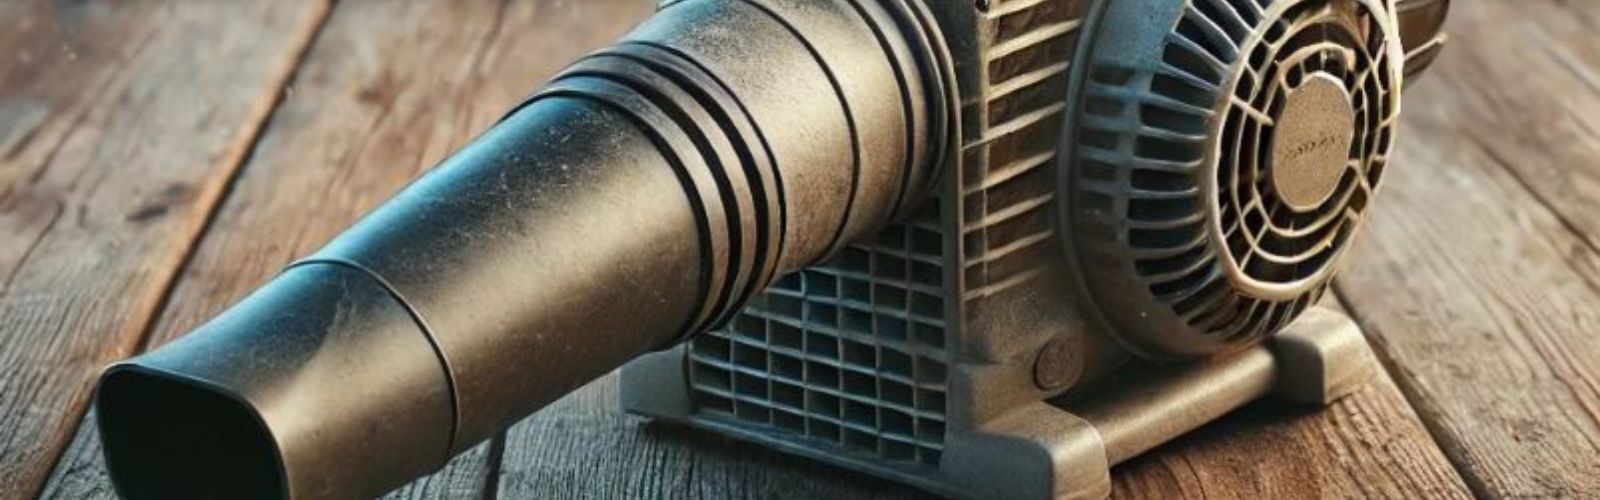
Having trouble getting your leaf blower to start or keep running? It might just be a busted or clogged fuel line. Swapping out the fuel line yourself is pretty straightforward and can get your leaf blower back in action without those hefty repair bills. In this guide, we’ll walk you through how to replace a leaf blower fuel line in five simple steps.
Quick note: The info we’re sharing might not perfectly match your specific leaf blower model. While we’re aiming to help with all kinds of DIY repairs, different models can have variations in steps, parts, and so on. For the most accurate guidance, it’s best to check your manufacturer’s documentation or reach out to us if you’ve got any questions.
Safety precautions
When working on any appliance, remember to keep safety first. Here are some tips to keep in mind:
- If working indoors, make sure there is adequate ventilation to prevent the buildup of exhaust fumes. Carbon monoxide poisoning can be a serious risk.
- Wear insulated work gloves to protect your hands from sharp metal parts, pinching hazards and debris.
- Never attempt to service or repair while it is running or when the engine is still warm. Wait for all moving parts to come to a complete stop.
- Exercise extreme caution when working near blades, augers, or any other moving parts. Keep your hands, fingers, and clothing clear of these areas at all times.
- If the appliance has recently been used, give it plenty of time for any hot parts to cool down before working on it.
- Empty the gas tank before beginning any work. Refill using fresh fuel.
- When working with wires, avoid touching any exposed wires or terminals. If you need to touch a wire, use a non-conductive tool or wear insulating gloves to prevent electrical shock.
- Take your time and don’t rush while working to prevent accidents and personal injuries.
- Work in a well-lit area so you can clearly see and access the interior parts.
- Clear your workspace of clutter and other obstacles. Keep children and pets away from the work area.
- Be gentle when handling or removing parts. Excessive force might damage the appliance or cause injury.
- Wear safety glasses when working with chemicals, dust or cleaning large debris to prevent injury.
- When not in use, store the machine in a safe and dry location.
Read more: The Ultimate Guide to Leaf-Blowing

Step 1: Drain the fuel tank
First things first, safety is key. You’ll want to empty all the fuel from the gas tank:
- Grab a suitable container to catch the fuel. This way, you prevent spills and can reuse the fuel if it’s still good.
- Take off the fuel cap and carefully pour the fuel into your container. Tilt the leaf blower to make sure you get every last drop.
- Store or dispose of the fuel properly, following your local regulations.
Draining the fuel helps avoid spills and reduces the chance of leaks while you’re working on the repair.
Step 2: Take out the old fuel lines
With the tank empty, you can safely remove the old fuel lines:
- Access the carburetor: You might need to remove the air filter cover or other parts to reach it. Check your leaf blower’s manual if you’re unsure.
- Disconnect the fuel lines from the carburetor. Gently pull them off the ports, being careful not to damage the carburetor fittings.
- Remove the lines from the tank: Carefully pull the fuel lines out through the tank openings. If needed, use needle-nose pliers to grip them, but watch out for any pieces falling into the tank.
- Retrieve the fuel filter: Use a hooked wire to pull the fuel filter out through the fuel tank opening if it’s still inside.
Give the old fuel lines a once-over for cracks, stiffness, or blockages. Spotting damage early can save you from fuel issues later on.
Read more: Troubleshooting and Fixing a Leaf Blower that Won’t Start
Step 3: Put in the new fuel lines
Time to install the new fuel lines:
- Prepare the new fuel lines: Cut them to the right length, usually matching the old ones.
- Taper one end of each line by cutting it at an angle. This makes it easier to thread through the small holes in the fuel tank.
- Insert the fuel lines into the tank: Push the tapered end of the first line through the correct hole in the tank. Feed about 5-6 inches into the tank.
- Fish the line out through the filler neck: Use a piece of wire shaped like a hook to pull the fuel line out through the fuel tank opening.
- Attach the fuel filter: Snip off the tapered end of the line, then connect the fuel filter to this end. The filter ensures clean fuel gets to the carburetor.
- Pull the line back into the tank: Gently pull the fuel line until the fuel filter rests at the bottom of the tank.
- Repeat for the return line: Install the second fuel line following the same steps, but this one doesn’t need a filter.
If you’re not sure about the right parts or tools, check out our guide on how to find your appliance’s model number to make sure you get the correct components.
Step 4: Hook up the fuel lines to the carburetor
Connecting the fuel lines to the carburetor is crucial for proper fuel flow:
- Identify the carburetor ports: Typically, the fuel-inlet port is marked or slightly larger. If you’re unsure, consult your manual.
- Taper the ends if needed: If the lines are tough to attach, cut a small angle on the ends to help them slide onto the ports.
- Fuel line with filter: Attach this line to the carburetor’s fuel-inlet port, the one that pulls fuel from the tank.
- Return line: Connect the other line to the fuel-return port, allowing excess fuel to flow back into the tank.
- Ensure snug connections: The lines should fit tightly on the carburetor ports to prevent any leaks.
Getting these connections right is key for your engine to run smoothly and efficiently.
Step 5: Put it all back together and test it out
With the new fuel lines installed, you can reassemble your leaf blower:
- Reattach any removed parts: This might include the air filter cover, muffler cover, or other components you took off.
- Check the fuel lines: Make sure there are no kinks or sharp bends that could mess with fuel flow.
- Add fuel to the tank: Fill it up with fresh fuel suitable for your leaf blower. Refer to the manufacturer’s recommendations for the right type.
- Prime the carburetor: If there’s a primer bulb, press it a few times to draw fuel into the carburetor.
- Start the leaf blower: Pull the starter cord or use the electric start if available. If everything’s hooked up right, it should start smoothly.
- Look for leaks: While it’s running, keep an eye on the fuel lines and connections for any leaks.
And that’s it! You’ve successfully replaced your leaf blower’s fuel lines and got it back up and running.
Extra tips to make things easier
Here are some additional pointers to help you out:
- Consider replacing the fuel filter: If it’s old or dirty, a new fuel filter can improve fuel flow and engine performance.
- Use compatible fuel lines: Ensure the new lines are the correct diameter and material for your specific model.
- Check your manual: Manufacturer documentation can offer specific guidance tailored to your leaf blower.
- Store fuel properly: Old or contaminated fuel can cause engine problems. Always use fresh fuel and store it in approved containers.
Read more: How to fix a leaf blower that starts and then stalls
Need more help?
If you encounter any issues or need a hand, we’re here to help. Visit our repair help section for more info and troubleshooting tips.
At AppliancePartsPros.com, we’re all about helping you keep your appliances running smoothly. If you need replacement parts or expert advice, don’t hesitate to reach out.
Stay connected with us for the latest tips and updates. Follow us on Facebook and Twitter.
If you’ve got any questions or need personalized assistance, please contact us. We’re here to support you with all your appliance repair needs.
With nearly a decade of experience in providing top-notch customer service regarding appliance parts and repair, Steven enjoys sharing practical advice, troubleshooting tips, and interesting information to help readers stay informed.