How to test a diode with a multimeter
Steven E / Friday March 21, 2025
A diode controls the flow of electricity in many household appliances. It acts like a one-way valve for electrical current, allowing power to flow in one direction while blocking it in the other. If a diode fails, it can cause various issues, from an appliance not turning on to a microwave not heating properly.
Testing a diode with a multimeter is a quick and easy way to determine whether it’s working correctly. Whether you’re troubleshooting a control board, a power circuit, or a microwave’s high-voltage system, knowing how to test a diode can save time and money on repairs.
The information in this article may not apply to your specific appliance model. For the most accurate guidance, it’s best to check your manufacturer’s documentation or reach out to us if you’ve got any questions.
What does a diode do in an appliance?
A diode in an appliance is there to control how electricity flows. It only lets current go in one direction, which helps keep everything running smoothly. You’ll typically find diodes in things like microwaves, refrigerators, washing machines, and dishwashers, usually in the control boards or motor circuits. Here’s how it works:

- Rectification: It changes alternating current (AC) into direct current (DC), which is needed for things like circuit boards or certain motors.
- Protection: It prevents reverse current from damaging delicate parts in the appliance.
- Motor control: It ensures the right amount of current flows to motors, helping avoid overloads.
- Power management: In appliances like microwaves, it helps manage power to things like heating elements and sensors.
- Surge blocking: It helps protect your appliance from power surges that could cause issues.
Signs that a diode might be bad
When a diode fails, it can interrupt power flow or create a short circuit, leading to various appliance problems. Since diodes are often part of the power supply or control board, a bad one can cause symptoms that seem unrelated at first. Here are some signs that a diode might be faulty:
- The appliance won’t turn on – If a diode in the power circuit is open or shorted, the appliance may not receive the correct voltage.
- Microwave not heating – A failed high-voltage diode in a microwave can prevent it from producing heat, even though the display and turntable still work.
- Blown fuses – If a diode shorts out, it can cause a fuse to blow repeatedly, preventing the appliance from operating.
- Visible damage – A burned, cracked, or discolored diode is a clear sign it needs to be replaced.
- Erratic behavior – If a control board has a faulty diode, the appliance may behave unpredictably, turning on and off randomly or displaying error codes.
If you notice any of these issues, testing the diode is a good first step before replacing other parts.
Tools you need to test a diode
Testing a diode is a simple process, but you’ll need the right tools to do it correctly and safely. Before starting, gather the following items:
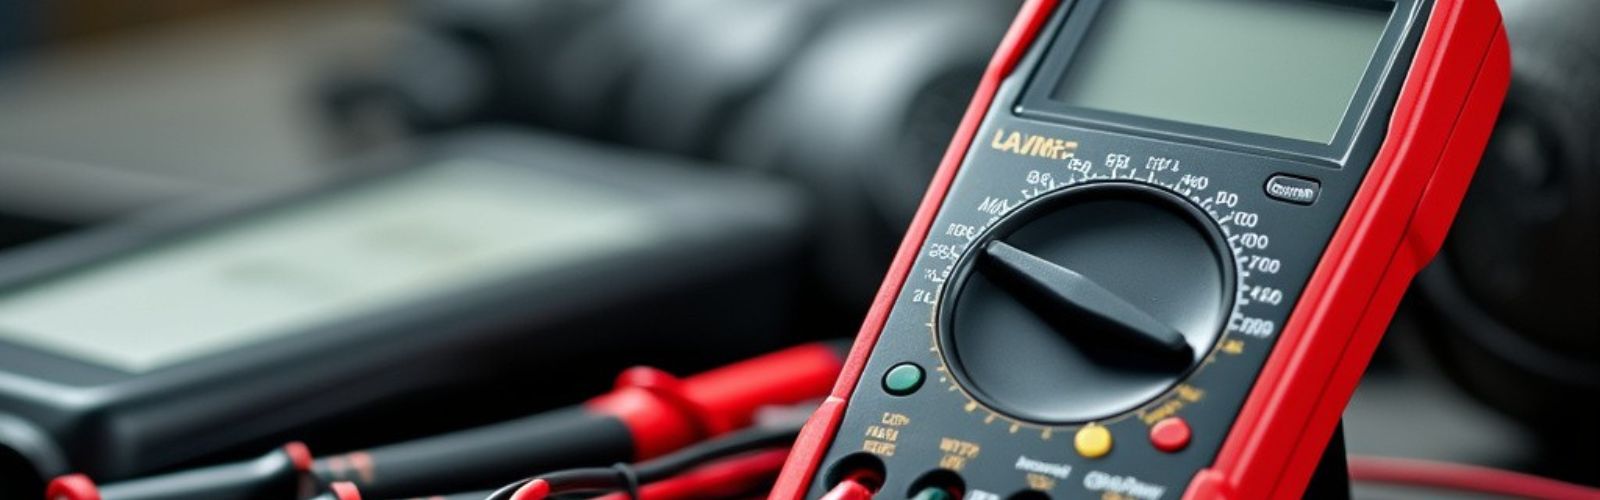
- Multimeter – A digital multimeter with a diode test mode is the best option, but if yours doesn’t have this feature, you can still use the resistance (ohms) mode to check the diode.
- Screwdrivers – Depending on your appliance, you may need a Phillips or flathead screwdriver to access the diode.
- Needle-nose pliers – Useful for handling small components, especially if you need to remove the diode from a circuit board.
- Rubber gloves – Recommended for added safety, especially when working with high-voltage components like those in a microwave.
How to test a diode with a multimeter
Testing a diode is straightforward, but the method depends on your multimeter type. If your multimeter has a diode test mode, that’s the easiest and most accurate way to check a diode. If it doesn’t, you can use the resistance (ohms) mode instead.
If you’re testing a microwave diode, it’s also important to discharge the capacitor first since it can store dangerous amounts of electricity even after unplugging the appliance.
Method 1: Using the diode test mode (best method)
- Always disconnect power before working on any electrical components.
- Check your appliance’s manual or visit AppliancePartsPros.com for diagrams if needed. Diodes are usually small, cylindrical components with a stripe on one end (indicating polarity).
- Set the multimeter to diode mode. Look for a symbol that looks like a triangle with a line at the tip (this represents a diode).
- Place the multimeter probes on the diode terminals. Red lead to the anode (+) and black lead to the cathode (-) (the end with the stripe)
- A good diode should show a voltage drop of 0.5V to 0.8V in this direction.
- If you reverse the leads (black to anode, red to cathode), it should show “OL” (open line) or no reading, meaning the diode is blocking current in that direction.
- If the diode conducts in both directions (shows a number both ways), it’s shorted and needs to be replaced.
- If the diode blocks current in both directions (no reading both ways), it’s open and also needs to be replaced.
Method 2: Using the resistance mode (for basic multimeters)
If your multimeter doesn’t have a diode test mode, follow these steps instead:
- Set the multimeter to resistance mode (ohms, Ω). Use the lowest resistance setting.
- Place the probes on the diode terminals, just like in the previous method.
- In one direction, a good diode should show low resistance (a few hundred ohms to a few kilo-ohms).
- In the other direction, it should show high resistance or “OL”.
- If resistance is low in both directions, the diode is shorted (bad).
- If resistance is high in both directions, the diode is open (bad).
Interpreting your test results
Once you’ve tested the diode using a multimeter, it’s important to understand what your readings mean. A good diode allows current to flow in one direction while blocking it in the other. If a diode fails, it usually becomes either shorted (allowing current both ways) or open (blocking current both ways).
Steps to replace a diode
If your diode test confirms that it’s faulty, replacing it is a simple fix. As long as you install the new diode in the correct orientation, your appliance should function properly again. Using a high-quality replacement diode is important for reliability. Check AppliancePartsPros.com for the correct part for your appliance model.
- Unplug the appliance. Never work on an electrical component while the appliance is connected to power.
- Discharge any capacitors if necessary. If you’re working on a microwave or another high-voltage system, be sure to discharge the capacitor first to avoid a dangerous shock.
- Take note of the orientation. Before removing the diode, make sure you know which end is the anode (+) and which is the cathode (-, striped end). The new diode must be installed in the same direction.
- Remove the old diode. If it’s soldered to a circuit board, carefully desolder it. If it’s attached with screws or connectors, use a screwdriver or pliers to remove it.
- Install the new diode. Align it the same way as the old one, ensuring the striped cathode end is connected the same way as before.
- Secure the diode. If using connectors or screws, tighten them properly. If soldering, make sure the connection is solid without excess solder.
- Double-check your work. Verify that the diode is installed in the correct direction.
- Reassemble and test the appliance. Plug the appliance back in and check if the issue is resolved.
Additional information
Thank you for reading! If you have any other appliance repair needs or projects, don’t hesitate to explore our other troubleshooting guides and videos.
If you need replacement parts or some extra help with ordering them, grab your model number and head over to AppliancePartsPros.com, where you can chat with a pro, read our DIY blog and more.
Don’t forget to subscribe to us on YouTube and follow us on Facebook, Twitter and Instagram!
Read more:
How To Use A Multimeter To Check Appliance Parts
With nearly a decade of experience in providing top-notch customer service regarding appliance parts and repair, Steven enjoys sharing practical advice, troubleshooting tips, and interesting information to help readers stay informed.