How to Troubleshoot a KitchenAid Stand Mixer That Loses Power
Steven E / Thursday July 10, 2025
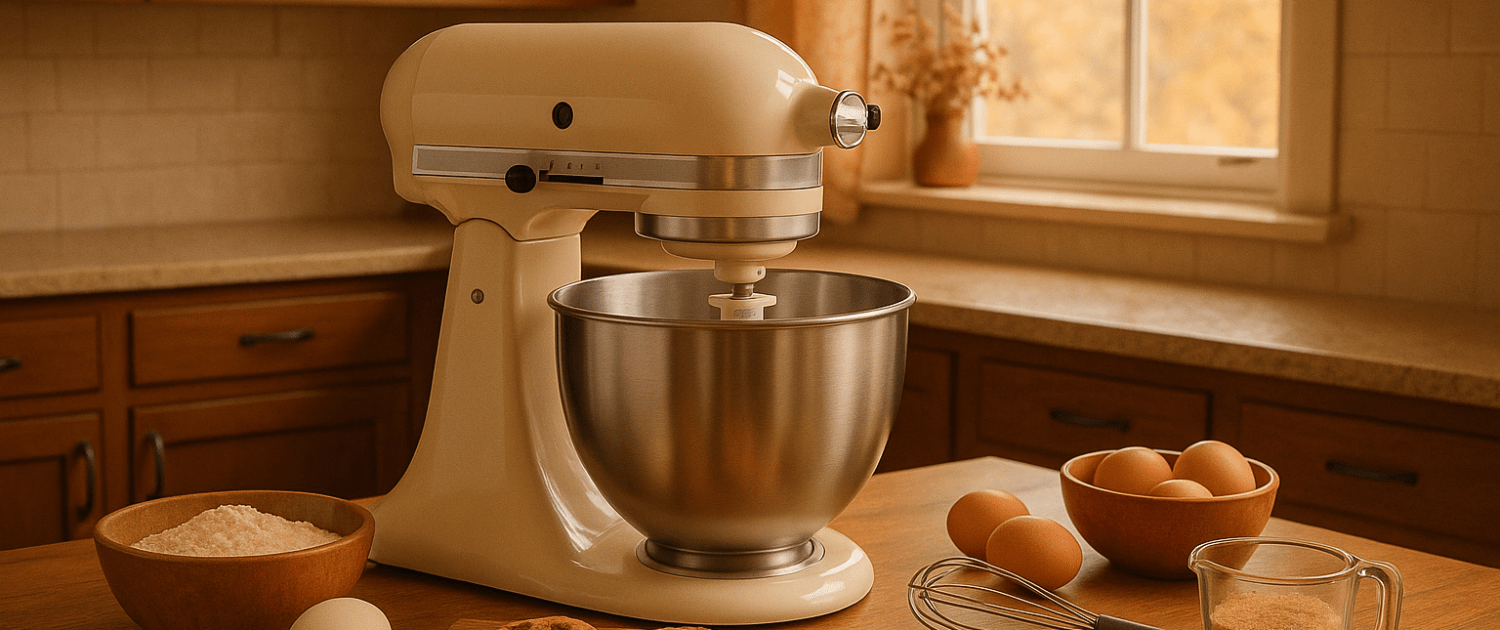
There’s nothing worse than your KitchenAid mixer powering down right in the middle of mixing dough or whipping cream. If your mixer keeps losing power, don’t worry, it’s something you can figure out yourself. Here’s how to troubleshoot and fix a KitchenAid stand mixer that cuts out so you can get back to baking with confidence.
The information in this article may not apply to your specific appliance model. We recommend consulting your manufacturer’s documentation or contact us with any questions.
Why Is My Mixer Losing Power?
When your mixer runs inconsistently, suddenly shuts off, or struggles under load, it’s usually because of one of these issues:
- Worn or faulty carbon brushes.
- Loose or damaged power cord or plug.
- Overheating due to heavy use or lack of ventilation.
- Internal control board or speed control plate problems.
- Failing motor windings.
- Dirty or failing commutator inside the motor.
Identifying which of these is the culprit is the first step to fixing it.

What You’ll Need
Before you begin, gather these tools and supplies:
- Phillips and flathead screwdrivers.
- Multimeter (for testing electrical continuity and resistance).
- Replacement carbon brushes (if needed).
- Replacement power cord (if needed).
- Needle-nose pliers.
- Clean rags and a soft brush.
Step 1: Check the Basics
Sometimes the problem is outside the mixer itself:
- Make sure the mixer is plugged into a functioning outlet.
- Test the outlet with another appliance.
- Inspect the power cord and plug for visible damage, fraying, or burn marks.
- If using an extension cord, plug the mixer directly into the wall.
If the outlet and cord look good but the mixer still loses power, move on.
Step 2: Inspect the Power Cord and Connections
Over time, the cord and internal connections can loosen or wear out, creating intermittent contact.
- Unplug the mixer and remove the rear cover and top housing.
- Follow the power cord into the mixer and inspect where it connects to the internal wiring.
- Look for loose, frayed, or burnt wires.
- If the cord is damaged, replace it.
- Tighten any loose screws or connectors.
If the cord and connections are solid, continue to the next step.
Step 3: Check the Carbon Brushes
The carbon brushes supply power to the motor’s rotating armature. When they wear down or stick, the mixer can lose power or cut out intermittently.
- On each side of the mixer motor housing, there’s a black cap (one on each side).
- Unscrew the caps and pull out the carbon brushes.
- Inspect them for wear: they should be at least 1/2 inch long and spring-loaded.
- If they’re worn, cracked, or don’t spring back, replace them with new brushes.
- To replace, insert the new brush into the slot with the curved end matching the armature.
- Screw the caps back on snugly.
With new brushes installed, test the mixer. If it runs strong and steady, you’re done!
Step 4: Test the Speed Control Plate
If the mixer still loses power or surges, the speed control plate (located behind the rear cover) may need adjustment or replacement.
- Remove the rear cover to expose the speed control plate.
- Look at the contact points; they should be clean and aligned.
- Move the speed lever and watch how the control plate opens and closes.
- If the contacts are dirty, gently clean them with a soft brush or contact cleaner.
- If the contacts are worn, pitted, or misaligned, replace the speed control plate.
Step 5: Check for Overheating
If your mixer cuts out after running for a while but works again once cooled, it’s likely overheating.
- Let the mixer cool for 30–45 minutes.
- Clean out any dust or flour from vents with a soft brush or compressed air.
- Reduce batch sizes or mix in shorter intervals.
Step 6: Test the Motor Windings
If none of the above fixes the issue, the motor windings themselves may be failing. Use a multimeter to check for continuity across the windings.
- With the mixer unplugged, disconnect the motor wires.
- Set your multimeter to ohms and measure the resistance.
- Compare the reading to your model’s specifications.
- If the windings are open or significantly off spec, the motor may need to be replaced.
Step 7: Clean and Inspect the Commutator
A dirty or damaged commutator (the part of the armature that the brushes contact) can cause poor electrical connection and power loss.
- Remove the motor housing to access the commutator.
- Inspect it for heavy grooves, burns, or carbon buildup.
- Clean lightly with a fine emery cloth or contact cleaner.
If the commutator is badly damaged, the armature will need to be replaced.
Step 8: Reassemble and Test
Once you’ve checked, cleaned, and replaced necessary parts:
- Reassemble the mixer housing and secure all screws.
- Plug the mixer back in and run it at different speeds.
- Test under load with a light dough or batter to make sure it maintains power.
If it runs smoothly and consistently, you’ve successfully fixed the problem!
Tips to Keep Your Mixer Running Strong
- Keep the mixer clean and free of dust, flour, and grease buildup.
- Avoid overloading with more dough than your model’s recommended capacity.
- Periodically check and replace carbon brushes every few years.
- Let the mixer rest between heavy batches to avoid overheating.
Where To Find Us
If you need any replacement parts for your appliances, you can enter your model number at AppliancePartsPros.com to locate and order them quickly. Most orders arrive in just two business days, and we have tons of great information in our repair help section and YouTube videos to help you troubleshoot.
Stay connected with the latest DIY tips, tutorial videos, and repair guides by following us on Facebook, Instagram, and Twitter. We love hearing about your repair stories and successes. If you need more help or want personalized guidance, feel free to reach out. We’re ready to help you take on your next project with confidence!
 https://www.appliancepartspros.com/b/wp-content/uploads/2025/09/20250709_1340_Modern-Kitchen-Setup_simple_compose_01jzr47f29eta8qkm70jtkda7v.png
1024
1536
Steven E
https://www.appliancepartspros.com/b/wp-content/uploads/2020/11/app-logo-std.png
Steven E2025-09-05 10:48:472025-09-05 10:48:54How to Clean KitchenAid Mixer Attachments Without Damaging Them
https://www.appliancepartspros.com/b/wp-content/uploads/2025/09/20250709_1340_Modern-Kitchen-Setup_simple_compose_01jzr47f29eta8qkm70jtkda7v.png
1024
1536
Steven E
https://www.appliancepartspros.com/b/wp-content/uploads/2020/11/app-logo-std.png
Steven E2025-09-05 10:48:472025-09-05 10:48:54How to Clean KitchenAid Mixer Attachments Without Damaging Them https://www.appliancepartspros.com/b/wp-content/uploads/2025/09/20250709_1340_Modern-Kitchen-Setup_simple_compose_01jzr47f2cenv9y2rk00bw2z7x.png
1024
1536
Steven E
https://www.appliancepartspros.com/b/wp-content/uploads/2020/11/app-logo-std.png
Steven E2025-09-05 10:44:172025-09-05 10:44:25Keep Your KitchenAid Stand Mixer Fresh: Daily Cleaning Guide
https://www.appliancepartspros.com/b/wp-content/uploads/2025/09/20250709_1340_Modern-Kitchen-Setup_simple_compose_01jzr47f2cenv9y2rk00bw2z7x.png
1024
1536
Steven E
https://www.appliancepartspros.com/b/wp-content/uploads/2020/11/app-logo-std.png
Steven E2025-09-05 10:44:172025-09-05 10:44:25Keep Your KitchenAid Stand Mixer Fresh: Daily Cleaning Guide https://www.appliancepartspros.com/b/wp-content/uploads/2025/09/20250709_1336_Luxury-Kitchen-Baking-Scene_simple_compose_01jzr40p6pe09bgx9cmjyb2agj.png
1024
1536
Steven E
https://www.appliancepartspros.com/b/wp-content/uploads/2020/11/app-logo-std.png
Steven E2025-09-05 08:53:312025-09-05 08:53:41KitchenAid Stand Mixers: Classic vs. Digital Comparison
https://www.appliancepartspros.com/b/wp-content/uploads/2025/09/20250709_1336_Luxury-Kitchen-Baking-Scene_simple_compose_01jzr40p6pe09bgx9cmjyb2agj.png
1024
1536
Steven E
https://www.appliancepartspros.com/b/wp-content/uploads/2020/11/app-logo-std.png
Steven E2025-09-05 08:53:312025-09-05 08:53:41KitchenAid Stand Mixers: Classic vs. Digital ComparisonWith nearly a decade of experience in providing top-notch customer service regarding appliance parts and repair, Steven enjoys sharing practical advice, troubleshooting tips, and interesting information to help readers stay informed.