How to Use a Cooktop Griddle on a Gas Stove
Steven E / Tuesday April 22, 2025
Griddles have been a staple in kitchens for generations, and their versatility makes them an essential tool for cooking a wide range of delicious meals. Whether you’re a professional chef or a home cook, follow along as we take you on a journey through the art of using a griddle on a gas stove. Get ready to unlock the full potential of your stovetop.
The information in this article may not apply to your specific appliance model. We recommend consulting your manufacturer’s documentation or contact us with any questions.
Safety precautions
Before you begin, it’s important to prioritize safety to ensure a worry-free and enjoyable cooking experience. Here are some safety precautions to keep in mind:
- Gas stoves produce heat and combustion byproducts, such as carbon monoxide. Make sure your kitchen has adequate ventilation to prevent the accumulation of harmful gases as well as odors.
- If your kitchen lacks good ventilation, consider using a range hood, opening windows, or using a portable exhaust fan while cooking on the griddle.
- Select a griddle that is compatible with your gas stove. Check the size and design to ensure it fits securely over the burners without any overhang.
- Check your user manual for a compatible griddle for your specific appliance from the manufacturer.
- If one is not available, choose a griddle made from materials suitable for stovetop use, like cast iron, stainless steel, or non-stick coatings. Avoid griddles with plastic handles.
- Place the griddle on the stovetop securely to prevent any accidental tipping or movement during cooking. Make sure it’s level and stable.
- Keep flammable materials, such as kitchen towels, paper towels, and oven mitts, away from the stovetop area to reduce the risk of accidents.
- While cooking, never leave the griddle unattended. Always keep an eye on the food you’re preparing to avoid potential accidents.
- Be cautious when handling hot cookware, spatulas, and utensils. Use oven mitts or potholders to protect your hands.
Equipment
- Griddle: Choose a griddle that suits your cooking needs and is compatible with your gas stove. Options include cast iron, stainless steel, or non-stick griddles. Ensure it fits securely over the burners.
- Spatula: A sturdy, heat-resistant spatula is essential for flipping and turning food on the griddle.
- Cooking oil or butter: Depending on your recipe, you’ll need oil (vegetable, canola, or olive oil) or butter to prevent food from sticking and add flavor.
- Oven mitts or pot holders: These will protect your hands from the heat when handling the griddle and cookware.
- Tongs: Useful for picking up and flipping larger food items.
- Kitchen timer: Helps you keep track of cooking times accurately.
- Thermometer: An instant-read thermometer can assist in monitoring the internal temperature of meat and other dishes.
Using the griddle
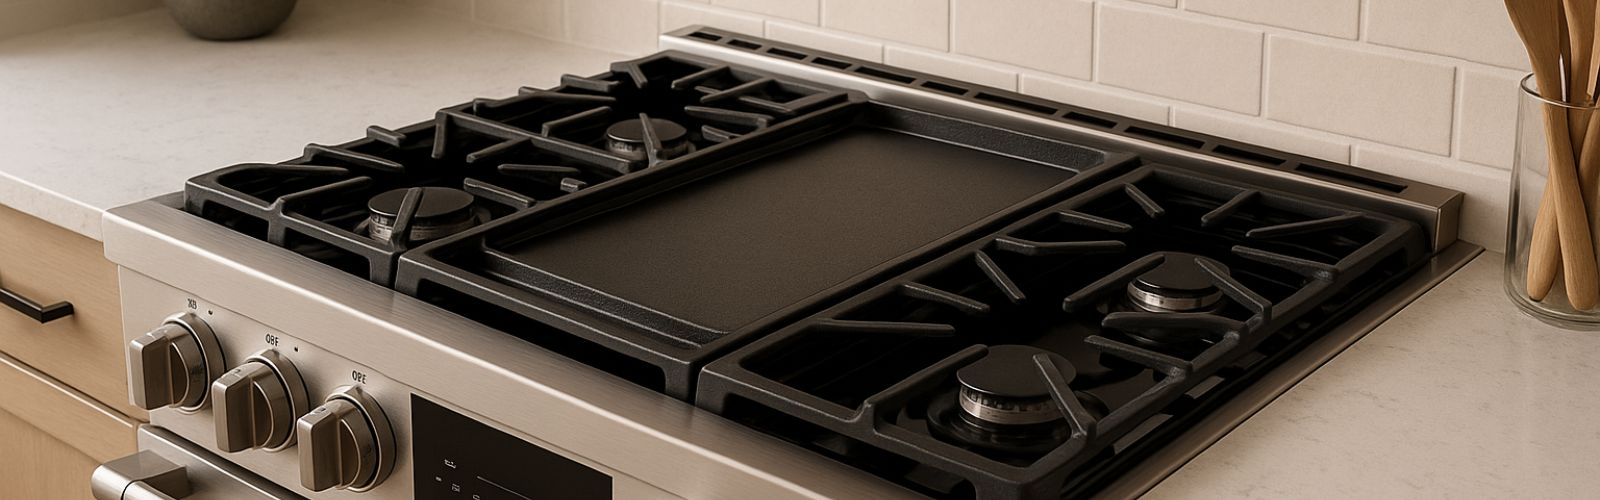
- Choose a griddle that is specifically designed for use on a gas cooktop. It should be compatible with your cooktop’s size and configuration.
- Make sure that the cooktop is clean and free from any debris or residue.
- Position the griddle on the cooktop, aligning it with the burners. Make sure it is centered and level. Some griddles may come with grooves or notches that align with the burner grates for stability.
- Turn on the gas burners that correspond to the area underneath the griddle. Adjust the flame to a medium or medium-high setting for preheating. It is recommended to preheat the griddle for about 5-10 minutes to ensure even heat distribution.
- Depending on the material and manufacturer’s instructions, you may need to season the griddle before first use. Seasoning helps create a natural non-stick surface. Follow the specific seasoning instructions provided by the manufacturer.
- Once preheated, you can adjust the heat according to your desired cooking temperature. Lower the flame if you want lower heat or increase it for higher temperatures.
- Cook according to your recipe or preference, flipping as needed. Keep in mind that different foods may require different cooking times and heat settings, so adjust accordingly.
- Continuously monitor the heat and adjust the burner flames as necessary to maintain the desired cooking temperature. Remember that gas cooktops offer quick heat response, so small adjustments can have a significant impact.
- After using the griddle, allow it to cool down completely before cleaning. Follow the manufacturer’s instructions for cleaning and caring for the griddle. Typically, handwashing with mild soap and warm water is recommended. Avoid using harsh abrasives or metal utensils that may damage the griddle’s surface.
- Once the griddle is clean and dry, store it in a safe and dry place. If necessary, protect the surface with a non-abrasive cloth or paper towel to prevent scratches or damage.
Troubleshooting
Food sticking to the griddle
Ensure your griddle is well-seasoned and adequately preheated. Use a thin layer of oil or butter before placing food on the griddle to create a non-stick surface.
Uneven cooking or hot spots
Adjust the heat settings and the position of your cookware on the griddle. If you notice hot spots, move the food around to even out cooking.
Smoke and odors
Adequate ventilation is crucial to dissipate smoke and odors. Use a range hood, open windows, or employ a portable exhaust fan.
Food not browning
Make sure the griddle is preheated to the appropriate temperature. Thicker foods may require longer cooking times to brown properly.
Flare-ups
Reduce heat if excessive grease is causing flare-ups. Use a spray bottle with water to control flare-ups or have a fire extinguisher nearby for safety.
Excessive grease accumulation
Use a drip tray or have absorbent paper towels nearby to soak up excess grease. Wipe the griddle occasionally to prevent a buildup of grease that can lead to flare-ups.
Griddle rust
Regularly maintain your griddle by cleaning, drying, and applying a thin layer of oil after each use. If rust develops, scrub it away with steel wool and follow the re-seasoning steps to restore the non-stick layer.
Conclusion
Thanks for reading! If you have any other appliance repair needs or projects, you can find more resources including our DIY blog at AppliancePartsPros.com. There, you can enter your model number to order the exact parts you need. Most orders arrive in two business days.
You can also reach our award-winning customer service team at 1-877-477-7278, chat with a pro on our website and watch thousands of free video tutorials on our YouTube channel.
With nearly a decade of experience in providing top-notch customer service regarding appliance parts and repair, Steven enjoys sharing practical advice, troubleshooting tips, and interesting information to help readers stay informed.
Smoke or burning smell coming from window air conditioner: What it means and how to fix it
How to reset a Samsung refrigerator water filter indicator light
How to change out a faulty terminal block on an electric Whirlpool range