How to Install and Replace a Microwave
Samantha Bullington / Friday August 11, 2023
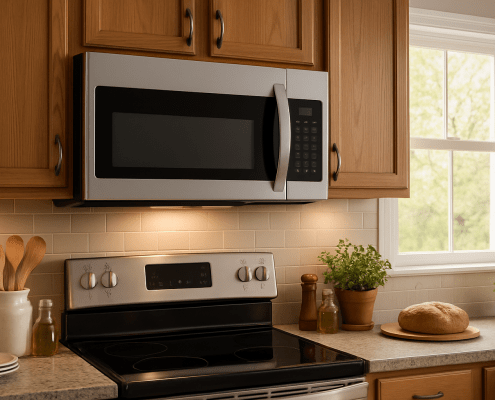
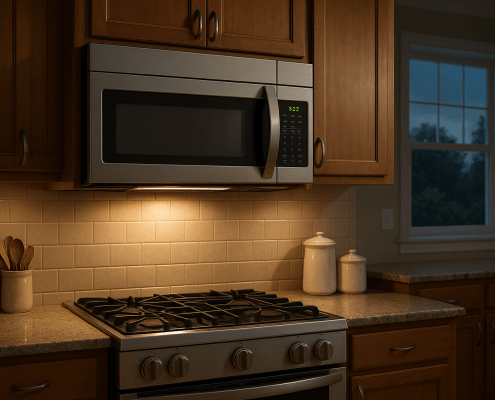
In the heart of your kitchen, a humble appliance silently plays a pivotal role – the microwave. From warming up leftovers to whipping up quick meals, it’s a modern-day essential that has transformed the way we cook. However, as time passes, your trusted microwave might start showing signs of wear and tear that no amount of cleaning can help, making you consider an upgrade. If you’ve been contemplating replacing your microwave, you’re in the right place. In this microwave installation guide, we’ll take you on a journey through the process of installing a new microwave, ensuring that you can seamlessly transition to a more efficient and stylish kitchen.
Why Consider Replacing Your Microwave?
Before we delve into the nuts and bolts of microwave installation, let’s understand why this upgrade might be a game-changer for your kitchen. There’s more to it than just having a shiny new appliance. Your kitchen is a reflection of your taste, and a sleek new microwave can give it a contemporary makeover. With stainless steel finishes and bold colors, you can elevate your kitchen’s visual appeal. Newer microwaves are equipped with advanced features like sensor cooking and convection modes, making meal preparation quicker and more versatile. Over time, microwaves can falter, leading to inconsistent performance. By swapping your old microwave for a new one, you’re investing in consistent, dependable cooking. Upgrading to a new microwave means embracing energy-efficient technology, which can translate into savings on your utility bills. Now, let’s dive into the comprehensive installation process that’ll help you embrace the future of cooking.
Gathering Your Tools and Materials
To ensure a smooth installation process, it’s crucial to have all the necessary tools and materials at your disposal. Here’s what you’ll need:
Tools:
- Tape measure
- Screwdriver (Phillips and flathead)
- Drill (if required for mounting)
- Level
- Pencil
Materials:
- New over-the-range microwave
- Mounting kit (usually included with the microwave)
- Venting components (if applicable)
Step 1: Preparing for Installation
Before you start installing your new microwave, it’s essential to do some preparatory work to ensure a seamless process. Here’s what you need to do: First, measure the space above your stove using a tape measure to ensure your new microwave will fit perfectly into the allocated space. This step is crucial. Next, take some time to thoroughly read the installation manual that comes with your new microwave, as different models may have specific requirements and instructions to follow. Finally, gather all the necessary tools and materials mentioned earlier, like mounting brackets, drill, screws, etc., and keep them within easy reach. Taking care of these preparatory steps will set you up for a smooth microwave installation.
Step 2: Removing the Old Microwave
Before you can install your new microwave, you need to remove the old one. Follow these steps: First, turn off power by locating the circuit breaker that powers your microwave and flipping it to the off position – this is an essential safety step. Next, unplug your old microwave from the electrical outlet. To prepare the area, clear out any items from the cabinets above the microwave to ensure unobstructed access. Most over-the-range microwaves are secured with screws at the bottom, so use a screwdriver to remove these mounting screws. Finally, with the help of a friend or family member, carefully lift and detach the old microwave from its mounting bracket. Taking the time to properly remove the existing microwave will allow for a smooth transition to your shiny new appliance.
Step 3: Installing the New Mounting Bracket
Now that you’ve removed the old microwave, it’s time to install the new mounting bracket for the replacement microwave. Many microwaves come with a mounting template – use this template to accurately mark the spots where you’ll need to drill holes for the new bracket. If required, use a drill to create these holes, making sure to follow the measurements provided on the template. With the holes drilled, securely attach the new mounting bracket to the wall using the provided screws and anchors. Be sure to use a level to ensure the bracket is perfectly straight. Properly installing the mounting bracket will provide sturdy support for your new microwave.
Step 4: Mounting the New Microwave
With the mounting bracket in place, you’re ready to mount your new microwave. Enlist the help of a friend or family member to hold the microwave while you secure it. Thread the microwave’s power cord through the hole in the bottom cabinet. Carefully lift the microwave, aligning it with the mounting bracket. Lower the microwave onto the bracket and ensure it is securely in place. Use the screws provided to secure the microwave to the mounting bracket, double checking that the appliance is level and properly aligned. With an extra set of hands and focus on proper alignment, mounting the new microwave to the bracket should be straightforward.
Step 5: Testing and Final Touches
After mounting the new microwave, it’s time to test it out and make sure everything is working as it should. First, plug in the power cord of the new microwave. Turn it on and test out basic functions like heating and defrosting to make sure they are working properly. Check that the turntable is rotating smoothly. If your microwave model has ventilation capabilities, verify the exhaust vent is connected correctly and venting air as intended. Taking the time to thoroughly test each function will confirm your new microwave is ready for regular use after a successful installation.
Step 6: Enjoy Your New Microwave
Congratulations! You’ve successfully installed your new over-the-range microwave. Now it’s time to enjoy all the benefits of your upgraded appliance. Take some time to explore any new features like sensor cooking or convection modes, and cook with confidence knowing you have a reliable, precise microwave. Admire how it enhances your kitchen’s appearance and functionality. With faster cooking times and energy-efficient operation, you can reap rewards in efficiency and potential cost savings. Host friends and family to showcase delicious meals and your upgraded kitchen. With your new microwave properly installed, you can now take full advantage of its conveniences!
For more appliance repair tips and troubleshooting guides, be sure to check out AppliancePartsPros.com. We have extensive resources on DIY fixes for dryers, refrigerators, dishwashers, washing machines, ranges, and more. Our website, Facebook page, and YouTube channel provide useful articles, videos, part schematics, and other materials to help you troubleshoot and repair your appliances.
Hey there, I’m Samantha and I’m super excited to be a part of the Appliance Parts Pros team! With 9 years of experience, I’ve had the awesome opportunity to assist countless customers in troubleshooting their home appliances and finding DIY repair solutions.


