Preventing Gear Wear in Your KitchenAid Mixer: Tips That Work
Steven E / Thursday September 4, 2025
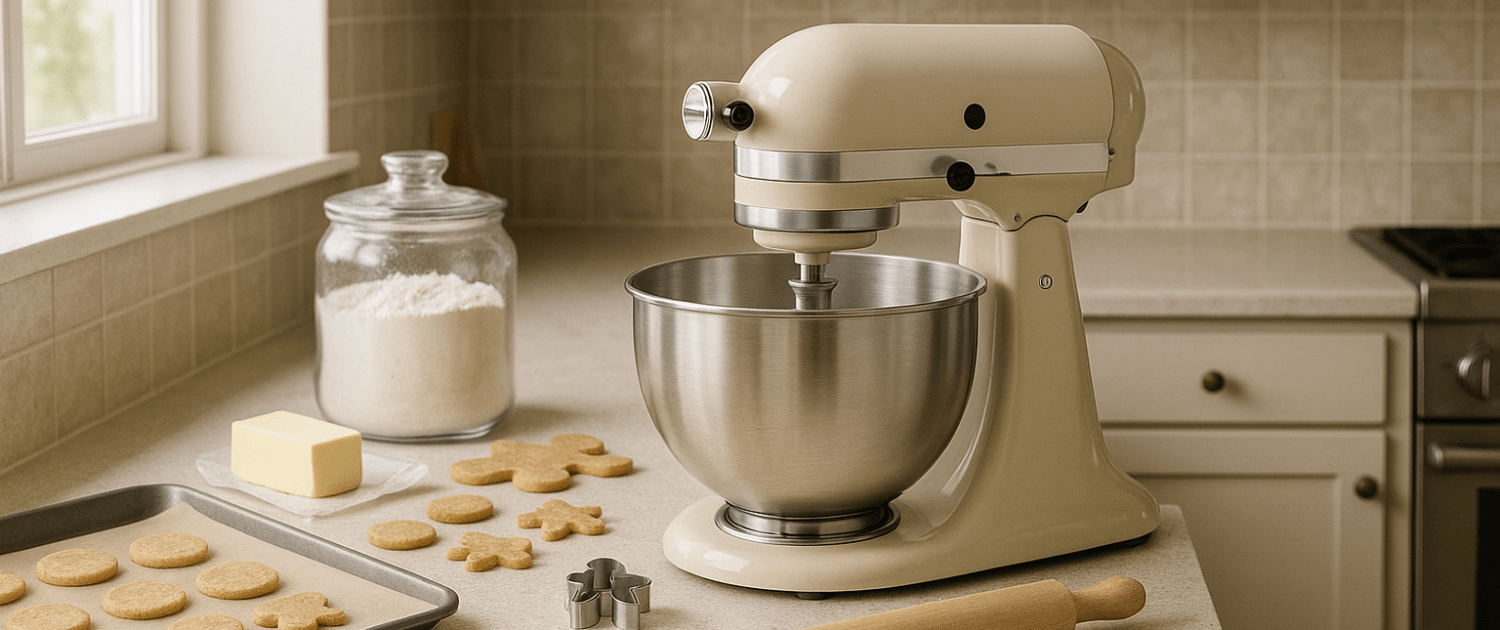
Your KitchenAid mixer is built tough, but its gears take on a lot of heavy lifting, literally. Over time, that can lead to wear if you’re not careful. The good news? With a few simple habits, you can keep your mixer’s gears in great shape and avoid costly repairs. Let’s go over some easy, effective tips to prevent gear wear and keep your KitchenAid mixing like new.
How Gear Wear Starts (and How to Stop It Early)
Inside your mixer is a small but mighty gear train that transfers motor power to the beater. One of those gears, often a fiber or nylon worm gear, is intentionally designed to fail first if the motor or attachment binds. That “sacrificial” gear protects the motor, which is way more expensive to replace. Gear wear isn’t inevitable, but heavy loads, dried or contaminated grease, and a few user habits can speed it up.
The usual suspects:
- Chronic Overloading: Working at (or beyond) the mixer’s limits cooks the grease, heats the gears, and stresses the worm gear. Over time, you get chipped teeth, slippage, or the classic “grinding popcorn” sound.
- Dried or Contaminated Grease: Old grease loses lubrication power and clumps. Flour dust that sneaks inside acts like sandpaper. Both spell trouble.
- Wrong Speed for the Job: Kneading bread on speed 6? Your mixer’s begging for mercy. High speeds under heavy load build heat and shock the gear train.
- Continuous, No-Break Mixing: Long, uninterrupted runs, especially on heavy dough, build heat. Heat equals softer plastic gear surfaces and faster wear.
- Loose Beater-to-Bowl Clearance: If the beater scrapes the bowl or sits too high, you stress the drivetrain and get inconsistent mixing that encourages overworking the dough (and the mixer).
Golden Rules for Everyday Use
1) Match the Speed to the Task
- Creaming, batters, frosting: speeds 2–6 are your sweet spot.
- Whipping cream and egg whites: go 8–10, but that’s a light load.
- Bread and dense doughs: keep it at speed 2. This is the big one most people ignore.
Why it matters: Heavier loads at higher speeds multiply torque and heat. The grease thins out, gears get hot, and wear accelerates.
2) Respect Capacity (a Little Less Is More)
Every mixer has a published capacity, but ingredients vary. A “5-cup flour” dough might behave like 7 cups if you pack the flour or use high-protein bread flour.

Practical rule:
If the head starts to bounce, the motor tone drops, or the dough climbs the hook and stalls, you’re over the limit. Reduce batch size by 15–25% and try again.
3) Give It “Intervals,” Not Marathons
For heavy doughs, treat mixing like weight training:
- Knead 2–3 minutes, rest 5 minutes.
- Repeat until you reach proper gluten development.
Bonus: Your dough benefits from rests (autolyse-ish effect), and your mixer stays cooler.
4) Don’t Babysit Bad Dough
If a dough is too dry (crumbly) or too wet (puddling around the hook), the machine struggles. Adjust hydration early. Aim for a smooth, tacky, strong dough that cleans the bowl without climbing and choking the hook.
5) Calibrate the Beater Height
A dime test takes 30 seconds and saves gears:
- Place a dime in the bowl.
- Attach the flat beater.
- Run on speed 1.
If the dime moves around consistently, you’re set. If the beater misses completely (too high) or drags/scrapes (too low), adjust the head screw (tilt-head) or bowl-lift yoke per your manual.
6) Warm Butter, Room-Temp Eggs
Cold bricks of butter and fridge-cold batters create jerkier loads and more resistance. Let ingredients soften to room temp (or cube butter) for smoother starts and fewer torque spikes.
Smart Mixing Habits That Reduce Gear Stress
Pre-Mix Stiff Doughs
Combine flour and water with a spatula or short hand mix before kneading. You’ll reduce the mixer’s “dead start” load (the hardest moment for gears).
Cut Big Batches in Half
Two smaller batches are often faster (and safer) than one monster batch that overheats everything.
Use the Right Tool
- Dough hook for bread (obvious, but you’d be surprised).
- Paddle for cookie doughs and batters.
- Whisk only for light, aerated mixtures.
Watch the Bowl
- Dough should travel with the hook, not slap violently or just spin in place.
- If it rides high and clings, stop, scrape down, and adjust hydration. Persistent “riding high” makes the hook fight, which the gears feel directly.
Attachment Habits That Protect the Drive
Third-party attachments are fun (pasta, grinders, spiralizers), but they load the gear train differently than a beater.
- Check alignment: The shaft should seat fully; no wobble.
- Feed steadily: For grinders or pasta rollers, don’t force dense material through quickly. Let the tool work, forcing equals shock loads.
- Light speed, lighter pressure: Start at lower speeds, increase only if the attachment manual suggests it.
- Clean and dry thoroughly: Moisture creeping into the hub can contaminate grease over time.
Storage, Environment, and “Set It and Forget It” Tips
- Room temperature storage is best. Cold garages = stiff grease on startup; hot attics = grease separation.
- Cover the mixer to block dust from migrating into seams and the hub.
- Bundle the cord loosely, no hard bends that tug on the housing or strain relief.
Simple Annual Checkup (15 Minutes, Once a Year)
- Beater height check (dime test).
- Attachment hub screw snug.
- Listen test: Run on speeds 2, 4, 6 (no load) and note any new noises.
- Visual: Look for grease weeping or hairline cracks around the case seam.
- Grease calendar: Log last regrease date. If you don’t remember, assume it’s due in the next year.
A Simple Routine That Extends Gear Life
Every time you mix:
- Choose the right attachment.
- Start at a low speed and ramp up slowly.
- For heavy doughs, mix 2–3 minutes, rest 5, repeat.
- Stop early if the mixer sounds different or runs hot.
Every few months:
- Dime test for beater height.
- Tighten the hub screw and inspect the beater/whisk/hook for bends.
- Wipe the planetary and hub port clean.
Every year:
- Quick sound check through speeds 2–10 (unloaded).
- Look for grease weeping.
- Log a reminder for your next regrease window.
Where To Find Us
If you need any replacement parts for your appliances, you can enter your model number at AppliancePartsPros.com to locate and order them quickly. Most orders arrive in just two business days, and we have tons of great information in our repair help section and YouTube videos to help you troubleshoot.
Stay connected with the latest DIY tips, tutorial videos, and repair guides by following us on Facebook, Instagram, and Twitter. We love hearing about your repair stories and successes. If you need more help or want personalized guidance, feel free to contact or call us at 877-477-7278. We’re ready to help you take on your next project with confidence!
Since 1999, AppliancePartsPros.com has helped millions of people repair their broken appliances by providing high-quality original parts at well below retail prices, free support and troubleshooting, and award-winning customer service from an expert, friendly, US-based customer support team!
Looking for the right part? Enter your appliance model number below to find the exact match and get your appliance running like new again!
 https://www.appliancepartspros.com/b/wp-content/uploads/2025/09/20250709_1340_Modern-Kitchen-Setup_simple_compose_01jzr47f29eta8qkm70jtkda7v.png
1024
1536
Steven E
https://www.appliancepartspros.com/b/wp-content/uploads/2020/11/app-logo-std.png
Steven E2025-09-05 10:48:472025-09-05 10:48:54How to Clean KitchenAid Mixer Attachments Without Damaging Them
https://www.appliancepartspros.com/b/wp-content/uploads/2025/09/20250709_1340_Modern-Kitchen-Setup_simple_compose_01jzr47f29eta8qkm70jtkda7v.png
1024
1536
Steven E
https://www.appliancepartspros.com/b/wp-content/uploads/2020/11/app-logo-std.png
Steven E2025-09-05 10:48:472025-09-05 10:48:54How to Clean KitchenAid Mixer Attachments Without Damaging Them https://www.appliancepartspros.com/b/wp-content/uploads/2025/09/20250709_1340_Modern-Kitchen-Setup_simple_compose_01jzr47f2cenv9y2rk00bw2z7x.png
1024
1536
Steven E
https://www.appliancepartspros.com/b/wp-content/uploads/2020/11/app-logo-std.png
Steven E2025-09-05 10:44:172025-09-05 10:44:25Keep Your KitchenAid Stand Mixer Fresh: Daily Cleaning Guide
https://www.appliancepartspros.com/b/wp-content/uploads/2025/09/20250709_1340_Modern-Kitchen-Setup_simple_compose_01jzr47f2cenv9y2rk00bw2z7x.png
1024
1536
Steven E
https://www.appliancepartspros.com/b/wp-content/uploads/2020/11/app-logo-std.png
Steven E2025-09-05 10:44:172025-09-05 10:44:25Keep Your KitchenAid Stand Mixer Fresh: Daily Cleaning Guide https://www.appliancepartspros.com/b/wp-content/uploads/2025/09/20250709_1336_Luxury-Kitchen-Baking-Scene_simple_compose_01jzr40p6pe09bgx9cmjyb2agj.png
1024
1536
Steven E
https://www.appliancepartspros.com/b/wp-content/uploads/2020/11/app-logo-std.png
Steven E2025-09-05 08:53:312025-09-05 08:53:41KitchenAid Stand Mixers: Classic vs. Digital Comparison
https://www.appliancepartspros.com/b/wp-content/uploads/2025/09/20250709_1336_Luxury-Kitchen-Baking-Scene_simple_compose_01jzr40p6pe09bgx9cmjyb2agj.png
1024
1536
Steven E
https://www.appliancepartspros.com/b/wp-content/uploads/2020/11/app-logo-std.png
Steven E2025-09-05 08:53:312025-09-05 08:53:41KitchenAid Stand Mixers: Classic vs. Digital ComparisonWith nearly a decade of experience in providing top-notch customer service regarding appliance parts and repair, Steven enjoys sharing practical advice, troubleshooting tips, and interesting information to help readers stay informed.
Leave a Reply
Want to join the discussion?Feel free to contribute!