What to know before testing microwave parts with a multimeter
Steven E / Friday March 21, 2025
Microwaves are full of electrical parts that keep them running, powering the control panel, heating your food, and making sure everything works safely. But when your microwave stops heating, won’t turn on, or keeps blowing fuses, something inside has likely failed. That’s where a multimeter comes in handy.
Before you start testing, though, there are a few key things to know. We’ll go over the must-know Pro tips to help you troubleshoot the right way.
Need a replacement part? Check out AppliancePartsPros.com for the right match to get your microwave working again. Let’s get started!
The information in this article may not apply to your specific appliance model. For the most accurate guidance, it’s best to check your manufacturer’s documentation or reach out to us if you’ve got any questions.

Safety first
Microwaves operate at very high voltages, and even after unplugging, they can still hold a dangerous charge. Here’s what you need to be aware of before working on a microwave:
- The high-voltage capacitor can hold a deadly charge – Even after unplugging the microwave, the capacitor can retain thousands of volts. It must be properly discharged before touching any internal components.
- Direct contact with the magnetron can be harmful – The magnetron contains beryllium, which is hazardous if the ceramic insulator is damaged. Always handle it carefully and avoid breaking or scraping the ceramic parts.
- The high-voltage diode can carry residual energy – This component plays a key role in powering the magnetron and can remain electrically charged.
- The internal wiring carries more power than most household appliances – Unlike standard kitchen appliances, a microwave’s internal circuits handle much higher voltages.
To stay safe:
- Always unplug the microwave before working on it.
- Discharge the capacitor properly before testing any parts inside.
- Use insulated tools and wear rubber gloves when handling electrical components.
- Be cautious of sharp edges inside the microwave cabinet.
How to safely discharge a microwave capacitor
The high-voltage capacitor inside a microwave is one of the most dangerous components. Even when the microwave is unplugged, the capacitor can store thousands of volts, which can cause a severe shock if not properly discharged. Before testing or touching any internal components, you must discharge the capacitor safely.
- Unplug the microwave. Never attempt to discharge a capacitor while the microwave is still connected to power.
- Remove the outer cover. Use a screwdriver to take off the screws securing the microwave’s outer casing. Carefully lift the cover to expose the internal components.
- Locate the capacitor. It’s a cylindrical metal component, usually near the magnetron and high-voltage diode. It will have two terminals with thick wires connected to it.
- Use an insulated screwdriver to discharge it. Hold the insulated handle of the screwdriver.
- Touch the metal shaft of the screwdriver across both capacitor terminals at the same time.
- You might hear a pop or see a small spark—this is normal as the stored energy is being released.
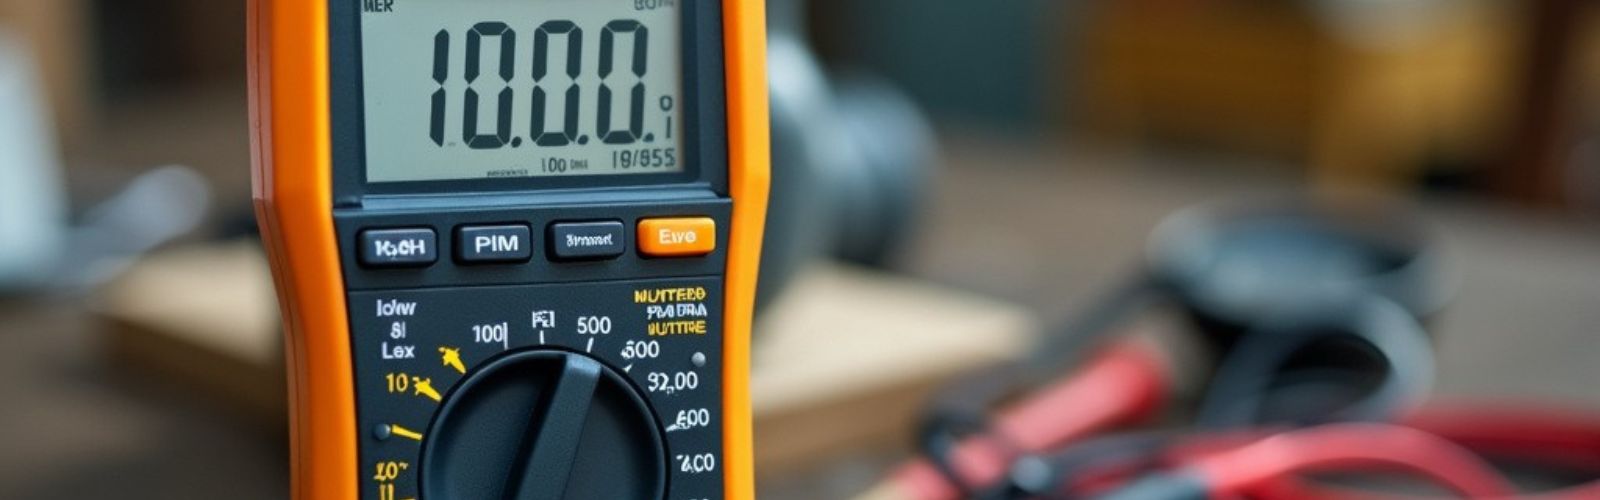
- Double-check with a multimeter. Set the multimeter to DC voltage and place the probes on the capacitor terminals. If the reading is 0V, the capacitor is fully discharged.
- If needed, discharge again. If there is still a voltage reading, repeat the process until the capacitor is completely drained.
Alternative safer method: using a resistor
For a slower and safer discharge, you can use a 10,000-ohm (10kΩ), 5-watt resistor:
- Attach alligator clips to both ends of the resistor.
- Connect the clips to the capacitor terminals.
- Wait about 30 seconds for the charge to dissipate completely.
- Use a multimeter to confirm the voltage is at 0V before proceeding.
Once the capacitor is discharged, you can safely test microwave parts without the risk of electrical shock.
Key microwave parts you can test with a multimeter
Once the capacitor is safely discharged, you can start testing individual microwave components to find the faulty part. A multimeter will help you check for continuity, resistance, and voltage in different parts of the microwave.
Here are the most important microwave components you can test and how to check them:
High-voltage diode
What it does: Converts AC power to DC, working with the capacitor and transformer to power the magnetron.
Symptoms of failure: Microwave turns on but doesn’t heat, blown fuse.
How to test:
- Set the multimeter to diode test mode (or resistance mode if unavailable).
- Place the red lead on the anode (+) and black lead on the cathode (-, striped end).
- A good diode should show 0.5V to 0.8V in one direction and “OL” (open circuit) when reversed.
- If both directions show a reading (shorted) or no reading at all (open), the diode is faulty.
Magnetron
What it does: Produces microwave radiation to heat food.
Symptoms of failure: No heating, buzzing sound, burning smell.
How to test:
- Set the multimeter to resistance (ohms) mode.
- Disconnect the magnetron from the circuit.
- Place the probes on the two magnetron terminals.
- A good magnetron should show low resistance (less than 1 ohm).
- Test each terminal to the magnetron’s metal body—there should be no continuity (if there is, it’s shorted and bad).
High-voltage capacitor
What it does: Stores and releases electrical energy for the magnetron.
Symptoms of failure: Loud humming, microwave not heating, blown fuse.
How to test:
- Set the multimeter to resistance (ohms) mode or capacitance mode (if available).
- Place the probes on the capacitor terminals.
- In resistance mode, the reading should start low and increase to “OL” (open line) as the capacitor charges.
- If the resistance stays low (shorted) or remains at OL (open) from the start, the capacitor is bad.
Thermal fuse & thermostats
What they do: Prevent overheating by cutting off power when temperatures get too high.
Symptoms of failure: Microwave won’t turn on, stops running unexpectedly.
How to test:
- Set the multimeter to continuity mode (or resistance mode).
- Disconnect the fuse or thermostat from the circuit.
- Place the probes on both terminals.
- A good fuse/thermostat should show continuity (0 ohms) when cold.
- If it shows “OL” (no continuity), it’s blown and must be replaced.
Door switches
What they do: Ensure the microwave only operates when the door is properly closed.
Symptoms of failure: Microwave doesn’t start, runs with the door open, or stops mid-cycle.
How to test:
- Set the multimeter to continuity mode.
- Remove the door switch from its mounting bracket.
- Place the probes on the switch terminals.
- Press the switch—continuity should turn on/off as the button is pressed.
- If there’s no change in reading, the switch is faulty.
Additional information
Thank you for reading! If you have any other appliance repair needs or projects, don’t hesitate to explore our other troubleshooting guides and videos.
If you need replacement parts or some extra help with ordering them, grab your model number and head over to AppliancePartsPros.com, where you can chat with a pro, read our DIY blog and more.
Don’t forget to subscribe to us on YouTube and follow us on Facebook, Twitter and Instagram!
Read more:
Must-Have Tools for Appliance Repair – DIY For Beginners
With nearly a decade of experience in providing top-notch customer service regarding appliance parts and repair, Steven enjoys sharing practical advice, troubleshooting tips, and interesting information to help readers stay informed.