Where and How to Install a Steam Closet in Your Home
Steven E / Thursday September 4, 2025
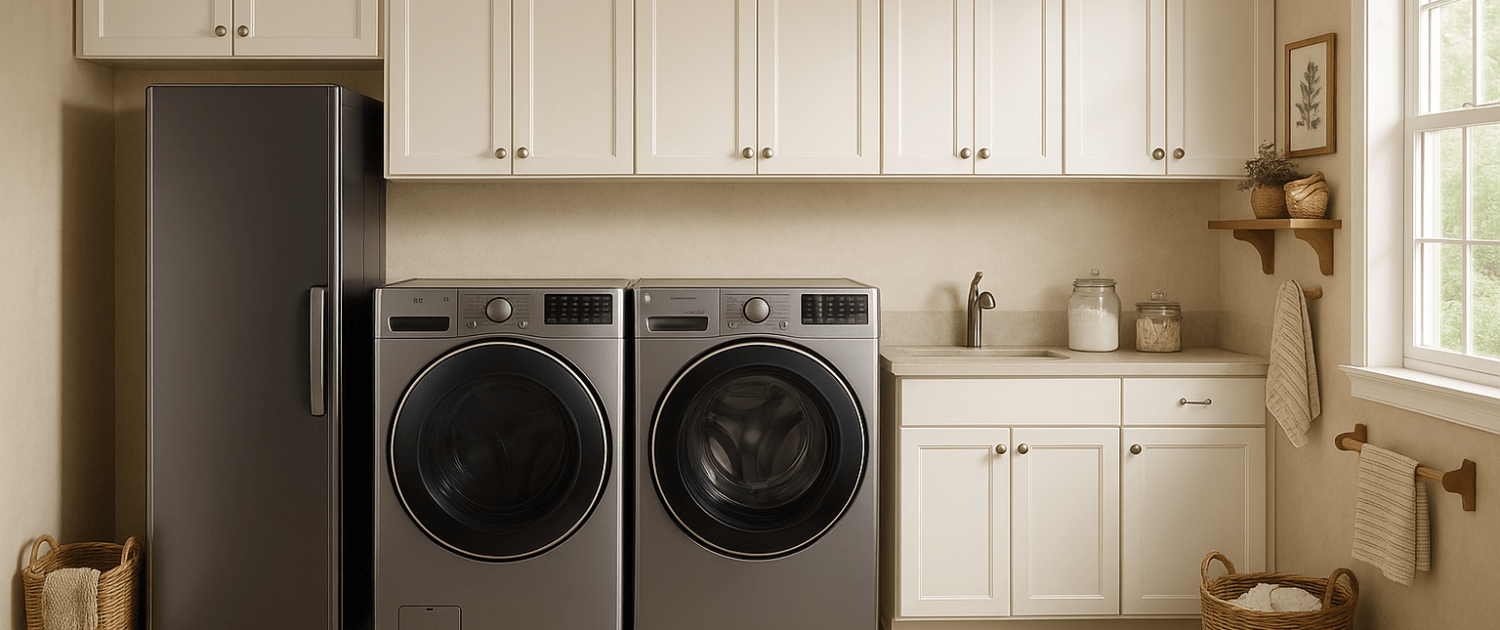
Thinking about adding a steam closet to your home, but not sure where it should go? You’ve got options! From laundry rooms to walk-in closets, the right spot makes all the difference. Here’s a quick guide on where and how to install a steam closet so it fits perfectly into your routine.
Step 1: Pick the Right Spot (Think Function First)
Steam closets earn their keep when they’re easy to use. Put yours where you actually change, store clothes, or stage outfits.
Top placement ideas:
- Primary closet or dressing room
- Laundry room or hallway near laundry
- Mudroomorentry
- Guest room or office closet
- Bedroom nook
Put it where…

- You’ll use it daily (near your closet is better than across the house).
- You can open the door fully without hitting doors or cabinets.
- There’s a power outlet within reach (and water, if you’re plumbing it).
Step 2: Measure Like a Pro (Twice)
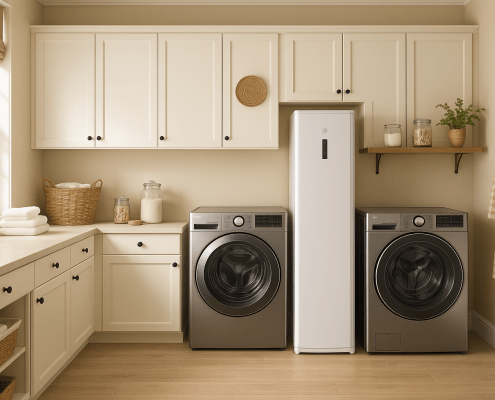
Steam closets are vertical cabinets. Most are slimmer than a fridge but taller than a washer. Whatever the specs, measure your intended spot and your delivery path.
Measure these:
- Width, depth, height of the space (include baseboards, crown molding).
- Door swing clearance (left or right? hinge side? any wall collisions?).
- Front clearance to stand and load comfortably (aim for 24–36 inches).
- Top and side clearance that the manufacturer recommends for airflow (usually a few inches).
- Flooring type (tile or vinyl sealed = ideal; carpet = avoid).
- Delivery path (stairs, hall turns, low ceilings, narrow doors).
Pro tip: Tape out the footprint and door swing with painter’s tape. “Live with it” for a day to make sure it won’t block traffic or closet drawers.
Step 3: Power, Water, and (Maybe) Drainage
Electrical
- Outlet: Most units use a standard 120V grounded outlet. Some large or pro models may need 240V; check before you buy.
- Circuit: A dedicated circuit is ideal to avoid tripping breakers, especially if sharing a wall with other appliances.
- GFCI: If the unit sits in a damp area (laundry, bath-adjacent), consider a GFCI-protected outlet per local code.
- Cord reach: Confirm the cord length. Avoid extension cords.
Water: Tank-Fed vs. Plumbed
- Tank-fed (reservoir): Easiest. Add distilled (or filtered) water when prompted. Flexible placement, no plumbing.
- Plumbed: Tidy and convenient for heavy usage. Needs a cold-water supply line; sometimes a drain.
Water quality matters: Hard water = mineral scale. If you’re tank-fed, use distilled or filtered water. If plumbed, consider an inline filter or softener and stick to the manufacturer’s descale schedule.
Drainage (if required)
- Many steam closets don’t need a dedicated drain (they capture or evaporate condensation internally).
- If yours does, you’ll need a nearby drain or a condensate pump to move water to one. Keep the run short and sloped.
Step 4: Floors, Walls, and Moisture Management
Steam doesn’t mean “sauna,” but you’re still working with heat and humidity. Make the envelope friendly:
Flooring:
- Best: tile, vinyl, sealed hardwood, painted concrete.
- Avoid: thick carpet (traps moisture and can create a musty zone).
- Pro move: Add a waterproof tray or mat under the unit to catch drips and protect floors.
Level and anchor:
- Use the leveling feet so doors seal properly and water flows where it should.
- If you have kids or pets, ask the installer about anti-tip brackets (these are tall cabinets).
Walls and nearby materials:
- Keep a few inches of clearance per the manual.
- Avoid pressing it into raw wood shelving that could absorb humidity.
Room humidity:
- Normal cycles shouldn’t change room humidity much, but small rooms benefit from a bath fan or laundry exhaust fan, a cracked window during long sanitize cycles, or a portable dehumidifier if your house runs humid.
Step 5: Venting (or Not)
Most consumer steam closets are non-vented (unlike dryers). They circulate steam inside and manage condensation internally. You may see a little warm air at the cycle end, nothing like a dryer exhaust.
Checklist:
- Confirm no external vent is required for your model.
- Provide recommended clearance for air intake or exhaust grills.
- Avoid shoving the unit in a super-tight alcove with zero air movement.
Step 6: Noise and Vibe
Steam closets are quieter than dryers (no tumbling). You’ll hear soft fans and occasional gurgles. If you’re placing it adjacent to a bedroom:
- Pick a model with night or quiet mode if available.
- Add felt pads or a thin isolation mat if vibrations transfer through older floors.
Step 7: Safety and Code Basics (Worth the Two Minutes)
- Follow local codes for outlets and water connections (especially in bathrooms or basements).
- Child lock: Enable it if small hands can reach the controls.
- Auto-shutoff: Standard, but verify it works and don’t defeat it.
- Clear the top: Don’t store items on top that could trap heat or fall behind the unit.
- Insurance: If you’re plumbing a water line on an upper floor, consider a leak sensor and a drip pan with a drain.
Apartment vs. House: What Changes?
Apartments or condos:
- Choose tank-fed for the easiest installation.
- Verify floor load and elevator dimensions for delivery.
- Ask building management about appliances and water hookups (if you’re considering plumbed).
- Mind neighbors below, use an isolation mat on older floors.
Houses:
- You can go plumbed in a laundry room, primary closet, or utility room.
- If upstairs, consider a drain pan and leak detector.
- Think about proximity to bedrooms for noise levels.
Installation Day: What to Expect
- Unbox and inspect: Check panels, door alignment, and hardware.
- Position and level: Adjust feet; confirm door seals smoothly.
- Power: Plug into the correct outlet; verify voltage.
- Water: Fill tank with distilled water or connect plumbed line (use approved fittings; don’t overtighten).
- First run: Do an empty cycle to burn off any new-appliance smell.
- App setup (if smart): Connect Wi-Fi, set your favorite cycles.
Pro tip: Keep a photo of the back connections and model number for future service.
Where To Find Us
If you need any replacement parts for your appliances, you can enter your model number at AppliancePartsPros.com to locate and order them quickly. Most orders arrive in just two business days, and we have tons of great information in our repair help section and YouTube videos to help you troubleshoot.
Stay connected with the latest DIY tips, tutorial videos, and repair guides by following us on Facebook, Instagram, and Twitter. We love hearing about your repair stories and successes. If you need more help or want personalized guidance, feel free to contact or call us at 877-477-7278. We’re ready to help you take on your next project with confidence!
Since 1999, AppliancePartsPros.com has helped millions of people repair their broken appliances by providing high-quality original parts at well below retail prices, free support and troubleshooting, and award-winning customer service from an expert, friendly, US-based customer support team!
Looking for the right part? Enter your appliance model number below to find the exact match and get your appliance running like new again!
 https://www.appliancepartspros.com/b/wp-content/uploads/2025/09/20250902_1604_Cozy-Country-Laundry_simple_compose_01k460chwnemn9kxzss4s0w8yr.png
1024
1536
Steven E
https://www.appliancepartspros.com/b/wp-content/uploads/2020/11/app-logo-std.png
Steven E2025-09-05 10:33:302025-09-05 10:33:38When and How to Clean Your Steam Closet’s Water Tank
https://www.appliancepartspros.com/b/wp-content/uploads/2025/09/20250902_1604_Cozy-Country-Laundry_simple_compose_01k460chwnemn9kxzss4s0w8yr.png
1024
1536
Steven E
https://www.appliancepartspros.com/b/wp-content/uploads/2020/11/app-logo-std.png
Steven E2025-09-05 10:33:302025-09-05 10:33:38When and How to Clean Your Steam Closet’s Water Tank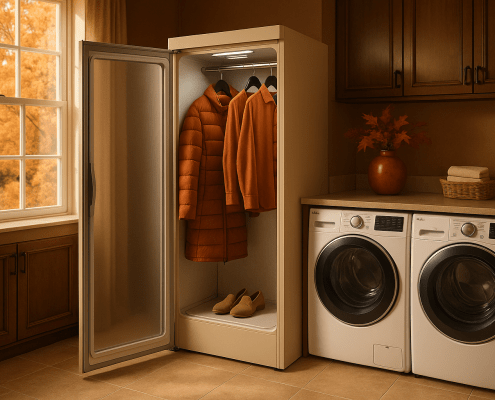 https://www.appliancepartspros.com/b/wp-content/uploads/2025/09/20250626_1532_Luxury-Laundry-Retreat_simple_compose_01jypvj1sye128rnzdeje9fzse.png
1024
1536
Steven E
https://www.appliancepartspros.com/b/wp-content/uploads/2020/11/app-logo-std.png
Steven E2025-09-05 10:21:462025-09-05 10:21:54How to Fix Lint Buildup in a Laundry Steam Closet
https://www.appliancepartspros.com/b/wp-content/uploads/2025/09/20250626_1532_Luxury-Laundry-Retreat_simple_compose_01jypvj1sye128rnzdeje9fzse.png
1024
1536
Steven E
https://www.appliancepartspros.com/b/wp-content/uploads/2020/11/app-logo-std.png
Steven E2025-09-05 10:21:462025-09-05 10:21:54How to Fix Lint Buildup in a Laundry Steam Closet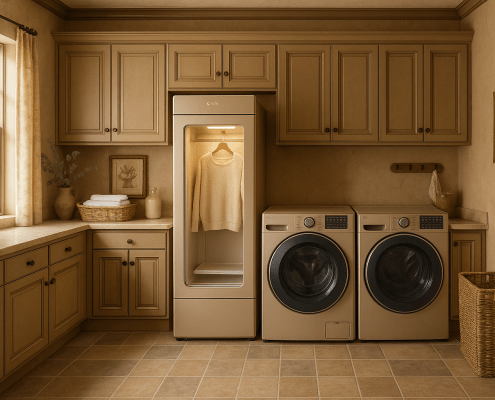 https://www.appliancepartspros.com/b/wp-content/uploads/2025/09/20250905_1121_Elegant-Laundry-Room_simple_compose_01k4d7e16qe33aqsnbg4pgwtwh.png
1024
1536
Steven E
https://www.appliancepartspros.com/b/wp-content/uploads/2020/11/app-logo-std.png
Steven E2025-09-05 10:13:342025-09-05 10:14:09How to Descale and Flush the Water System in a Steam Closet
https://www.appliancepartspros.com/b/wp-content/uploads/2025/09/20250905_1121_Elegant-Laundry-Room_simple_compose_01k4d7e16qe33aqsnbg4pgwtwh.png
1024
1536
Steven E
https://www.appliancepartspros.com/b/wp-content/uploads/2020/11/app-logo-std.png
Steven E2025-09-05 10:13:342025-09-05 10:14:09How to Descale and Flush the Water System in a Steam ClosetWith nearly a decade of experience in providing top-notch customer service regarding appliance parts and repair, Steven enjoys sharing practical advice, troubleshooting tips, and interesting information to help readers stay informed.
Leave a Reply
Want to join the discussion?Feel free to contribute!