4 quick fixes for a garbage disposal that’s leaking from the top
Steven E / Monday March 17, 2025
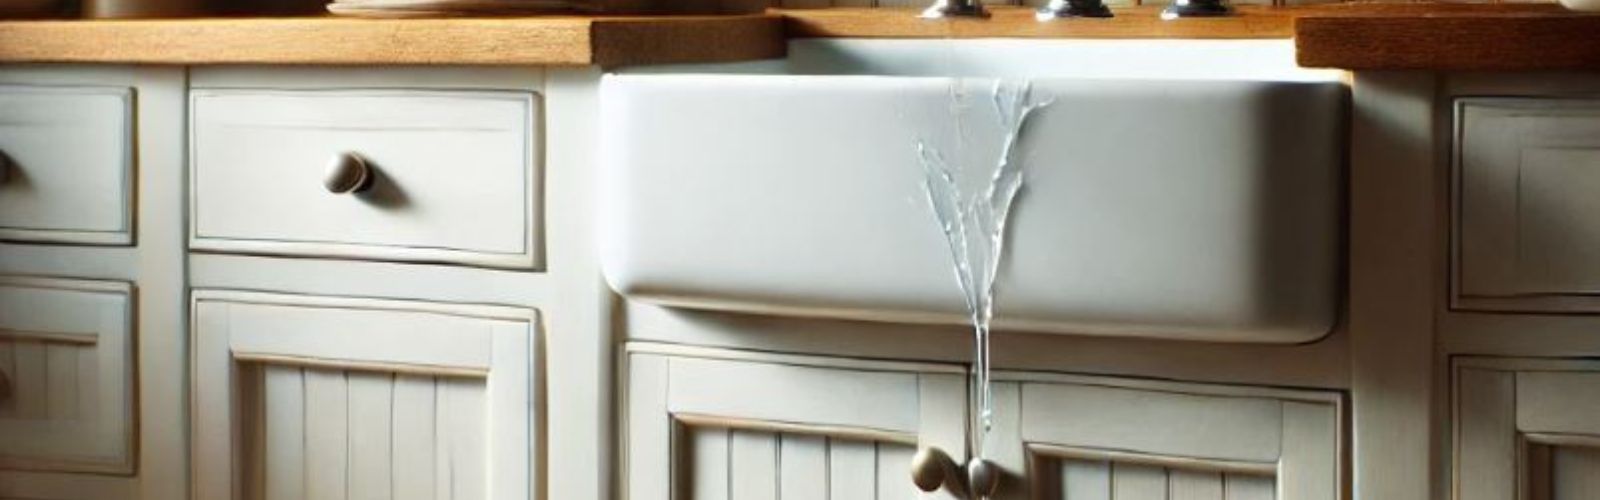
So you’ve spotted water under your sink and tracked it back to your garbage disposal? A leak from the top of your disposal unit can be a real head-scratcher, but here’s the good news: it’s often an easy fix. Let’s take a closer look at why this happens and how you can tackle it yourself.
Heads up: The info in this article might not fit your specific appliance model. While we try to dish out helpful advice for all sorts of DIY appliance repairs, different models and setups can mean different troubleshooting steps, error codes, parts you name it. For the most accurate guidance, we highly recommend checking the manufacturer’s documentation for your specific model or reaching out to us with any questions.
Cause 1: Loose sink flange
The sink flange is the part that connects your garbage disposal to the sink drain. If the flange becomes loose or the seal around it wears out, water can leak from the top of your disposal. This is one of the most common causes of leaks in this area.
How to diagnose the issue:

- Turn off the power to the garbage disposal by unplugging it or flipping the circuit breaker.
- Look for water pooling around the base of the sink or dripping where the disposal attaches to the sink.
- Gently push on the disposal to check if the flange feels loose or wobbly.
How to fix a loose flange:
- Use a screwdriver to tighten the bolts that secure the flange to the sink.
- Be careful not to overtighten, as this could damage the flange or sink.
- Reseal the flange if tightening doesn’t stop the leak.
- Disconnect the disposal from the flange by turning it counterclockwise.
- Scrape away any old plumber’s putty or sealant from the flange and the sink.
- Apply a new layer of plumber’s putty around the underside of the flange where it meets the sink.
- Reattach the flange and tighten the mounting bolts evenly to ensure a secure seal.
- Wipe away any excess putty that squeezes out when you tighten the bolts.
- Reconnect the disposal to the flange and restore power, Run water into the sink to test for leaks.
Cause 2: Damaged or worn-out gasket
The gasket is the rubber ring that seals the connection between the sink flange and the garbage disposal. Over time, this gasket can crack, dry out, or become misaligned, leading to leaks from the top of the disposal.
How to diagnose the issue:
- Turn off the power to the garbage disposal by unplugging it or switching off the circuit breaker.
- Inspect the area where the disposal connects to the sink flange. If water drips from this joint while the sink is running, the gasket might be the problem.
- If possible, remove the disposal and examine the gasket for visible signs of wear, cracks, or poor fit.
How to fix a damaged gasket:
- Disconnect the disposal from the sink flange by twisting it counterclockwise.
- Set the unit aside carefully, ensuring no water spills onto any electrical components.
- Locate the rubber gasket seated in the mounting assembly of the disposal.
- Remove the old gasket and clean the surrounding area to remove debris or buildup.
- Install a new gasket that matches the model of your disposal.
- Secure the disposal back onto the sink flange, twisting it clockwise to lock it in place.
- Make sure the gasket seats properly during reassembly to ensure a watertight seal.
- Restore power and run water into the sink while monitoring the connection. If no water leaks out, the problem is solved.
Cause 3: Cracks in the disposal housing
Over time, the upper housing of your garbage disposal can develop cracks due to wear and tear, vibrations, or manufacturing defects. These cracks can allow water to seep out from the top of the unit.
How to diagnose the issue:
- Turn off the power to the disposal by unplugging it or flipping the circuit breaker.
- Use a flashlight to carefully inspect the disposal’s housing, particularly around the top where it connects to the sink flange.
- Look for visible cracks, hairline fractures, or signs of water seeping through the housing.
- Run water into the sink and observe if any leaks come directly from the body of the disposal, not the connections.
How to fix cracks in the disposal housing:
- For minor cracks, clean the area around the crack thoroughly with a dry cloth.
- Apply a waterproof epoxy or sealant designed for plumbing repairs. Follow the manufacturer’s instructions for application and drying times.
- Allow the sealant to cure completely before testing the disposal.
Unfortunately, large or numerous cracks usually mean the disposal housing is compromised and not repairable. In this case, replacing the entire disposal unit is the most effective solution.
Cause 4: Improperly installed or loose dishwasher connection
If your garbage disposal is connected to a dishwasher, the hose that links the two can sometimes become loose, improperly sealed, or damaged. This can result in water leaking from the top of the disposal when the dishwasher is running or when water backs up into the sink.
How to diagnose the issue:
- Run the dishwasher while observing the disposal for leaks around the area where the dishwasher hose connects to it.
- Check for water dripping or spraying from the hose connection during or shortly after the dishwasher drains.
- Inspect the hose and clamp for visible damage, cracks, or a loose fit.
How to fix a loose or faulty dishwasher connection:
- Turn off the power to the disposal by unplugging it or flipping the breaker.
- Locate the dishwasher drain hose connection on the side of the disposal.
- Use a screwdriver to tighten the hose clamp, ensuring it securely holds the hose in place.
- Replace a damaged hose or clamp with a compatible part if they are damaged.
If you suspect the connection isn’t watertight, apply a small amount of plumber’s tape around the disposal’s inlet before attaching the hose. This can help create a tighter seal and prevent leaks.
Prevent future leaks
- Regularly check the sink flange, disposal unit, and connections for signs of wear or looseness.
- Vibrations can loosen bolts over time. Make sure all mounting bolts are snug not too tight, though.
- Always use cold water when running the disposal to solidify any grease or oils, preventing clogs and pressure buildup.
- Don’t toss hard items like bones or fruit pits into the disposal they can cause damage and loosen up components.
- If you’re unsure about any part or need to find replacement parts, check out our guide on how to find your appliance’s model number.
Need more help?
If you’re still having trouble or want to dig deeper into appliance repairs, swing by our repair help section we’ve got detailed guides and resources for all kinds of appliances.
Don’t forget, that taking the time to maintain and inspect your garbage disposal can save you from bigger headaches down the road. With these DIY tips, you’re well on your way to keeping your kitchen running smoothly.
If you’ve got questions or need personalized assistance, don’t hesitate to reach out to us at AppliancePartsPros.com. We’re here to help you every step of the way.
Stay connected with us for more appliance tips and tricks!
With nearly a decade of experience in providing top-notch customer service regarding appliance parts and repair, Steven enjoys sharing practical advice, troubleshooting tips, and interesting information to help readers stay informed.