5 Signs Your KitchenAid Mixer Needs Routine Maintenance
Steven E / Thursday September 4, 2025
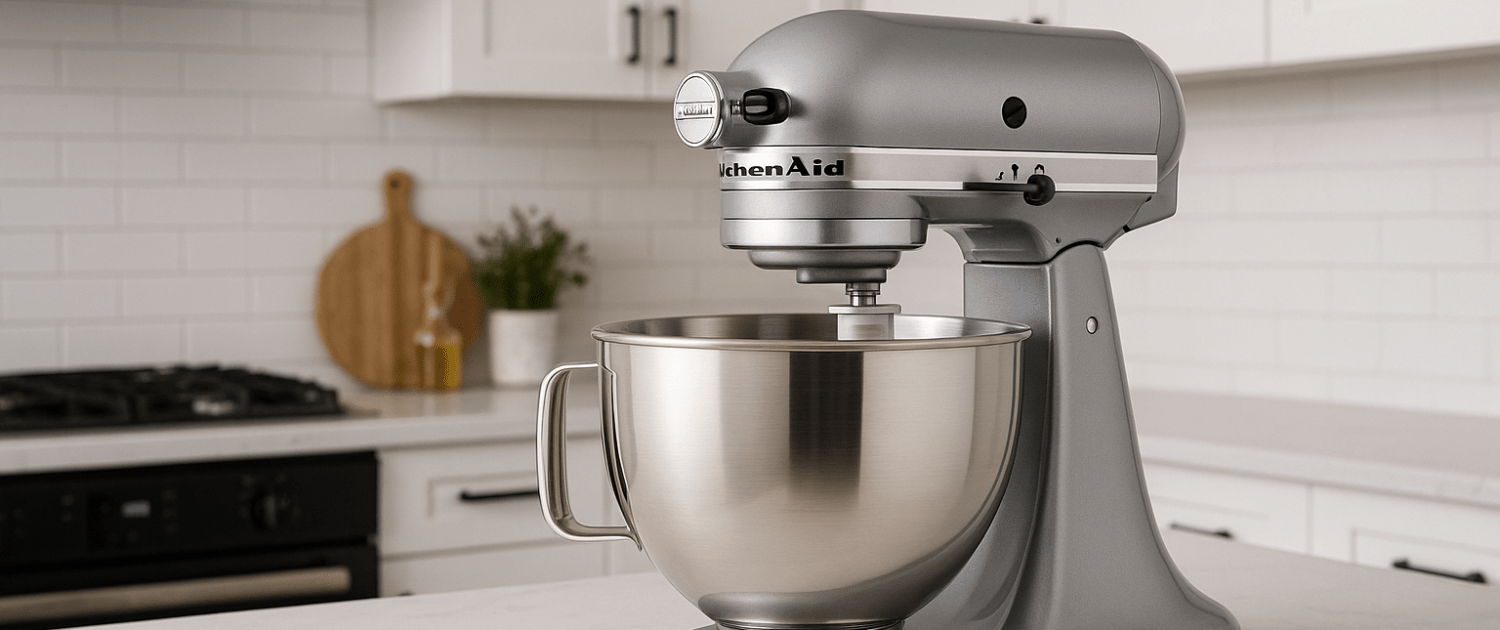
Your KitchenAid stand mixer is built to last decades, but even the toughest machines need a little hands-on care once in a while. The good news? Many issues can be fixed right at home with some simple tools, a little patience, and the right know-how. If you notice any of these five warning signs, don’t panic, grab a screwdriver, maybe a set of food-grade grease, and let’s get your mixer back in shape.
Sign #1: Unusual Noises (Grinding, Clicking, or Scraping)
That smooth hum should always sound steady. If you hear grinding, rattling, or scraping, chances are something’s misaligned, loose, or wearing down.
DIY checks and fixes:
- Beater scraping bowl? Do the dime test: put a dime in the bowl, attach the flat beater, and run at speed 1. Adjust the beater height using the small screw at the neck (tilt-head) or the yoke screw (bowl-lift) in tiny ⅛ turns.
- Loose screws or hinge pin? Unplug, flip the mixer, and snug the hinge pin and housing screws with a screwdriver.
- Planetary hub wobble? Remove the drip ring and check the attachment shaft retaining pin. Replace if it’s slipping.
- Persistent gear noise? Open the gearbox (top cover off with a Phillips screwdriver), inspect the worm gear. If teeth are worn or chipped, order a replacement gear and swap it out.
Sign #2: Grease Leaking or Oil Drips
Your mixer’s gears are packed with food-grade grease. Over time, especially if the mixer sits unused, the oil can separate and leak out.

DIY fix:
- Unplug and remove the back cover (2 screws) and motor head cover (4 screws).
- Carefully scrape out old grease from the gears.
- Clean the inside of the housing with paper towels.
- Apply new food-grade grease evenly over the gears.
- Reassemble the housing, making sure the gasket seats properly.
Pro tip: Run the mixer empty on speed 10 for 1 minute once a month. This redistributes grease and helps prevent oil separation.
Sign #3: Overheating or Burning Smell
If the mixer smells like burnt toast or shuts off mid-batch, it’s overheating. Sometimes it’s just overload, but if it happens on light tasks, it’s likely clogged vents, dry gears, or worn carbon brushes.
DIY fixes:
- Clear the vents: Use a soft brush or small vacuum nozzle to remove flour, dust, or lint.
- Check brushes: Remove the side caps with a flathead screwdriver. Slide out the carbon brushes; if they’re worn down to less than ½ inch, replace them. Make sure the notched edge of the new brushes lines up correctly when reinstalling.
- Regrease gears: As in Sign #2, old grease can create extra friction and heat. Fresh grease = cooler running.
Sign #4: Inconsistent Speeds or Surging
If your mixer speeds up, slows down, or won’t hold a steady pace, the speed control plate or linkage may be out of calibration or dusty.
DIY fixes:
- Unplug the mixer. Remove the back housing cover.
- Locate the speed control plate (the part connected to the lever).
- Blow out dust and flour with compressed air or a small brush.
- Tighten the two adjustment screws slightly, then test.
- If surging persists, replace the speed control plate (a common wear item, available online).
Tip: When replacing, take a quick photo before removing wires so you know exactly where to reconnect them.
Sign #5: Poor Mixing (Dead Zones or Constant Scraping)
If ingredients cling to the bowl bottom or the beater scrapes constantly, either the attachments are worn, or the bowl/beater height is off.
DIY fixes:
- Adjust beater height (again, dime test method).
- Replace old attachments: Chipped, coated beaters, bent whips, or worn flex-edge scrapers can’t perform well. Swap for stainless replacements; they’re sturdier and dishwasher safe.
- Check bowl fit: For bowl-lift models, make sure the bowl pins are seated fully in the arms. If loose, bend the arms slightly inward with pliers for a snug fit.
The Bottom Line
Most KitchenAid mixer issues don’t mean the end of your machine; they just mean it’s time for a DIY tune-up. Noises, drips, overheating, weird speeds, or poor mixing are all problems you can tackle at home with basic tools and inexpensive parts. Grease it, tighten it, replace worn parts when needed, and your mixer will keep cranking out bread, cookies, and birthday cakes for decades.
Where To Find Us
If you need any replacement parts for your appliances, you can enter your model number at AppliancePartsPros.com to locate and order them quickly. Most orders arrive in just two business days, and we have tons of great information in our repair help section and YouTube videos to help you troubleshoot.
Stay connected with the latest DIY tips, tutorial videos, and repair guides by following us on Facebook, Instagram, and Twitter. We love hearing about your repair stories and successes. If you need more help or want personalized guidance, feel free to contact or call us at 877-477-7278. We’re ready to help you take on your next project with confidence!
Since 1999, AppliancePartsPros.com has helped millions of people repair their broken appliances by providing high-quality original parts at well below retail prices, free support and troubleshooting, and award-winning customer service from an expert, friendly, US-based customer support team!
Looking for the right part? Enter your appliance model number below to find the exact match and get your appliance running like new again!
 https://www.appliancepartspros.com/b/wp-content/uploads/2025/09/20250709_1340_Modern-Kitchen-Setup_simple_compose_01jzr47f29eta8qkm70jtkda7v.png
1024
1536
Steven E
https://www.appliancepartspros.com/b/wp-content/uploads/2020/11/app-logo-std.png
Steven E2025-09-05 10:48:472025-09-05 10:48:54How to Clean KitchenAid Mixer Attachments Without Damaging Them
https://www.appliancepartspros.com/b/wp-content/uploads/2025/09/20250709_1340_Modern-Kitchen-Setup_simple_compose_01jzr47f29eta8qkm70jtkda7v.png
1024
1536
Steven E
https://www.appliancepartspros.com/b/wp-content/uploads/2020/11/app-logo-std.png
Steven E2025-09-05 10:48:472025-09-05 10:48:54How to Clean KitchenAid Mixer Attachments Without Damaging Them https://www.appliancepartspros.com/b/wp-content/uploads/2025/09/20250709_1340_Modern-Kitchen-Setup_simple_compose_01jzr47f2cenv9y2rk00bw2z7x.png
1024
1536
Steven E
https://www.appliancepartspros.com/b/wp-content/uploads/2020/11/app-logo-std.png
Steven E2025-09-05 10:44:172025-09-05 10:44:25Keep Your KitchenAid Stand Mixer Fresh: Daily Cleaning Guide
https://www.appliancepartspros.com/b/wp-content/uploads/2025/09/20250709_1340_Modern-Kitchen-Setup_simple_compose_01jzr47f2cenv9y2rk00bw2z7x.png
1024
1536
Steven E
https://www.appliancepartspros.com/b/wp-content/uploads/2020/11/app-logo-std.png
Steven E2025-09-05 10:44:172025-09-05 10:44:25Keep Your KitchenAid Stand Mixer Fresh: Daily Cleaning Guide https://www.appliancepartspros.com/b/wp-content/uploads/2025/09/20250709_1336_Luxury-Kitchen-Baking-Scene_simple_compose_01jzr40p6pe09bgx9cmjyb2agj.png
1024
1536
Steven E
https://www.appliancepartspros.com/b/wp-content/uploads/2020/11/app-logo-std.png
Steven E2025-09-05 08:53:312025-09-05 08:53:41KitchenAid Stand Mixers: Classic vs. Digital Comparison
https://www.appliancepartspros.com/b/wp-content/uploads/2025/09/20250709_1336_Luxury-Kitchen-Baking-Scene_simple_compose_01jzr40p6pe09bgx9cmjyb2agj.png
1024
1536
Steven E
https://www.appliancepartspros.com/b/wp-content/uploads/2020/11/app-logo-std.png
Steven E2025-09-05 08:53:312025-09-05 08:53:41KitchenAid Stand Mixers: Classic vs. Digital ComparisonWith nearly a decade of experience in providing top-notch customer service regarding appliance parts and repair, Steven enjoys sharing practical advice, troubleshooting tips, and interesting information to help readers stay informed.
Leave a Reply
Want to join the discussion?Feel free to contribute!