7 Space-Saving Tips For Small Kitchens
APP Expert / Monday January 10, 2022
We all long for the gigantic kitchen of our dreams, right? But until we get there, we’ve got to make the most of what we have. You may never escape having a pet underfoot or people in your way while you’re cooking, but we can at least help you stretch that small kitchen’s space to its limit. In this article, we’ve got seven space-saving tips to make your small kitchen more manageable. Let’s get started.
Need a part to fix an appliance? Search below with your exactly model number to find the perfect part:

1. Take advantage of vertical space
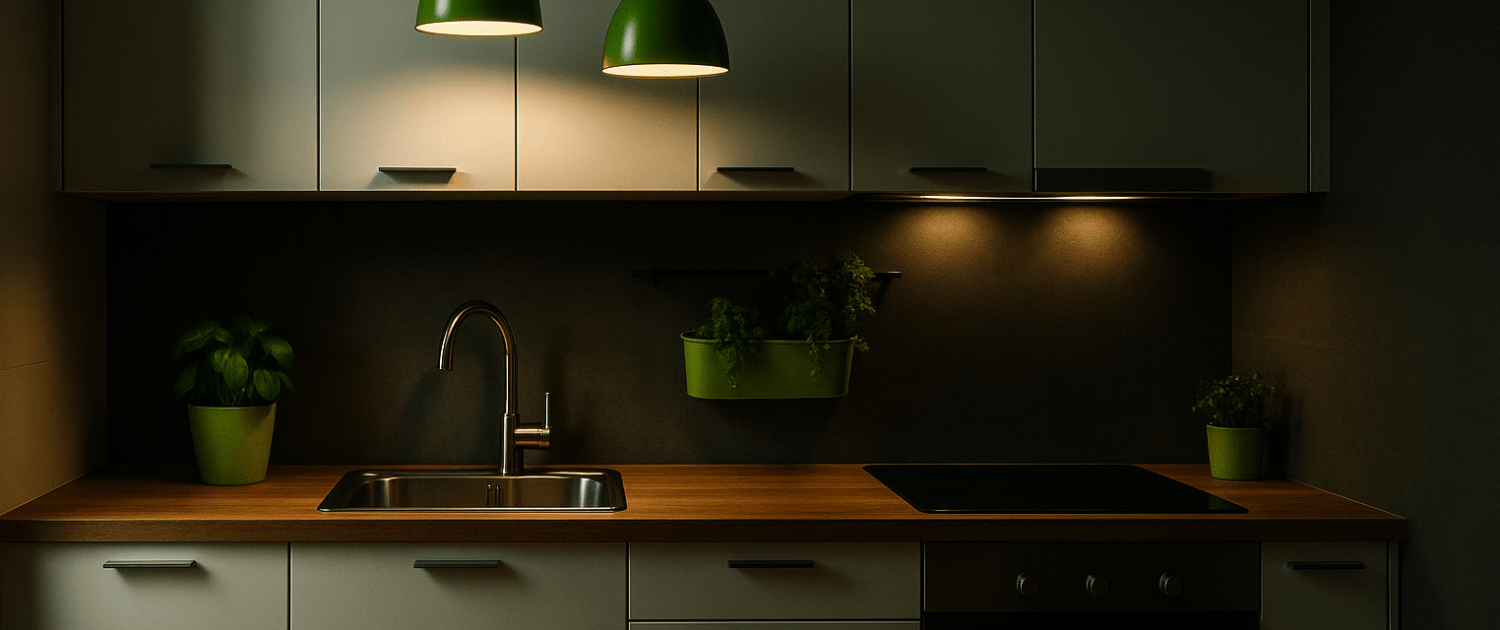
Really, one of the best things you can do to save space in your kitchen is optimize how you use the available vertical areas. There’s all sorts of specialized hardware and hangers that mount to walls or go over cabinet doors to provide you with some extra space.
With hooks, hanging racks, hanging baskets, and pot rails, you can hang just about anything: pots and pans, of course, but mugs, utensils, aprons, splatter screens, oven mitts, and spices, too. Even that bulky pizza peel can find a home on a wall with the right hook. There are also magnetic options for metal spice jars, pots, and knives. Just be mindful you don’t dull your blades when placing or removing them from the strip!

Wall-mounted storage is great because you can fit it just about anywhere, whether on a wide open wall or on the backsplash behind your sink. You can even use the sides or bottoms of cabinets, if there’s room enough to access those spaces. Storing things this way can be just as much about aesthetics as for practical use, but you don’t need to just use your visible walls. The inside of a cabinet door can be a good place to hide away things like spice racks, towel bars, or hooks to hang pot lids. If you go this route, make sure that you’ve mounted everything carefully. Test your hooks, rails, and overhead racks before hanging anything fragile or heavy on them!
2. Look up!
While we’re talking about vertical space, don’t forget to look above for additional storage room.
- The top of your fridge makes a great mini-pantry. You can stash things like cooking oil, parchment paper, pet food, or snacks up top.
- If you have space between the top of your cabinets and the ceiling, put the things you don’t use too often up there. Serving platters you use for special occasions, special use countertop appliances, roasting pans, cook books, or extra dishes or dish towels can all fit neatly up there, either on their own or in more aesthetically pleasing storage like baskets.
That above-the-cabinet space can be a bit of a pain to access, though, so don’t put anything you use on the regular up there unless you don’t mind dragging out the stepping stool constantly. - Turn the empty space over windows and doorways into extra storage with shelving. Installing shelves over windows or doorways gives you a bit more space to store the sorts of things you might not use all the time, but still would like to have on hand.
3. Let storage double as decoration
If your kitchen is wanting for decor, there’s no reason the items you use everyday can’t serve two functions. Focus on making the things you use most easier access – dish towels, oven mitts, utensils, plates, mugs, or spices. Keep dinnerware, glasses, and your favorite mugs neatly stacked on an open shelf, or store your most-used spices out in a basket or on a tiered dessert tray – remember, using vertical space will give you more countertop to work with come mealtime.
4. Increase shelf space by adding risers
Whether on your countertop or in your cabinets, you can add risers to add an additional level of space. Just keep in mind that you might cut your available height in half. This solution is best for objects that can be stored horizontally, or are already short to begin with, like canned goods.
5. Keep it clean
Speaking from experience, nothing makes my kitchen feel way too small quite like a stack of plates or pans waiting to be washed. Be diligent about your dirty dishes, whether you wash them by hand or pop them in the dishwasher, and put them away once they’re dry. A cramped kitchen will feel a lot less oppressive when dirty pots, pans, and spatulas aren’t adding to the clutter.
Bring that cleaning energy to the rest of your kitchen, too. Not just keeping your fridge, freezer, and cabinets clear of old or unwanted food, but consider the tools you use, as well. Go through everything with a focus on consolidating. Donate or dispose of the things you aren’t using. Got doubles of some utensil? Give them away! It might also finally be time to toss that once well-liked broken mug that you know you can’t fix. If you need some ideas, check out our other articles. We’ve got tips on how to dispose of old appliances like microwaves and dishwashers.
6. Save a bit more space with smaller appliances
If you’re about to embark on a total kitchen remodel and you’re considering arming the room with new appliances, don’t rule out the smaller options! Naturally you should prioritize your storage needs, but there are plenty of kitchen appliances that come in space-saving styles:
- Top freezer refrigerators tend to be smaller than other refrigerators, giving you more space both on the sides and up top, and they’re usually the most energy efficient style you can buy!
- Compact appliances are offered by most major brands. These narrow options can cut standard size appliances almost in half – refrigerators can be as small as 24 inches wide, and over-the-range microwaves can come in at a squat 10 inches, a cozy fit for a coffee mug.
- Counter depth appliances shave a few inches off the front of things like refrigerators to ensure they are flush with most standard counters. These lower profile options do tend to be a little pricier, though.
7. Making the most of your refrigerator space
If it feels like you’ve never quite got enough room in your fridge for everything, try these space-saving tips:
- Start from a clean slate. Take everything out and sort through it. Toss or compost expired food or anything you’re sure you’ll never use. Refrigerated or frozen food usually can’t be donated, but it may be worth checking with your local food bank to find out.
Once that step’s done, as you put food away again, make sure to keep anything that’s expiring soon toward the front. Get a specific bin for it, if you think that’ll help, so you’ll know it’s there and needs to be used the next time you open the fridge.
Make a habit of keeping your fridge clean and moving the things that are set to expire soon to a spot where you’ll see them first. If you aren’t losing radishes to the back of the fridge, you’ll save more space and avoid foul smells.
- Make sure all of your shelves and bins are in good shape, and replace them if they aren’t. If any shelves or bins are cracked, sagging, or broken, you may be hesitant to use them. Don’t let a stuck drawer deprive you of additional storage space!
These sorts of components are super easy to replace. If your fridge has a damaged shelf, get the appliance’s model number and head over to AppliancePartsPros.com. You can search for a compatible part, and you’ll get it in just a few days. Installing a new bin or shelf is usually as easy as sliding it into place.
- Speaking of shelves, add some risers! Risers aren’t just for cabinets. You can use them in your fridge and freezer, too, to double up on available surface area.
- Use binder clips to hang things from the underside of wire shelves. This works especially well with frozen goods that come in bags like steamable veggies and frozen fruits.
- Use magnets! A powerful strip magnet on your fridge’s ceiling can be used to hold glass bottles, while sticking magnets to the bottom of reusable containers will allow you to put them on the walls or sides of your fridge.
- If you’re in the market for a new fridge, consider opting for a model without a water dispenser. The water dispenser and ice maker assemblies both takes up a lot of space in your fridge. If you forego the water dispenser, you’ll either be able to opt for a smaller refrigerator, overall, or have a bit more room on the inside of a larger fridge.
Wrapping Up
We hope our space saving and organizing tips have helped you reclaim some room in your kitchen. If you’re looking for more help with kitchen upkeep, take a look at our blog. AppliancePartsPros.com has tons of tips, detailed tutorials, and genuine OEM replacement parts for all your appliance needs, and our friendly, knowledgeable staff is happy to help you do-it-yourself!
Hi! I’m Matt H., and I’m thrilled to be your guide through the world of appliance repair with over 25 years of invaluable experience in the industry.
From the early days of my career, I have been deeply passionate about appliances and their inner workings. Over the years, I’ve seen it all – from vintage models to the latest cutting-edge technology – and I’ve dedicated myself to mastering the art of repair. With a toolbox in one hand and a wealth of knowledge in the other, I’ve tackled every challenge that has come my way, learning and growing with each repair.
Join me as we dive into the intricacies of appliance repair. From step-by-step repair guides to explanations of common problems and their solutions, I’ll be here to simplify the repair process and empower you with the knowledge you need to keep your appliances running smoothly.
Feel free to explore our blog, ask questions, and leave comments – this platform is a space for learning, sharing, and growing together. Let’s work together to ensure that your appliances continue to serve you for years to come.
Thank you for joining me on this journey, and I look forward to being your go-to resource for all things related to appliance repair!