What you should know about replacing Whirlpool dryer parts
Steven E / Tuesday September 3, 2024
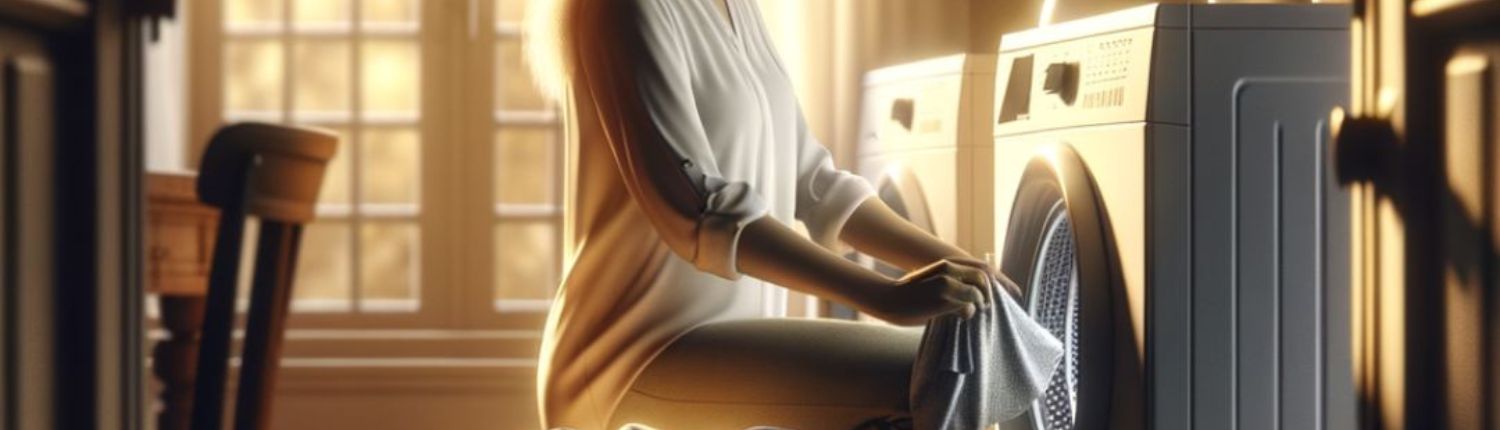
Like any household appliance, Whirlpool dryers can malfunction over time. Fortunately, many of these problems can be fixed with a little DIY know-how and some tips from the Pros!
Let’s walk through what you need to know about replacing Whirlpool dryer parts so you can keep your unit functioning well for many years to come.
If you need any replacement parts for your Whirlpool dryer, you can enter your model number at AppliancePartsPros.com to order them. Most orders arrive in just two business days, and we have thousands of free guides to show you how to install your new parts.
How to find the right replacement part for your Whirlpool dryer
Follow these steps to get exactly what you need for your next Whirlpool dryer replacement.

Step 1: Find your dryer’s model number
This little string of numbers, letters and sometimes other characters is your key to finding the right parts for your machine. Knowing this small but mighty information not only saves you time when searching for parts, but also helps you avoid the frustration of ordering the wrong ones.
Possible locations for your dryer model number:
- Inside the door frame: Open the dryer door and look around the door frame or the door itself. The model number is often on a sticker or metal plate here, usually along the top or side edge.
- Behind the door: With the dryer door open, check the area behind the door itself, especially along the top or sides where the door meets the dryer body.
- On the control panel: The model number may be located on the underside or back edge of the control panel.
- Side or rear of the cabinet: Check on the sides or the rear panel of the dryer’s cabinet, especially near the bottom.
Read more: How to find your appliance’s model number
Step 2: Test the affected parts to see if they’re faulty
Once you’ve got the model number, the next step is to test the part(s) you believe need to be replaced. If it’s a mechanical part that power moves through, then you’ll most likely need to use a multimeter to test it for continuity, resistance or voltage.
It’s important to test parts before ordering new ones to make sure they’re really faulty. This helps you know for sure what needs to be replaced so you don’t accidentally order the wrong part for the issue your unit is experiencing.
How to measure resistance
A part’s resistance tells you if it’s functioning properly or broken.
- Always disconnect the appliance from the power source before testing.
- Turn your multimeter dial to the Ohms (Ω) setting.
- Touch the probes to the terminals of the part you want to test.
Good reading: A reading close to the manufacturer’s specifications typically indicates that the resistance is normal.
Bad reading: A high reading or infinity (OL) usually means the part is faulty.
How to test continuity
Continuity checks if there’s a complete path for the current to flow through the part.
- Always unplug the appliance before testing.
- Set the multimeter to the continuity setting (often a sound wave or sideways WiFi-type symbol).
- Touch the probes to the terminals of the part.
Good reading: You’ll typically hear a beep from the multimeter or see a low resistance reading, which indicates continuity.
Bad reading: No sound from the meter or an infinity reading, which means there’s a break in the circuit.
How to check voltage
Voltage measures the electrical potential difference in a circuit.
LIVE VOLTAGE WARNING: To check live voltage, the appliance needs to be plugged in and powered on. Please be very careful to protect yourself from electric shock, which has the potential to cause serious injuries. Don’t ever test live voltage if you’re uncomfortable using a multimeter.
- Make sure the appliance is plugged in and powered on.
- Turn the dial on your multimeter to the AC or DC voltage setting, depending on the type of appliance you’re testing.
- Carefully touch the multimeter probes to the terminals or contacts where you want to measure voltage.
Good reading: A reading close to the expected voltage indicates the circuit is working.
Bad reading: A reading of zero or significantly lower than expected usually means there’s a problem.
Read more: How to use a multimeter to test appliance parts
Step 3: Find a compatible OEM part
Once you know exactly what part(s) is broken, it’s time to find a replacement.
- Head over to AppliancePartsPros.com and type your dryer’s model number into the search bar.
- Use filters to narrow down your options.
- Check out the list of parts that match. Look closely at the descriptions, pictures and diagrams to make sure you’re picking the right one. You can also give us a call at 1-877-477-7278 to verify that the part you find will work with your unit.
- Place your order. Your part should arrive in 1-2 business days.
Why OEM parts are the best
- Original equipment manufacturer (OEM) parts are made specifically for your dryer model, so you know they’ll fit just right.
- They’re tested for quality, so you’re less likely to run into problems later.
- Using the right parts helps your dryer last longer, which saves you money in the long run.
Read more: How To Disassemble A Dryer
Safety tips to keep in mind when replacing dryer parts
When working on any appliance, remember to keep safety first. Here are some tips to keep in mind:
- Always power off and unplug your appliance or switch off the circuit breaker before you attempt any maintenance or replacement work. This keeps you safe by eliminating any risk of electric shock.
- If you have a gas model, shut off the gas supply to prevent any leaks while you work.
- If the appliance has recently been used, give it plenty of time to cool down before working on it.
- Take your time while working to prevent accidents and personal injuries. Rushing is the enemy of precision.
- Work in a well-lit area so you can see and access appliance parts.
- Keep your workspace free of clutter and other obstacles. Keep children and pets away from the work area.
- Never work on internal parts with wet hands. Make sure the work area is completely dry.
- Check the user manual to see if there are specific installation or safety instructions related to your appliance or replacement part.
- Be gentle when handling or removing parts. Excessive force might damage the appliance or cause personal injury.
- Wear insulated work gloves to protect your hands from sharp metal parts and debris.
- When working with wires, avoid touching any exposed wires or terminals. If you need to touch a wire, use a non-conductive tool or wear insulating gloves to prevent electrical shock.
- Always take photos or make a note of wiring terminals or other connections before disconnecting them to make reassembly easier.
Read more: How to Clean a Dryer Vent
Additional information
Thanks for reading! If you need any replacement parts for your Whirlpool dryer, grab your model number and head over to AppliancePartsPros.com. We have over two million parts in stock and most orders arrive in two business days. If you need some help with finding the right part or placing an order, you can contact our team at 1 (877) 477-7278.
While you’re waiting for your new part to arrive, you can explore our DIY blog and watch thousands of video tutorials on our YouTube channel.
Follow us on Facebook, Twitter and Instagram to see our latest repair guides!
With nearly a decade of experience in providing top-notch customer service regarding appliance parts and repair, Steven enjoys sharing practical advice, troubleshooting tips, and interesting information to help readers stay informed.