Why is my refrigerator freezing everything?
Steven E / Friday October 18, 2024
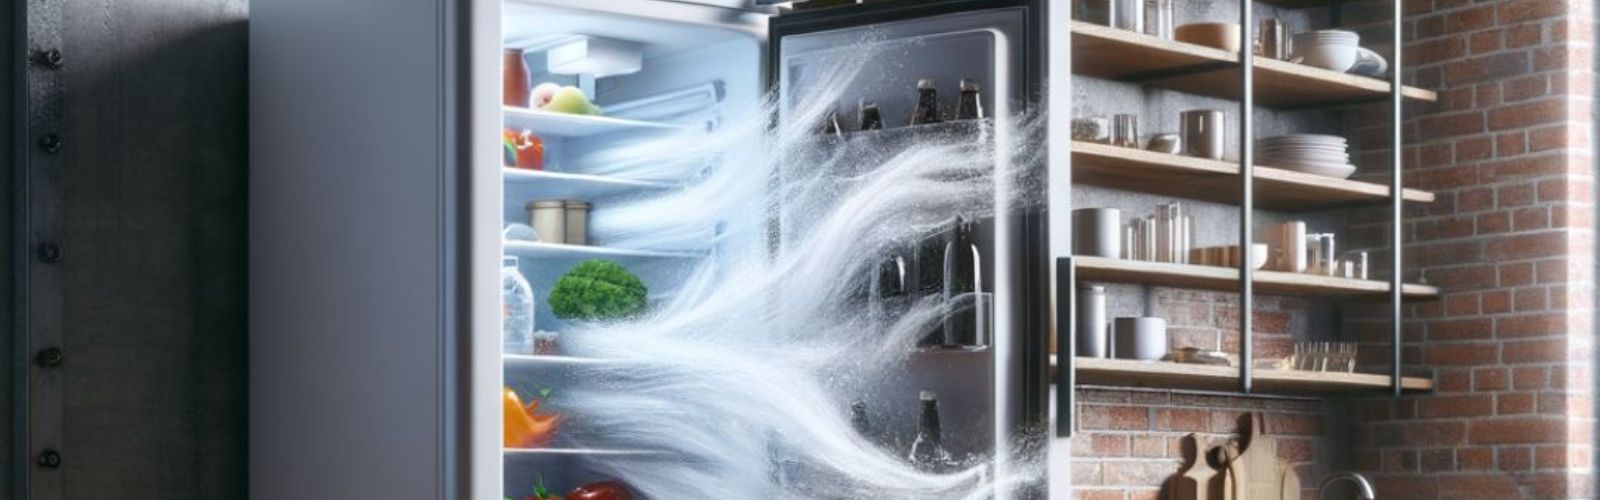
Have you ever reached into your refrigerator for a crisp head of lettuce, only to find it transformed into a block of ice? It’s a common and frustrating issue when your fridge decides to turn everything into a frozen wasteland. But why does this happen, and more importantly, how can you fix it? Let’s uncover why your refrigerator might be turning everything into ice and explore practical DIY solutions to restore it to optimal condition.
Important notice
The information provided in this article may not apply to your specific appliance model. While we strive to offer helpful advice for all kinds of DIY appliance repairs, variations in models and configurations can lead to differences in troubleshooting steps, error codes, part replacements, etc. For the most accurate guidance, we strongly recommend consulting the manufacturer documentation for your specific appliance model or contact us with any questions.
Common reasons why your refrigerator is freezing everything
1. Incorrect temperature settings
One of the most straightforward reasons your refrigerator might be freezing its contents is due to incorrect temperature settings. Refrigerators are designed to keep food at a safe temperature, typically around 37°F (3°C), but if the thermostat is set too low, it can cause freezing.
How to adjust the temperature settings
- Locate the thermostat dial or digital control panel inside your refrigerator.
- Check the current temperature setting. If it’s set below 37°F (3°C), adjust it higher.
- Allow 24 hours for the temperature to stabilize before checking if the issue persists.
Each refrigerator model varies. For specific instructions, refer to your appliance’s user manual. Can’t find it? Learn how to find your appliance’s model number to locate the appropriate documentation.

2. Air vents blocked
Blocking the air vents inside the refrigerator can lead to uneven cooling and freezing of items near the vents.
Maintaining proper airflow
- Locate the air vents in your refrigerator, usually at the back or sides.
- Arrange items to avoid blocking the vents.
- Regularly check and adjust the positioning of items after restocking.
3. Insufficient refrigerator contents
A refrigerator works best when it’s adequately stocked. Empty refrigerators can overcool because there’s not enough content to absorb the cold air.
Keeping your refrigerator properly stocked
- Keep enough items in the fridge to stabilize the temperature.
- Distribute items evenly to allow proper air circulation.
- Avoid overloading, which can obstruct airflow and impact performance.
4. Leaky door seals (gaskets)
Damaged or worn-out door seals can cause cold air to escape, prompting the fridge to run continuously to maintain temperature, which may lead to freezing.
Checking and replacing door seals
- Inspect the door gaskets for cracks, tears, or deformation.
- Perform the dollar bill test:
- Close the door on a dollar bill and try pulling it out.
- If it slides out easily, the seal may be faulty.
- Clean the seals with warm soapy water to remove debris.
- If damaged, replace the door seals for a proper airtight fit.
5. Dirty condenser coils
Condenser coils dissipate heat from the refrigerator. If they’re dirty, the system works harder to cool, potentially causing overcooling inside the fridge.
Cleaning the condenser coils
- Unplug the refrigerator.
- Locate the condenser coils, either behind or beneath the refrigerator.
- Use a coil cleaning brush or vacuum cleaner to remove dust and debris.
- Clean the area around the coils for optimal airflow.
- Plug the refrigerator back in and monitor its performance.
For more detailed cleaning tips, check out our guide on how to deep clean your refrigerator.
6. Faulty thermostat
If adjusting the temperature doesn’t resolve the issue, a faulty thermostat might be to blame. The thermostat regulates the cooling system, and if it’s malfunctioning, it may cause the compressor to run too frequently, leading to overcooling.
Testing the thermostat
- Unplug your refrigerator for safety.
- Locate the thermostat, usually found behind the temperature control knob.
- Remove the thermostat from the refrigerator. You may need a screwdriver to detach it.
- Use a multimeter to test the thermostat for continuity:
- Set the multimeter to the continuity mode or the lowest Ohms (Ω) setting.
- Place the multimeter probes on the thermostat’s terminals.
- At room temperature, the thermostat contacts should be in a specific state (open or closed) as per the manufacturer’s specifications. Consult your appliance manual for the expected readings.
- If the multimeter reading does not match the expected state, the thermostat may be faulty.
- If defective, replace the thermostat with a new one from the refrigerator parts section.
Safety precaution: Always unplug the refrigerator before performing any tests to prevent electric shock.
7. Broken thermistor
The thermistor monitors the refrigerator’s temperature and sends readings to the control board. If it’s faulty, it can send incorrect signals, causing the refrigerator to run excessively.
How to test the thermistor
- Disconnect the refrigerator from the power source.
- Locate the thermistor—usually a small probe located near the damper.
- Carefully remove the thermistor from its housing.
- Set your multimeter to the resistance (Ohms) setting.
- At room temperature (approximately 77°F or 25°C), measure the resistance across the thermistor’s terminals by placing the multimeter probes on the terminals.
- Note the resistance reading. Typical thermistors may read around 5,000 to 50,000 ohms, depending on the model. Consult your appliance manual for the exact expected resistance value at room temperature.
- Gently warm the thermistor between your fingers and observe the change in resistance. The resistance should decrease with an increase in temperature.
- If there’s no change or the readings are significantly off from the expected values, replace the thermistor.
Note: Do not use continuity mode for testing the thermistor, as specific resistance values are required for accurate diagnosis.
8. Damaged damper control assembly
The damper control assembly regulates the amount of cold air entering the refrigerator from the freezer. If it’s stuck open, excessive cold air can flow into the fridge compartment, causing items to freeze.
Inspecting the damper control assembly
- Unplug the refrigerator.
- Locate the damper control assembly, typically situated where the cold air enters the fridge compartment.
- Examine the damper door:
- If it’s stuck open, there may be physical damage or ice buildup.
- Manually move it to see if it opens and closes freely.
- Remove any obstructions or ice that may prevent it from closing.
- If damaged, replace the damper control assembly.
9. Faulty evaporator fan motor
The evaporator fan circulates cold air throughout the refrigerator. If it’s not working correctly, cold air may accumulate in certain areas, leading to freezing.
Testing the evaporator fan motor
- Unplug the refrigerator for safety.
- Locate the evaporator fan behind the freezer wall panel.
- Visually inspect the fan motor and blades for any physical obstructions or damage.
- Manually spin the fan blades to verify they move freely.
- Use a multimeter set to the resistance (Ohms) setting to test the motor windings:
- Disconnect the motor’s wiring harness.
- Place the multimeter probes on the motor terminals.
- Measure the resistance across the motor windings.
- Compare the reading to the manufacturer’s specifications, typically between 50 and 300 ohms.
- If the resistance readings are significantly higher or lower than the specified range, the motor may be defective and should be replaced.
Note: Always use the resistance setting when testing motor windings to obtain specific resistance values.
10. Faulty temperature control board
The temperature control board manages power to the compressor and fans. A malfunctioning board can send continuous power to these components, causing the fridge to overcool.
Assessing the temperature control board
- Unplug your refrigerator for safety.
- Locate the temperature control board, usually found at the back of the refrigerator behind a panel.
- Visually inspect the control board for any signs of damage such as burnt components, bulging capacitors, or scorched connectors.
- Due to the complexity of control boards, accurate testing often requires advanced equipment and detailed knowledge. Consult your appliance’s service manual for specific diagnostic procedures.
- If you identify signs of damage or malfunction, consider replacing the temperature control board.
Caution: Avoid using continuity mode on sensitive circuit board components, as it may not provide enough information and could lead to incorrect conclusions.
11. Issues with the main control board
Though less common, a faulty main control board can cause the refrigerator to freeze everything. It controls all functions of the refrigerator, and a malfunction can disrupt normal operations.
Assessing the main control board
- Unplug the appliance.
- Access the main control board, typically located at the back behind a panel.
- Inspect for any obvious signs of damage or burnt components.
- Given the complexity, consider consulting the manufacturer’s guide or our repair help resources for detailed instructions.
- If necessary, replace the main control board.
12. Sensor and control issues
Modern refrigerators have sensors and control modules that manage temperature. Faults in these components can cause incorrect temperature regulation.
Troubleshooting sensors and controls
- Refer to your refrigerator’s error codes (if available) for guidance.
- Reset the refrigerator by unplugging it for a few minutes and then plugging it back in.
- If errors persist, consult the user manual or our repair help section for model-specific advice.
- Replace defective sensors or controls as needed.
Preventive measures to avoid freezing issues
Regular maintenance
- Clean condenser coils every six months.
- Inspect door seals regularly and keep them clean.
- Maintain proper airflow by avoiding overstuffing the refrigerator.
Avoid placing hot items inside
- Allow hot food to cool down before refrigerating.
- Hot items can cause the fridge to overcompensate with cooling.
Monitor your refrigerator’s performance
- Keep a thermometer inside to monitor temperature.
- Be attentive to unusual sounds or continuous running.
- For noise issues, read about causes of refrigerator noises and how to quiet them.
Need further assistance?
If you’ve tried these solutions and your refrigerator is still freezing everything, it might be time to delve deeper. Every refrigerator model is different, and sometimes the issue isn’t immediately apparent. Don’t hesitate to reach out for help.
Visit our repair help section for expert guidance, or contact our customer support for personalized assistance. Identifying your specific model is essential for accurate troubleshooting. If you’re unsure, here’s how to find your appliance’s model number.
At AppliancePartsPros.com, we’re dedicated to helping you keep your appliances running smoothly with high-quality parts and expert advice.
Stay connected with us on social media for the latest tips, discounts, and appliance care advice:
Follow us on Facebook and Twitter.
We’re here to empower you with the knowledge and parts you need to fix your appliances yourself. Happy repairing!
With nearly a decade of experience in providing top-notch customer service regarding appliance parts and repair, Steven enjoys sharing practical advice, troubleshooting tips, and interesting information to help readers stay informed.