How to replace shear pins on a snow blower
Steven E / Friday January 24, 2025
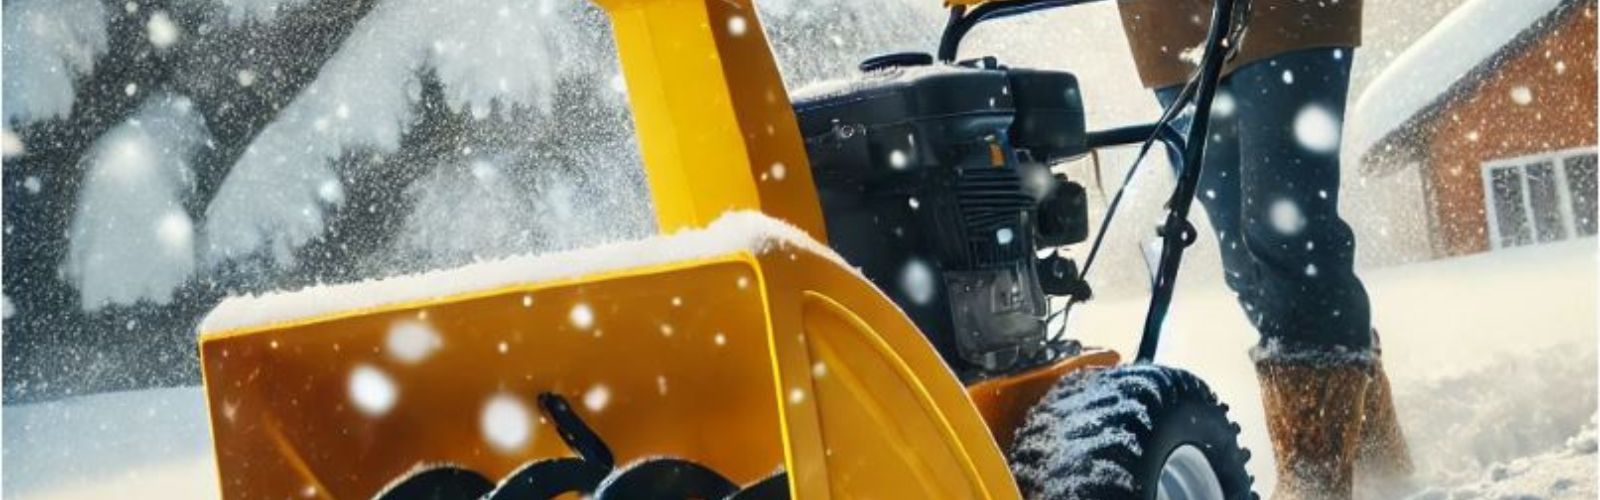
If you’ve noticed that your auger isn’t turning, or it’s spinning unevenly, it might be time to replace a broken shear pin. Don’t worry, it’s a quick and easy DIY repair. Let’s walk through the steps to get your snow blower back to work.
Just a heads up: The details in this article are intended as general advice and may not directly correspond with your particular appliance model. Differences in model features and configurations could mean variations in troubleshooting methods, error messages, or required part replacements. For the best advice, check your manufacturer’s manual or contact us if you have questions.
What is a shear pin?
Shear pins are small but important when it comes to keeping your snow blower in good shape. These little pins connect the auger to the drive shaft, allowing it to spin and scoop up snow. What makes them unique is that they’re designed to break if the auger hits a hard object, like a rock or chunk of ice. This protects your machine’s motor and gearbox from serious damage. Missing pins will leave the auger disconnected, causing uneven or no movement.
Safety first
When working on any appliance, remember to keep safety first. Here are some tips to keep in mind:

- If working indoors, make sure there is adequate ventilation to prevent the buildup of exhaust fumes. Carbon monoxide poisoning can be a serious risk.
- Wear insulated work gloves to protect your hands from sharp metal parts, pinching hazards and debris.
- Never attempt to service or repair while it is running or when the engine is still warm. Wait for all moving parts to come to a complete stop.
- Exercise extreme caution when working near blades, augers, or any other moving parts. Keep your hands, fingers, and clothing clear of these areas at all times.
- If the appliance has recently been used, give it plenty of time for any hot parts to cool down before working on it.
- Empty the gas tank before beginning any work. Refill using fresh fuel.
- When working with wires, avoid touching any exposed wires or terminals. If you need to touch a wire, use a non-conductive tool or wear insulating gloves to prevent electrical shock.
- Take your time and don’t rush while working to prevent accidents and personal injuries.
- Work in a well-lit area so you can clearly see and access the interior parts.
- Clear your workspace of clutter and other obstacles. Keep children and pets away from the work area.
- Be gentle when handling or removing parts. Excessive force might damage the appliance or cause injury.
- Wear safety glasses when working with chemicals, dust or cleaning large debris to prevent injury.
- When not in use, store the machine in a safe and dry location.
Read more: Snow blower won’t shift: A troubleshooting guide
Gather your tools and parts
Make sure you’ve got the right tools and parts handy to make things go smoothly.
- Replacement shear pins (stick with the ones your snow blower’s maker recommends)
- Socket wrench or adjustable wrench
- Hammer or punch (if needed)
- Chute cleanout tool
Read more: Snowblower chute won’t turn: A troubleshooting guide
Single-stage snow blower replacement steps
- Locate the shear pin
- The shear pin is usually located on the auger shaft, where the auger connects to the drive system.
- Check along the auger assembly, typically at the center or near the edges, for a pin that holds the auger in place.
- Refer to your snow blower’s manual if you’re unsure about the exact location.
- Remove the broken pin
- Turn off the engine and disconnect the spark plug to ensure safety.
- Examine the pinhole for any remaining fragments of the broken shear pin.
- Use pliers to grip and pull out the remnants.
- If the pin is stuck, gently tap it out with a small hammer or punch tool.
- Clean the pinhole using a small brush or rag to remove debris or rust.
- Replace the shear pin
- Rotate the auger manually until the holes on the auger and shaft align perfectly.
- Insert a new shear pin into the aligned holes.
- Secure the shear pin using the cotter pin or clip that comes with the replacement.
- Ensure the pin is tight enough to stay in place but not overly tightened, as it needs to break if the auger encounters a solid object.
Two-stage snow blower replacement steps
- Locate the shear pin
- Two-stage snow blowers typically have two shear pins, one on each side of the auger shaft.
- Check near the gearbox and along both sides of the auger for the pins that secure the auger to the shaft.
- Look for missing or broken pins where the auger might spin freely or appear disconnected from the drive shaft.
- Remove the broken pin
- Turn off the snow blower, disconnect the spark plug, and allow the machine to cool.
- Rotate the auger manually to inspect both sides for broken pins.
- Use pliers or a wrench to loosen and remove any broken pin fragments.
- For stubborn pieces, gently tap them out with a small hammer or use a punch tool.
- Clean the pinholes thoroughly to ensure the new pins will fit properly.
- Replace the shear pin
- Align the auger and shaft by rotating the auger until the pinholes line up.
- Insert the new shear pin through the aligned holes.
- Secure the pin by attaching the cotter pin or clip that came with the replacement.
- Repeat the process on the other side if necessary, ensuring both sides are secure.
- Check the auger’s rotation manually to confirm that the pins are properly installed.
Three-stage snow blower replacement steps
- Locate the shear pin
- Three-stage snow blowers have additional components like an accelerator, so they may have multiple shear pins.
- Check the auger shaft, impeller, and accelerator for shear pins, typically located on both sides of the assembly.
- Refer to your manual for the exact number and locations of the pins specific to your model.
- Remove the broken pin
- Turn off the engine and disconnect the spark plug.
- Rotate each component manually to find the broken pins on the auger, impeller, and accelerator shafts.
- Use pliers or a wrench to remove any broken fragments.
- If the pins are stuck, carefully tap them out using a punch tool or hammer.
- Clean each pinhole with a brush to remove debris, ensuring smooth installation of new pins.
- Replace the shear pin
- Align the auger, impeller, or accelerator components with the corresponding pinholes on their shafts.
- Insert the new shear pin into the aligned holes for each component.
- Secure each pin using a cotter pin or clip to keep it in place.
- Double-check all shear pin locations to confirm none are missing or loose.
- Test the rotation of each component manually to ensure proper installation.
Read more: Snowblower won’t start: A troubleshooting guide
Tips for ongoing maintenance
For top-notch replacement parts and expert advice, check out AppliancePartsPros.com. We’re here to help you keep your appliances running great all year.
Stay in touch with us on Facebook and Twitter for more tips, deals, and appliance repair news.
If you’ve got questions or need more help, don’t hesitate to reach out. Our team is always here to help with your appliance repair needs.
With nearly a decade of experience in providing top-notch customer service regarding appliance parts and repair, Steven enjoys sharing practical advice, troubleshooting tips, and interesting information to help readers stay informed.