What that flashing green light on your furnace means
Steven E / Tuesday March 18, 2025
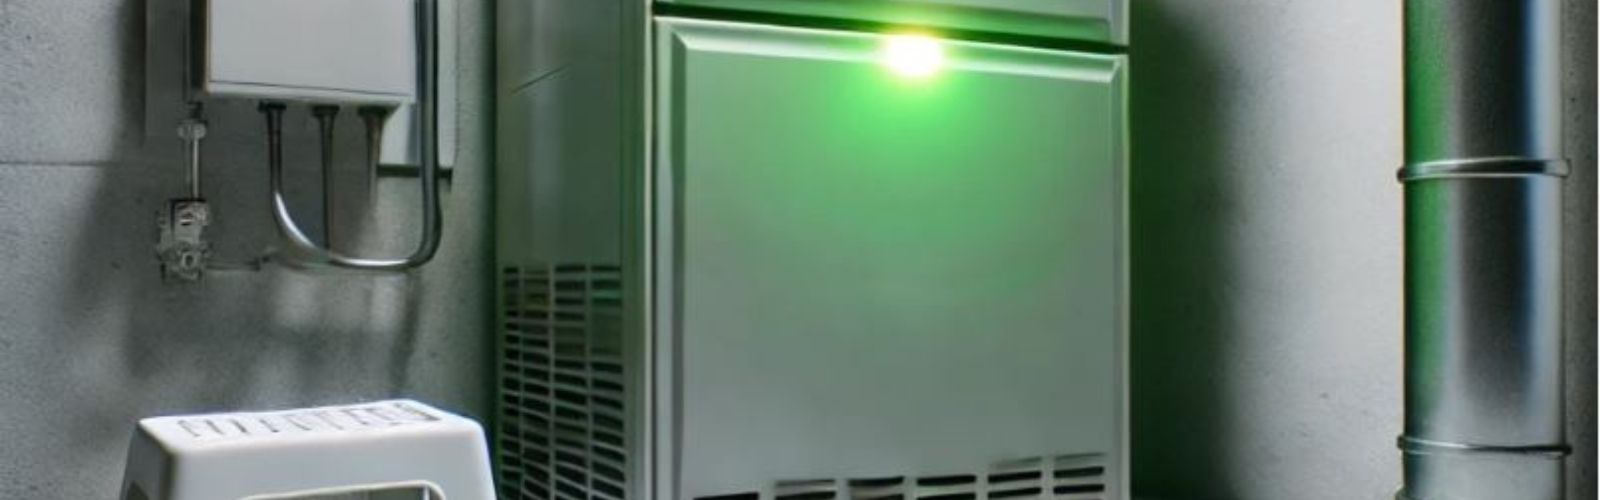
The green light on your furnace is a helpful indicator that tells you how things are running. If it starts flashing, it’s usually signaling a specific issue that needs attention. We’ll walk you through the most common causes and how to troubleshoot and fix them yourself. With a bit of patience and some basic tools, you can get your furnace back on track like a Pro.
The details in this article are intended as general advice and may not directly correspond with your particular appliance model. Differences in model features and configurations could mean variations in troubleshooting methods, error messages, or required part replacements. For the best results, consult your appliance’s technical documentation or user manual for guidance.
1. Ignition problems
When your furnace’s green light starts flashing, one possible cause could be an ignition issue. This happens when the igniter, the part responsible for lighting the burner, isn’t working as it should. Without proper ignition, your furnace won’t produce heat. How to troubleshoot ignition problems:
- Locate the igniter near the burner assembly. Refer to your furnace manual for its exact location.
- Inspect it for cracks, soot, or dirt buildup.
- Test the igniter with a multimeter. Set the multimeter to measure resistance (ohms).
- Disconnect the igniter’s wires and place the multimeter probes on the igniter terminals.
- A reading between 40–200 ohms typically indicates a functioning igniter. If the reading is outside this range, the igniter may need replacement.
- Replace the igniter if necessary. Disconnect the old igniter by unscrewing it and detaching its wires.
- Install a new igniter by securing it in place and reconnecting the wires. Ensure it’s positioned correctly for proper operation.
Read more: Your guide to choosing a space heater

2. Airflow issues
A flashing green light can also point to problems with airflow. If the airflow is restricted, it can cause the system to overheat or shut down as a safety measure. Common culprits include dirty air filters or blocked vents. Here’s how to troubleshoot airflow issues:
- Inspect and replace the air filter. Locate the air filter in your furnace, typically near the return air duct.
- Remove the filter and check if it’s clogged with dust or debris.
- If the filter looks dirty, replace it with a new one of the same size. Ensure it’s installed in the correct direction (follow the arrows on the frame).
- Check the vents and registers. Walk through your home and make sure all vents and registers are open and unobstructed by furniture or other objects.
- Clear away any blockages to ensure air can flow freely.
- Inspect the blower motor. Open the furnace access panel and locate the blower motor.
- Ensure it’s running smoothly without unusual noises or vibrations.
- If it’s dirty, clean the motor and fan blades with a soft brush or vacuum attachment.
Read more: 12 things you should know about portable space heaters
3. Pressure switch problems
The pressure switch keeps your furnace’s venting system working correctly. A flashing green light could mean the pressure switch isn’t closing properly, which prevents the furnace from running as a safety precaution. Here’s how to troubleshoot pressure switch problems:
- Locate the pressure switch near the draft inducer motor (check your furnace manual for its exact location).
- Examine the rubber tubing connected to the switch for cracks, blockages, or loose connections. If the tubing is blocked, clear it using compressed air or a thin wire.
- Disconnect the wires from the pressure switch.
- Set your multimeter to test for continuity.
- Attach the multimeter probes to the pressure switch terminals.
- Activate the furnace and check if the pressure switch closes (you should hear a click). A closed switch will show continuity. If there’s no continuity, the switch is likely faulty.
- Disconnect the tubing and wiring from the faulty switch.
- Unscrew the old switch and remove it.
- Install the new pressure switch, and reconnect the tubing and wiring as it was before. Ensure all connections are tight and secure.
4. Flame sensor issues
The flame sensor detects whether the burner is lit and shuts off the gas supply if no flame is present. If the sensor isn’t working correctly, the furnace may cycle off for safety reasons. Here’s how to troubleshoot flame sensor issues:
- Locate the flame sensor. The flame sensor is typically a small metal rod near the burner assembly. Refer to your furnace manual to find its exact position.
- Inspect the sensor. Check for soot, dirt, or corrosion on the sensor. These can prevent it from detecting the flame properly.
- Clean the flame sensor. Turn off the furnace and disconnect the power.
- Remove the flame sensor by unscrewing it from its mount and disconnecting the wire.
- Gently clean the sensor with fine sandpaper or a non-abrasive pad to remove buildup.
- Wipe it clean with a cloth and reinstall it.
- Test the flame sensor. Use a multimeter to check the sensor’s resistance. Place the probes on the sensor’s terminals and look for a reading within the acceptable range specified in your furnace manual.
- If the reading is outside the range, the sensor may need replacement.
- Replace the flame sensor if necessary. Install a new sensor by securing it in place and reconnecting the wire. Make sure it’s aligned properly for accurate flame detection.
5. Control board issues
The control board is the brain of your furnace, managing all its functions. A flashing green light might indicate a problem with the control board, such as damage, malfunction, or communication errors with other parts. Here’s how to troubleshoot control board issues:
- Inspect the control board visually. Locate the control board inside the furnace, typically behind the access panel.
- Look for burn marks, corrosion, or visible damage to the board or its connectors.
- Check connections to the control board. Ensure all wires and connectors are securely attached to the control board.
- Tighten any loose connections and clean off any dust or debris.
- Test the control board with a multimeter. Set the multimeter to measure voltage and test the input and output terminals of the control board.
- Compare the readings to the specifications in your furnace manual to ensure the board is functioning correctly. If the readings are inconsistent or show no output, the board may be faulty.
- Replace the control board if necessary. Disconnect all wires from the old control board, labeling them if needed to ensure proper reattachment.
- Remove the mounting screws and carefully detach the board.
- Install the new control board, secure it with screws, and reconnect the wires to their correct terminals.
- Restore power to the furnace and test the system.
Read more: 12 simple space heater safety tips for this winter
Need more help?
Still stuck after trying these tips? You might need more detailed help. Visit our repair help section for how-to guides and videos. By jumping on minor issues early, you can stop them from turning into big headaches.
Need replacement parts or expert advice? We’ve got your back at AppliancePartsPros.com.
Keep in touch with us on Facebook and Twitter for more tips and updates. Got questions or need more help? Don’t hesitate to reach out.
With nearly a decade of experience in providing top-notch customer service regarding appliance parts and repair, Steven enjoys sharing practical advice, troubleshooting tips, and interesting information to help readers stay informed.