A DIY guide to replacing central AC drain lines
Steven E / Tuesday March 25, 2025
Your central AC’s drain line gets rid of the condensation by channeling water safely away from your house. But when it gets clogged or cracks develop, you could end up with leaks that might cause serious water damage. If you have musty smells, spot leaks, or are dealing with an overflowing drain pan all the time, it might be time to replace that drain line. This guide will walk you through the process so you can take care of it yourself like a Pro.
The info here might not match your exact appliance model. We aim to give handy tips for all sorts of DIY appliance fixes, but keep in mind that different models and setups can mean different steps, error codes, parts, and so on. For the best guidance, we suggest checking out your appliance’s manufacturer documentation or getting in touch with us if you have any questions.
What are central AC drain lines?
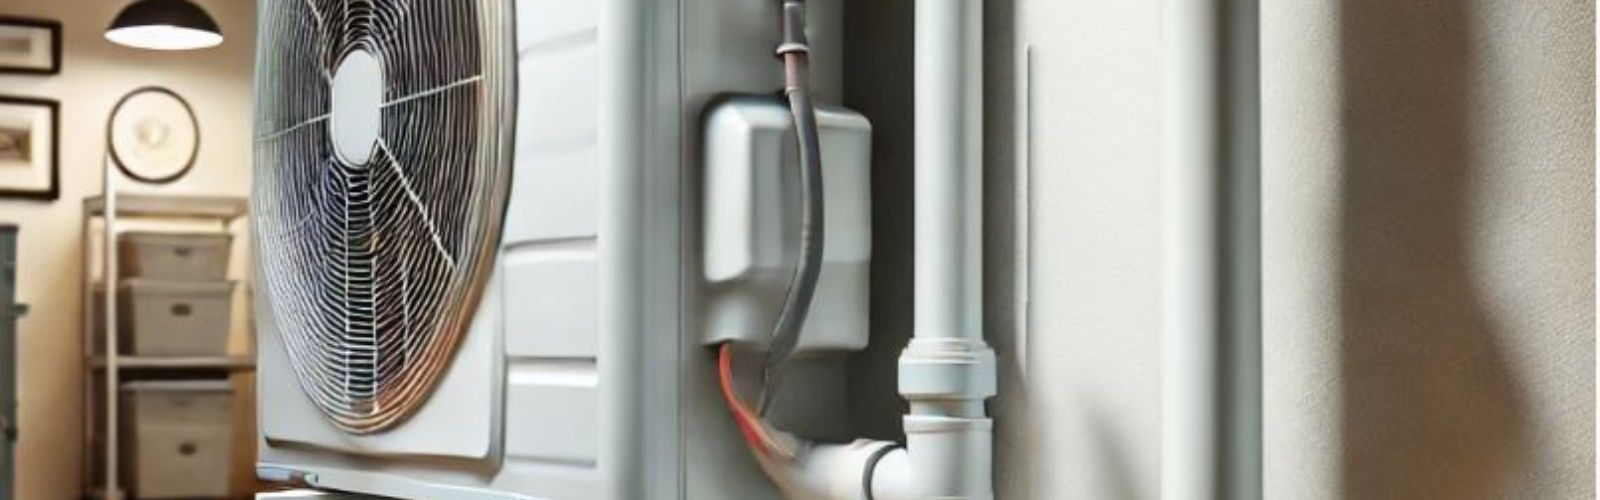
Your central AC creates moisture while it cools your home. That moisture gathers on the evaporator coils and drips down into a drain pan below. From there, the water moves into the drain line, which usually leads outside. Drain lines can go up and down or side to side, and they usually connect to your home’s plumbing or empty outside. This setup keeps water from building up in the air handler or under your AC unit.
If the drain line gets cracked, clogged, or damaged in any way, water can back up and leak around your air handler. Over time, a clogged or broken line might cause mold to grow, corrode the evaporator coils, or even make the whole system shut down. Swapping out the line keeps water flowing away from your unit properly, helping cut down on mildew and bad smells. Too much moisture in closed-off areas can encourage mold and mildew, which isn’t great for your family’s health. If you spot or sniff out mold near your AC unit, it’s a good idea to first check the drain line for blockages or standing water. Here are some easy signs to keep an eye out for that indicate it’s time for a new drain line:

- You’re dealing with frequent leaks around your indoor air handler.
- Clogs keep coming back, no matter how often you clean.
- You see cracks, holes, or corrosion on the PVC or tubing.
- There’s a strong, musty smell that doesn’t go away after cleaning.
- You’ve noticed water damage or mold growing along the drain line’s path.
Tools and materials you’ll need
Swapping out your central AC drain line is doable if you’ve got the right gear. Here’s what you’ll need:
- New drain line
- PVC cement or suitable adhesive/sealant
- Pipe cutters or a hacksaw
- Bucket and towels
- Protective gloves and eyewear
- Flashlight
If you’re new to replacing parts and aren’t sure how your drain line is set up, it might help to jot down your appliance’s model number. Need a hand finding that info? Check out our guide on how to find your appliance’s model number.
Step-by-step instructions
- Turn off the power to your AC by flipping off the circuit breaker that powers both the indoor air handler and outdoor condenser to protect yourself from electrical shocks.
- Locate the existing drain line by finding your indoor air handler, typically in a closet, attic, or basement, and identifying the drain pan or drip tray under the evaporator coils. Look for how the line is attached (clamps, adhesive, pipe joints).
- Place a bucket or towels underneath to catch leftover water.
- Loosen any clamps with a screwdriver, or use pipe cutters or a hacksaw for PVC lines.
- Dispose of the old line, especially if it contains mold or algae, and inspect the drain pan for damage.
- Clean the drain connections by using warm water, mild detergent, or a specialized coil/drain line cleaner to remove clogs, debris, or mold. Make sure everything is dry before proceeding.
- Measure and cut the new line by laying it along the old line, marking the required length, and cutting with pipe cutters or a hacksaw.
- Test-fit the pipe to ensure the angles and length match your system. Consider replacing the entire line if possible to ensure a reliable seal.
- Attach the new drain line by dry-fitting the pieces first to confirm proper alignment.
- Apply PVC cement or the recommended sealant for PVC connections and press the pieces together.
- For flexible tubing, secure it with clamps and sealant, ensuring there’s no sagging or bending that could trap water.
- Test for leaks by turning the power back on, setting the thermostat to trigger the AC, and observing the drain pan and new line for any leaks or drips.
- Tighten any loose connections or add more adhesive if necessary. Be patient, as condensation may take a moment to show up.
- Add preventative measures by placing an algaecide tablet in the drain pan or flushing the line with a mild vinegar and water solution every few months to prevent algae buildup.
- Regularly inspect the line for clogs, and address any slow draining or water buildup promptly.
After you replace the drain line
Now you’ve got a new, clean drain line that’s effectively removing condensation from your central AC. This helps keep your home free from water damage and mold risks. If you ran into any unexpected hurdles along the way, you can find more info on our repair help page.
If you need specific parts or more detailed instructions for your particular air handler or condenser, visit AppliancePartsPros.com for parts, diagrams, and personalized advice.
Additional help
If you’ve still got questions about the parts you need or the steps involved, don’t hesitate to reach out. You can contact us directly for further assistance. We’re here to help you find the right parts and guide you through any tricky steps, no matter the make or model of your appliance. You can also check the manufacturer documentation for the most accurate specs.
For more in-depth resources and replacement parts, visit AppliancePartsPros.com. Stay up to date with our latest DIY tips and featured deals by following us on Facebook and Twitter. We look forward to helping you keep your home and appliances running smoothly!
Read more:
How To Replace An Air Conditioner Exhaust Hose
With nearly a decade of experience in providing top-notch customer service regarding appliance parts and repair, Steven enjoys sharing practical advice, troubleshooting tips, and interesting information to help readers stay informed.