Bathroom fan making clicking or rattling sounds: causes and fixes
Steven E / Wednesday March 26, 2025
Ever get annoyed by that pesky clicking or rattling every time you flip on your bathroom fan? It can ruin the calm atmosphere you’re going for when you’re hopping in the shower or just need a bit of privacy. Let’s dive into why your bathroom fan is making those noises and how to fix them, so you can enjoy some peace and quiet again.
The info in this article might not perfectly match your specific appliance model. We aim to give helpful advice for all sorts of DIY appliance fixes, but different models and setups can mean variations in troubleshooting steps, error codes, part replacements, and so on. For the most accurate guidance, we highly recommend checking out the manufacturer’s documentation for your specific model or reaching out to us if you’ve got any questions.
Why your bathroom fan clicks or rattles
Your bathroom fan gets rid of moisture, improving ventilation, and keeping odors in check. But over time, especially with high humidity, parts can loosen or wear out. When parts start shifting, rubbing, or knocking against each other, you can end up with an annoying rattle or clicking sound.
Usually, we can trace these noises back to poor assembly, bad installation, or parts that need to be replaced. By finding the loose or damaged piece and fixing it, you can get your fan running smoothly again.

Basic checks before starting repairs
Before you remove any parts, make sure to switch off the fan at the breaker for safety. Grab some basic tools: a screwdriver, a soft cloth for cleaning, and maybe a multimeter if you think there might be electrical issues. Here’s a quick list of what to check out:
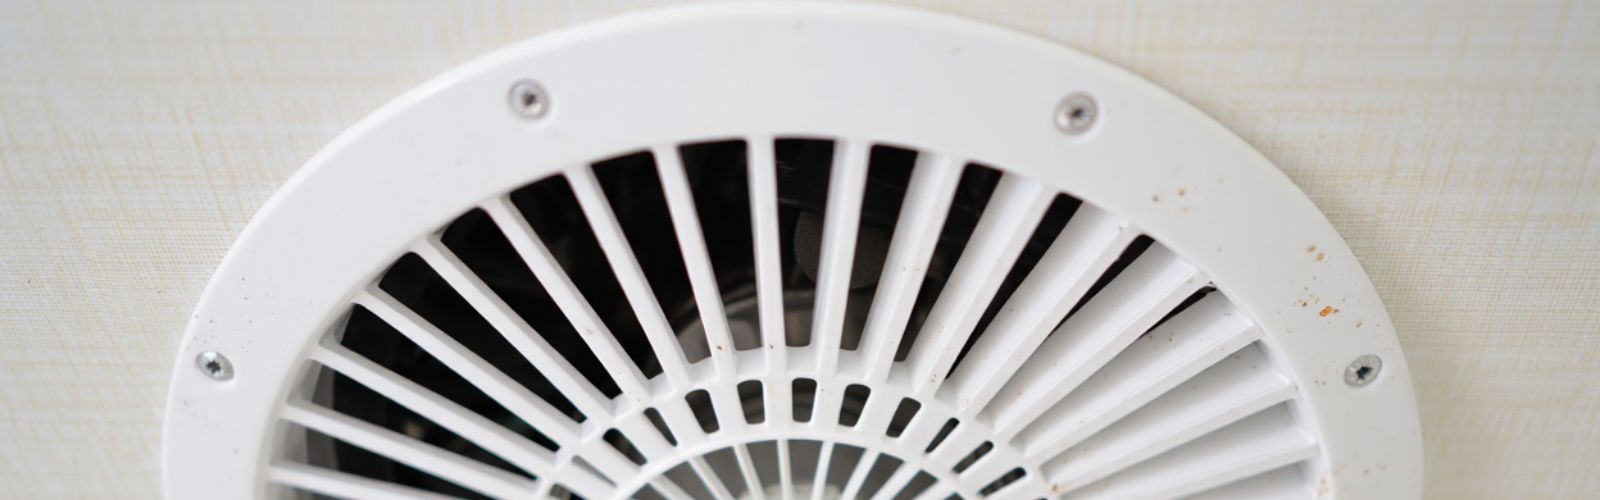
- Take a look at the fan cover or grille for any cracks or bends.
- Check the mounting screws to ensure the fan housing is snug against the ceiling or wall.
- Look for dust and debris buildup that could throw the fan blades off balance.
- Turn the fan on and listen carefully to pinpoint where the noise is coming from.
Identifying and fixing loose parts
Loose cover or grille
One common troublemaker is the cover itself. If it’s not firmly attached, it can rattle when air moves through the fan. Fixing this is usually easy.
Step-by-step instructions:
- Cut the power to the fan at the breaker or fuse box.
- Gently pull down the cover or grille. Some have metal clips or screws holding them in place, so undo those if needed.
- Check the cover for any cracks or missing hardware.
- Clean the cover with a soft cloth to get rid of dust, too much grime can make it fit less securely.
- Reattach the cover firmly, replacing any missing clips or screws.
- Turn the fan’s power back on and see if the noise is gone.
Loose mounting brackets or screws
Bathroom fans are usually attached to ceiling joists or brackets. Over time, screws can loosen up, causing the whole unit to vibrate and make noise. This is especially common if the ceiling or wall isn’t perfectly even.
Step-by-step instructions:
- Shut off the circuit breaker controlling the bathroom fan.
- Remove the fan cover, keeping screws or clips in a safe spot.
- Look over the fan’s bracket or housing for any loose screws.
- Use a screwdriver to carefully tighten all accessible mounting screws until the fan housing is snug against the bracket or joist.
- Put the cover back on and restore power.
- Listen for any rattling or clicking noises. If they’re gone, the issue was probably loose hardware.
- If you run into issues like a bent or poorly aligned bracket, try adjusting its position slightly before re-tightening the screws.
Fixing worn or damaged fan blades
Cracked, bent, or unbalanced fan blades can cause repetitive clicking or rattling as they spin. These imperfections throw the blades off-kilter, making them tap against the housing. Luckily, checking and replacing bathroom fan blades isn’t too tough. Remember, fan assemblies can vary, so follow your manufacturer’s guidelines or find your appliance’s model number to ensure you get the right part.
Remove and inspect blades
Start by taking out the motor assembly or fan blade unit, usually held in place with a few screws or clips.
Step-by-step instructions:
- Turn off power to the fan at the breaker.
- Remove the cover and locate the fan blade assembly attached to the motor shaft.
- Unscrew or unclip any attachments holding the blade assembly to the motor.
- Gently pull the blade assembly off the motor shaft.
- Inspect each blade for cracks, bends, or other damage like missing pieces or jagged edges.
- If you spot any damage, replace the entire blade assembly with a compatible part.
Clean fan blades
Even if the blades aren’t damaged, dust and grime buildup can throw them off balance. A good cleaning might be all you need to cut down on noise.
Step-by-step instructions:
- Remove the blade assembly as described above.
- Wipe away dust and dirt with a damp cloth or mild cleaner. Don’t soak the blades, a gentle wipe will do.
- Make sure the blade assembly looks balanced and secure.
- Reinstall the blade assembly and motor, tighten all screws, and turn the power back on.
Address motor or bearing issues
Sometimes, that clicking or rattling is coming from the motor or its bearings. Over time, these parts can wear out, causing wobbling or grinding sounds. While diagnosing motor problems can be a bit trickier, the upside is that swapping out the motor assembly in a bathroom fan is often pretty straightforward if you follow the right steps.
Diagnosing a faulty motor
A buzzing or grinding noise might tip you off to motor troubles, but clicking or rattling can also mean the bearings are bad.
Step-by-step instructions for resistance testing:
- Turn off power to the fan at the breaker and make sure the motor isn’t getting any electricity.
- Set your multimeter to the resistance (ohms) setting.
- Disconnect the motor wires from the fan’s wiring, following any instructions from the manufacturer.
- Touch the multimeter probes to the motor leads. Compare the reading to the specs from the manufacturer. If it’s off, there might be a problem.
- If the readings are off or you suspect mechanical wear, consider lubricating the motor bearings or replacing the motor assembly. Many motors are sealed units and aren’t meant to be lubricated by homeowners.
Realign the duct or exhaust flap
Another possible cause of clicking or rattling is a loose or misaligned exhaust duct or backdraft damper. These parts let moist air escape from your home. If the duct is kinked or the flapper is out of whack, it can bounce around when air flows through, making noise.
Check the duct and damper
You’ll usually find the damper just above the fan housing, where the duct connects. It’s a simple flap made of plastic or metal that keeps outside air from blowing back in.
Step-by-step instructions:
- Shut off power to the fan at the breaker.
- Inspect where the duct connects to make sure it’s securely sealed with clamps or foil tape. If it’s loose, tighten it up.
- Locate the backdraft damper, it should move freely without hanging crooked. If it’s off-center, carefully adjust it.
- Check inside the duct for any obstructions that could cause the flap to bounce around.
- Turn the power back on and see if the rattling persists.
- If the damper or duct looks damaged, replacing them can stop that constant clicking noise when the fan’s running.
Other tips to stop rattling
Sometimes the simplest fixes make the biggest difference. If your bathroom fan setup is a bit older, think about adding a thin layer of foam or rubber washers around the mounting screws to absorb vibrations. If you suspect the fan’s housing isn’t sealing well against the ceiling, use some appropriate sealant or a gasket around the edges. Paying attention to these little details can really cut down on annoying sounds.
When to replace parts
If you notice cracks, warping, or serious rust on your fan’s housing or blades, it’s probably time to replace some parts. You can always check out repair help to see what’s available for your specific model. Swapping out worn parts sooner rather than later can prevent more damage and ensure your fan vents moisture effectively. Don’t let a badly damaged fan keep clattering away, it could lead to pricier repairs down the line.
Feel free to visit AppliancePartsPros.com for parts and resources to help you repair and maintain all kinds of major appliances. Stay connected with us on Facebook at https://www.facebook.com/appliancepartspros and on Twitter at https://twitter.com/applpartspros. Don’t hesitate to contact us if you need more assistance or have additional questions. We’re always here to help you achieve a quieter, more comfortable home.
Read more:
How To Remove A Stripped Screw
My part is no longer available! What do I do now?
Soundproofing Your Home and Appliances: DIY Solutions for a Quieter Life
With nearly a decade of experience in providing top-notch customer service regarding appliance parts and repair, Steven enjoys sharing practical advice, troubleshooting tips, and interesting information to help readers stay informed.