Diagnosing and fixing a bathroom fan that won’t turn off
Steven E / Wednesday March 26, 2025
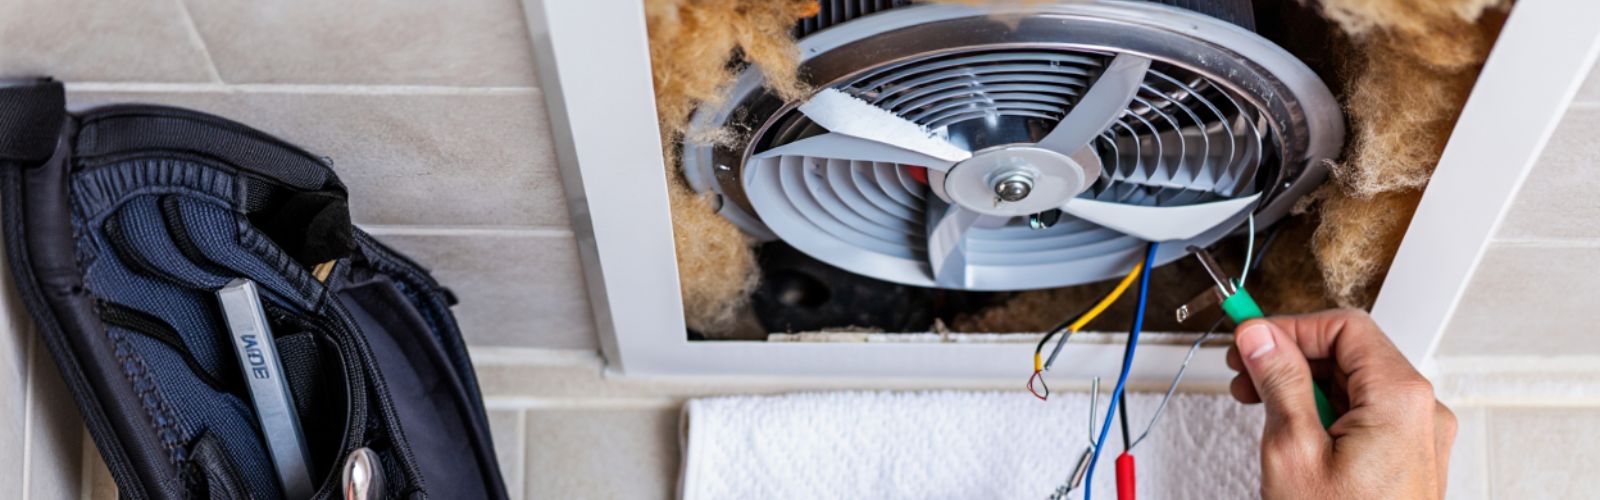
If your bathroom fan refuses to turn off, it can be pretty annoying. Whether it’s a fan with a built-in timer or a basic model, a fan that runs nonstop wastes energy and could lead to unnecessary wear. Fortunately, this is a problem you can often fix yourself with a bit of troubleshooting. We’ll walk you through the common causes for a fan that won’t shut off, and give you DIY repair tips to get your bathroom fan working properly again.
The info in this article might not match your exact appliance model. While we aim to provide helpful DIY tips for a variety of appliances, small differences among models mean you could run into different error codes, part swaps, and so on. For the best advice, please consult your manufacturer’s documentation for your appliance model or contact us directly if you need more help.
Cause 1: Faulty wall switch
One of the most common reasons for a fan that won’t turn off is a faulty wall switch. If the switch is stuck in the “on” position, it could be sending a constant signal to your fan. This can be easy to fix if the problem is with the switch itself.
Here’s how to check and fix it:

- Turn off the power: Make sure the fan is completely powered off by switching it off at the breaker.
- Remove the wall plate: Use a screwdriver to remove the screws holding the switch plate on the wall.
- Disconnect the switch wires: Before you remove the switch, take a quick photo of the wire connections for reference.
- Test the switch: Use a multimeter to test the switch for continuity. Set the multimeter to continuity mode, and if the switch is faulty, you won’t get a beep.
- Replace the switch: If the switch is bad, replace it with a new one. Reconnect the wires exactly as they were, screw the switch back into place, and replace the plate.
- Test the fan: Turn the power back on and test the fan by turning the switch on and off.
Cause 2: Timer malfunction (if applicable)
If your bathroom fan has a built-in timer and it doesn’t turn off, the timer may have malfunctioned. The timer’s job is to automatically shut off the fan after a set period, but if it’s broken or stuck, the fan might continue running indefinitely.
Here’s how to check and fix it:
- Turn off the power: Make sure you turn off the power to the fan by switching off the breaker.
- Locate the timer: Depending on your model, the timer will either be part of the wall switch or be a separate unit next to the fan.
- Check the timer’s settings: See if the timer is stuck on a continuous setting. Some models have a dial or switch that can be set to a particular time limit.
- Test the timer: Use a multimeter to test the timer’s functionality. Set the multimeter to continuity mode and check for continuity when the timer is in the off position. If you don’t get continuity when the timer is supposed to be off, it’s likely faulty.
- Replace the timer: If the timer is the issue, purchase a replacement that matches your fan model. Disconnect the faulty timer and install the new one by connecting the wires as shown in your manual.
Cause 3: Faulty fan capacitor
A faulty fan capacitor can cause the fan to run continuously, even when the system is supposed to turn off. The capacitor helps the motor start and run by providing the necessary electrical charge. If it’s damaged or malfunctioning, the fan may get stuck in the “on” position.
Here’s how to address this issue:
- Turn off the power: Before you do anything, make sure to switch off the power to the fan at the circuit breaker. This is crucial to avoid electrical shock.
- Locate the capacitor: The capacitor is typically found near the fan motor, inside the fan housing. It’s usually a cylindrical or oval-shaped component with two or more wires connected to it.
- Inspect the capacitor: Look for obvious signs of damage such as bulging, leaking fluid, or burn marks. These are signs that the capacitor is faulty and needs to be replaced.
- Test the capacitor with a multimeter: Use a multimeter to check the capacitor’s condition. Set your multimeter to capacitance mode and touch the probes to the terminals of the capacitor. If the reading is outside the specified range (you can find this on the capacitor label), then the capacitor is faulty.
- Discharge the capacitor: Before removing the faulty capacitor, make sure to discharge it to avoid getting shocked. You can discharge it by using a resistor or by briefly touching a screwdriver across the terminals while holding the insulated handle.
- Remove and replace the capacitor: Disconnect the wires from the old capacitor and unscrew or unclip it from its mounting. Install the new capacitor in the same position, ensuring the wires are reconnected to the correct terminals.
Cause 4: Malfunctioning fan motor
If the fan motor is malfunctioning, it could cause your bathroom fan to run continuously. The motor is responsible for powering the fan, and if it’s damaged or worn out, it may not turn off properly, even when the system is switched off.
Here’s how to troubleshoot and fix the issue:
- Turn off the power: As always, start by turning off the power at the circuit breaker to ensure your safety while working on the fan.
- Remove the fan cover: Use a screwdriver to remove the cover or housing of the fan. This will give you access to the fan motor.
- Inspect the motor: Look for any visible signs of wear or damage on the motor, such as rust, scorch marks, or broken components. A motor that’s physically damaged may need to be replaced.
- Check the motor’s connections: Ensure that the motor wires are securely connected. Loose or corroded wires can prevent the motor from turning off.
- Test the motor with a multimeter: Use a multimeter to test the fan motor’s continuity. Set the multimeter to resistance (ohms) mode, and place the probes on the motor’s terminals. A reading of zero ohms indicates a short in the motor, while an infinite reading means the motor is not conducting electricity and is likely faulty.
- Test the motor’s power supply: If the motor appears undamaged but the fan still won’t turn off, check if it’s receiving power when it shouldn’t. If power is still being supplied, the motor may be receiving a constant electrical signal due to a wiring issue.
- Replace the fan motor if necessary: If the motor is found to be defective, you will need to replace it. Make sure to get a replacement motor that matches the specifications of your fan model.
- Install the new motor: Once you’ve got the new motor, install it by attaching the fan blades, securing the motor to its mounting bracket, and connecting the wires to the correct terminals.
Cause 5: Faulty fan control board (for smart or advanced models)
If you have a smart or advanced bathroom fan model, the issue might lie with the fan control board. This board manages the overall functionality of the fan, including when it turns on and off, based on your settings. A faulty control board can cause the fan to continue running, even if it’s not needed.
Here’s how to troubleshoot and fix the problem:
- Turn off the power: As with all repairs, begin by turning off the power at the circuit breaker to avoid any electrical accidents while working on the fan.
- Locate the control board: Depending on your model, the control board could be inside the fan’s housing or in the electrical compartment. You may need to remove the cover or housing of the fan to access it.
- Inspect the board for visible damage: Look for any obvious signs of damage on the control board, such as burn marks, corrosion, or broken components. Any visible damage could indicate that the control board is faulty and may need to be replaced.
- Check the connections: Ensure that all the wiring connections to the control board are secure. Loose, corroded, or disconnected wires can cause erratic behavior, such as the fan not turning off properly.
- Test the control board with a multimeter: If no visible damage is present, you can use a multimeter to test the continuity and functionality of the control board.
- Set your multimeter to the resistance (ohms) setting.
- Test the input and output terminals of the board to make sure there is continuity and that the board is properly controlling the power flow.
- You can also check the board’s components (relays, resistors, capacitors) for any signs of failure, such as short circuits or open circuits.
- Replace the control board if necessary: If the control board fails the multimeter test or shows signs of damage, you’ll need to replace it. Make sure to get a new control board that is compatible with your fan model.
- Install the new control board: Once you have the new control board, install it by connecting the wiring as it was previously and securing the board in its compartment.
More help
We hope you’ve found this guide helpful and feel motivated to fix things yourself. If you need any replacement parts or extra pointers, we’re here for you at AppliancePartsPros.com. We also have references in our repair help section for common wiring diagrams.
Checking your fan’s model number can simplify finding the right part (our model number guide can help).
You can also follow us on Facebook and Twitter for more do-it-yourself updates. And if you’re really stuck, don’t hesitate to reach out. We’re always glad to help you keep your appliances working smoothly.
Read more:
How To Remove A Stripped Screw
With nearly a decade of experience in providing top-notch customer service regarding appliance parts and repair, Steven enjoys sharing practical advice, troubleshooting tips, and interesting information to help readers stay informed.