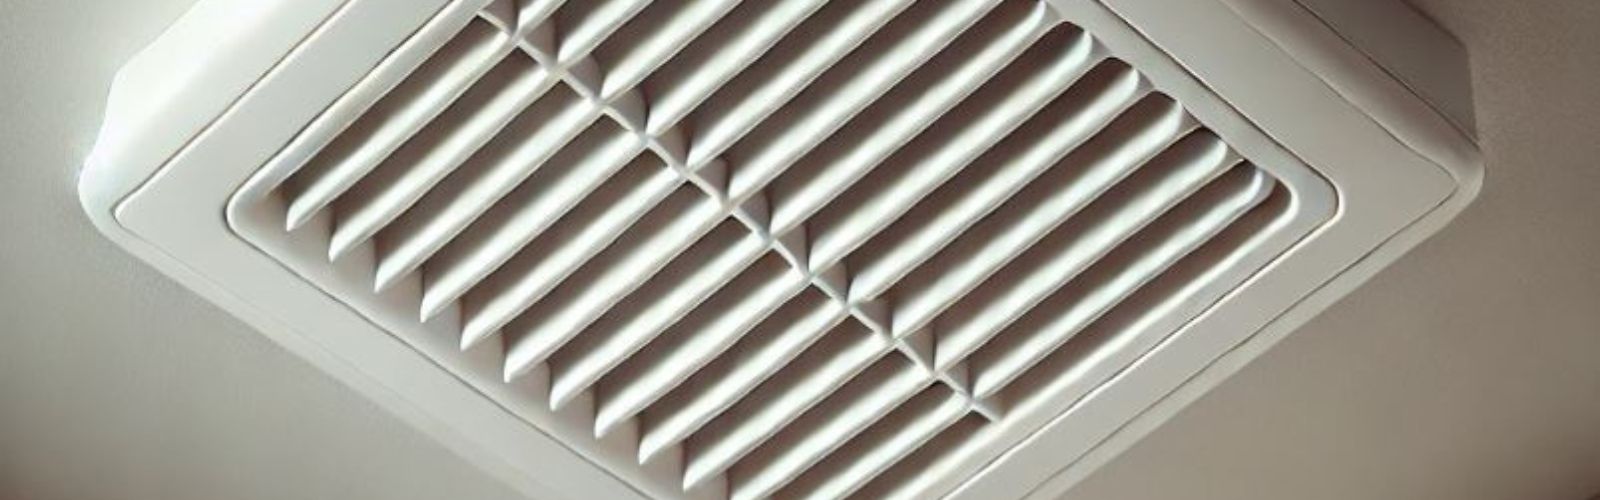
Figuring out bathroom fan duct blockages and how to tackle them
Steven E / Wednesday March 26, 2025
Ever noticed your bathroom feeling muggy and damp, even with the fan whirring away? Chances are, there’s a clog in your fan’s duct. Bad airflow leads to unwanted moisture, which can invite mold or mildew to the room. The good news? You can usually sort out these obstructions yourself. Let’s dive into how to spot the cause of poor airflow and fix it up for better ventilation.
The info in this article might not line up perfectly with your specific appliance. We try our best to provide helpful tips for all kinds of DIY appliance fixes, but different models and setups can mean tweaking troubleshooting steps, error codes, parts, etc. For best guidance, check out the manufacturer’s manual for your exact model or contact us if you have questions.
Spotting the signs of a blocked bathroom fan duct
Before you grab your toolbox and jump into fix-it mode, it’s good to know the classic signs of a clogged bathroom fan duct. Catching these red flags early can save you from bigger problems later on. Here’s what to look out for:
- Weak airflow at the vent: Normally, when you flip on the fan, you feel a nice breeze. If it’s barely there or not at all, that’s a big hint there’s a blockage or something else affecting the airflow.
- Weird noises or rattling: Strange sounds can mean something’s stuck in the duct. Loose debris might vibrate or knock around inside.
- Too much humidity or lingering smells: A working bathroom fan pulls out moisture and odors. If you’re catching a constant damp smell or your mirrors stay foggy, poor ventilation could be to blame.
- Visible dust or grime buildup: If you see dust and lint piling up on the fan cover, there might be more buildup hiding deeper in the duct.
What you’ll need
Having the right gear on hand makes the job way smoother. Most of these are common household tools or easy grabs from the local hardware store. Before you start, round up these essentials:

- Flashlight
- Screwdriver set
- Vacuum cleaner with hose attachment
- Extension hose or duct brush
- Cleaning supplies
- Protective gear: Safety glasses, gloves, and a dust mask
Getting ready and staying safe
Before jumping in, it’s key to prep and keep safety in mind. Here are some tips to keep things running smoothly:
- Disconnect the power: Anytime you’re work with electrical appliances, make sure to cut the power at your home’s breaker or fuse box. You don’t want the fan turning on unexpectedly.
- Use a solid step stool or ladder: Since bathroom fans are usually up on the ceiling, you’ll need something sturdy to stand on. Make sure it’s stable and can handle your weight.
- Work in good light: Ensure your workspace is well-lit. A bright flashlight is a must when looking into dark ducts.
- Know your model number if needed: If you’re unsure about parts fitting your fan, check out how to find your appliance’s model number. It’ll make things easier if you need replacements.
A step-by-step guide to diagnosing and clearing the blockage
Step 1: Take off the fan cover
- Shut off power to the bathroom fan at the breaker, safety first!
- Find any screws or clips holding the cover. Usually, there are a couple of screws or some metal spring clips.
- Hold the cover with one hand while you remove the screws or release the clips using your screwdriver.
- Gently pull the cover down. If there’s a light attached, carefully unplug any wires if needed.
- Now that the cover’s off, you can see the fan blades and what’s around them. Put the cover somewhere safe, you’ll need it later.
Step 2: Check out the fan housing and blades
- Shine your flashlight into the fan housing. Look for any buildup around the blades or inside.
- If you spot dust or bits of debris, use the vacuum hose or a soft brush to clean it out. For stubborn debris, wipe it down with a mild detergent and cloth.
- Keep an eye out for any damage to the fan blades or motor parts. Cracks or breaks might mean you need a replacement. You can find more repair help at our site.
- Make sure there’s nothing wrapped around the motor shaft that could stop it from spinning.
Step 3: Get into the duct and remove any gunk
- Find where the duct connects to the fan housing. Sometimes it’s attached with a simple clamp or tape.
- If you can, gently disconnect the duct from the fan. Be careful not to tear or damage it.
- Use your flashlight to look inside the duct. Check for dust, lint, or any foreign objects. Blockages might be dust buildup, insulation, or even nests.
- Use the vacuum hose to suck out loose debris. A duct brush can help break up tougher blockages. Pull out any loosened material with the vacuum.
- If the clog is deeper in, you might need to check other access points, like where the vent exits outside. If you can get to it, repeat the cleaning there.
Use your flashlight to make sure you’ve cleared out as much as possible. Depending on your home’s setup, you might see light at the end of the tunnel, literally! Even if you don’t, improved airflow is a good sign.
Step 4: Clean the vent cover or outside hood
- Find the exterior vent cover where the fan pushes air outside, usually on the roof or an exterior wall.
- Make sure the flapper opens easily when the fan’s on and that nothing’s blocking the exit.
- Clean off any screens or flaps. Gently remove any debris.
- Ensure the vent cover or flapper moves smoothly. If it’s stuck or damaged, you might need a replacement.
Step 5: Put everything back together
- Once the duct is clean, reattach it to the fan housing. Secure it with any clamps or fasteners.
- Double-check that the connection is tight so air doesn’t leak into your walls or attic.
- Pop the fan cover back on the ceiling. Screw it in or snap the clips back. If there’s a light, reconnect any wires before sealing it up.
- Turn the power back on at the breaker. Switch on the fan and see if the airflow feels stronger. Listen for any weird noises.
Keep all your appliances running smoothly
Need parts or more guidance? Swing by AppliancePartsPros.com. We’ve got a huge selection to keep your appliances humming along. For handy tips, product news, and DIY insights, follow us on Facebook at facebook.com/appliancepartspros and on Twitter at twitter.com/applpartspros. We’re here to help, so don’t hesitate to reach out if you’ve got questions about your bathroom fan or any other appliance.
Give us a shout through our website or over the phone if you need a hand. We’re happy to support you on your DIY journey.
Read more:
5 Common Mistakes That Shorten The Lifespan Of Appliances
With nearly a decade of experience in providing top-notch customer service regarding appliance parts and repair, Steven enjoys sharing practical advice, troubleshooting tips, and interesting information to help readers stay informed.