How to clean and maintain central AC ductwork
Steven E / Wednesday March 26, 2025
You count usually on your central AC to keep your home cool and comfortable. But over time, dust and debris can accumulate in the ductwork, which affects air quality and makes your system work harder than necessary. Cleaning out your ducts can improve air quality and help your AC run more efficiently. With just a few basic tools and a little effort, you can handle this DIY task and keep your system in great shape.
The advice here may not be a perfect fit for every model. We provide general DIY tips for a variety of appliances, but different brands and designs might require specific troubleshooting steps or parts. For the most accurate instructions, it’s always best to check the manufacturer’s manual for your model, or contact us if you need more help.
Why it’s important to keep your AC ducts clean
Your central AC’s ductwork channels cool air into every corner of your home. But when dust and debris start piling up inside, it can cause problems. For starters, all that buildup can blow dust into your living spaces, affecting air quality and kicking up allergies. Plus, clogged ducts force your AC to work overtime. Restricted airflow means the system’s running longer and using more energy, which could wear out parts faster. Keeping those ducts clean helps your AC run more efficiently, so you stay comfortable without overtaxing the system.
Regular duct cleaning also cuts down on mold spores and pet dander floating around. By staying on top of this maintenance, you’re not only keeping your system in great shape to extend it’s lifespan but also making your home healthier. It’s a project most DIYers can handle, so there’s no reason to put it off.

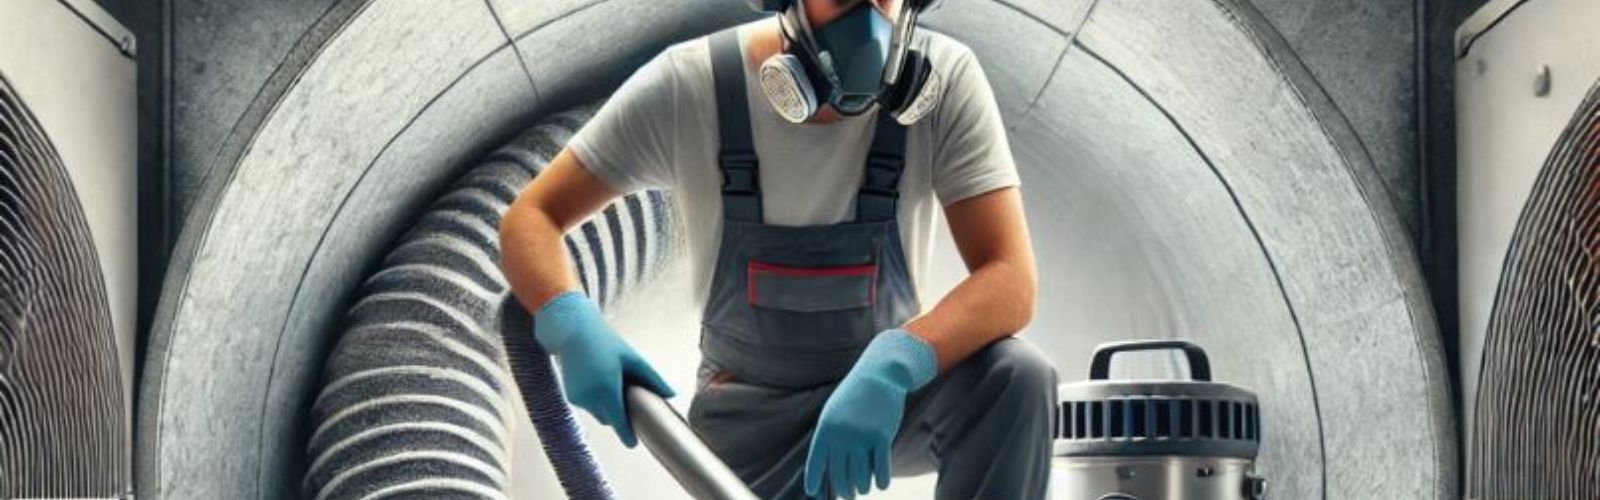
Materials and safety
What you’ll need
- Vacuum cleaner with a long hose (a HEPA filter is a big plus)
- Long-handled brush or dust brush attachment
- Screwdriver or drill
- Microfiber cloths or old rags
- Flashlight
- Duct sealant or metal duct tape
- Protective gloves and a dust mask
If you have a vacuum with a HEPA filter, that’s great, it’ll trap those tiny dust particles and keep them from blowing back out. A regular vacuum can still do the job, but without the filter, you might end up just moving dust around instead of getting rid of it.
Getting your ducts ready for cleaning
First, turn off the power to your AC unit. Find the circuit breaker or power switch for the HVAC system and flip it to “off.” Give it a minute to make sure it’s fully shut down. Then, gather up all your tools and gear. Take a look around and figure out which vents are the supply vents (blowing air into the rooms) and which are the return vents (pulling air back into the system). Since your AC uses both, you’ll want to have access to all of them. It’s a good idea to keep a small container or plastic bag nearby to hold any screws you remove, that way, you won’t lose them, and putting everything back together will be a breeze.
Step-by-step guide to cleaning your AC ducts
Step 1: Remove the vent covers
- Use a screwdriver or drill to unscrew or unclip the vent covers from walls, floors, or ceilings.
- Lay the covers on a clean surface to avoid dirt or dust buildup.
- Some covers may have screws, while others may have tabs that need to be pushed or twisted to remove.
- If there are foam or mesh filters behind the covers, remove those as well.
Step 2: Vacuum out dust and debris
- Attach the hose to your vacuum and start sucking up dust, hair, and debris from the duct.
- Move slowly to capture as much loose debris as possible.
- Shine a flashlight down the duct to spot heavier buildup deeper in.
- Use a flexible vacuum attachment or brush extension to reach further in, but be gentle to avoid damaging the ducts.
Step 3: Brush inside the ducts
- Use a long-handled, soft-bristle brush to loosen dirt and debris stuck to the duct walls.
- Gently move the brush back and forth to dislodge any clinging dirt.
- After loosening the debris, vacuum again to remove it.
- Check inside with a flashlight to ensure all buildup is cleared.
Step 4: Clean the vent covers
- Wipe the vent covers with a damp microfiber cloth or old rag to remove dust or grease.
- For tough grime, use an all-purpose cleaner or mild dish soap solution.
- Rinse the covers off and let them dry completely before reinstalling.
- Clean vents improve airflow and give your home a fresh look.
Step 5: Deal with mold or mildew (if you find it)
- If you find dark spots or discoloration, clean them with a damp cloth and a mild cleaning solution (like a vinegar-water mix).
- You can also use a store-bought duct cleaner made for mold.
- Dispose of any rags used in a sealed bag to avoid spreading spores.
- Allow the cleaned areas to dry thoroughly.
Step 6: Seal up any leaks or gaps
- Check the ductwork near the vents for any holes, gaps, or tears.
- Leaky ducts can increase your energy bill and allow dust into the system.
- Use metal duct tape or duct sealant to seal small leaks, following the instructions for proper curing.
Step 7: Reassemble everything
- Reattach the vent covers and any filters you removed earlier.
- Secure them with the screws or clips you set aside.
- Ensure everything is snug and aligned correctly.
- Once everything is back in place, turn the circuit breaker or power switch back on.
Changing or cleaning the air filter
- A dirty filter can undo all your duct-cleaning efforts. Check and clean or replace your AC’s main filter, usually located near the air handler or furnace.
- If there are additional filters in the return vents, clean or replace them as well.
- Ensure the new filter has the airflow direction arrow pointing the right way.
- For reusable filters, rinse them with cold water and allow them to dry completely before reinstalling.
Not sure about the filter type or size? Check your manual or use our guide to find your appliance’s model number so you get the right replacement.
Wrapping up
Cleaning and taking care of your AC ducts is something most homeowners can handle. Regular maintenance means cleaner air, better cooling, and fewer pollutants floating around. If you spot anything out of the ordinary or want to dig deeper into your specific model, don’t forget to check the manufacturer’s docs or find your appliance’s model number here. For more troubleshooting and resources, swing by AppliancePartsPros.com.
Stay connected with us on social media for handy tips and updates: Facebook or Twitter. Got questions or need a hand? Don’t hesitate to reach out through our contact page or give us a call. We’re here to help.
Keep Reading:
How To Replace An Air Conditioner Exhaust Hose
How to get better air quality from your window air conditioner
With nearly a decade of experience in providing top-notch customer service regarding appliance parts and repair, Steven enjoys sharing practical advice, troubleshooting tips, and interesting information to help readers stay informed.