How to extend the life of your bathroom fan
Steven E / Tuesday April 1, 2025
Your bathroom fan’s more important than you might think, it clears out extra moisture, kicks bad smells to the curb, and helps keep mold from forming. With a few easy DIY steps and some smart habits, you can keep it running smoothly for years. Let’s check out some practical tips to help your bathroom fan do it’s job without turning maintenance into a chore.
The info here might not be a perfect match for your specific fan model. While we aim to provide helpful DIY repair tips for all kinds of appliances, different models and setups can require unique troubleshooting steps, parts, or error codes. For the most accurate advice, check your fan’s manual or give us a shout if you’re having trouble. We’re happy to help!
Get to know your bathroom fan
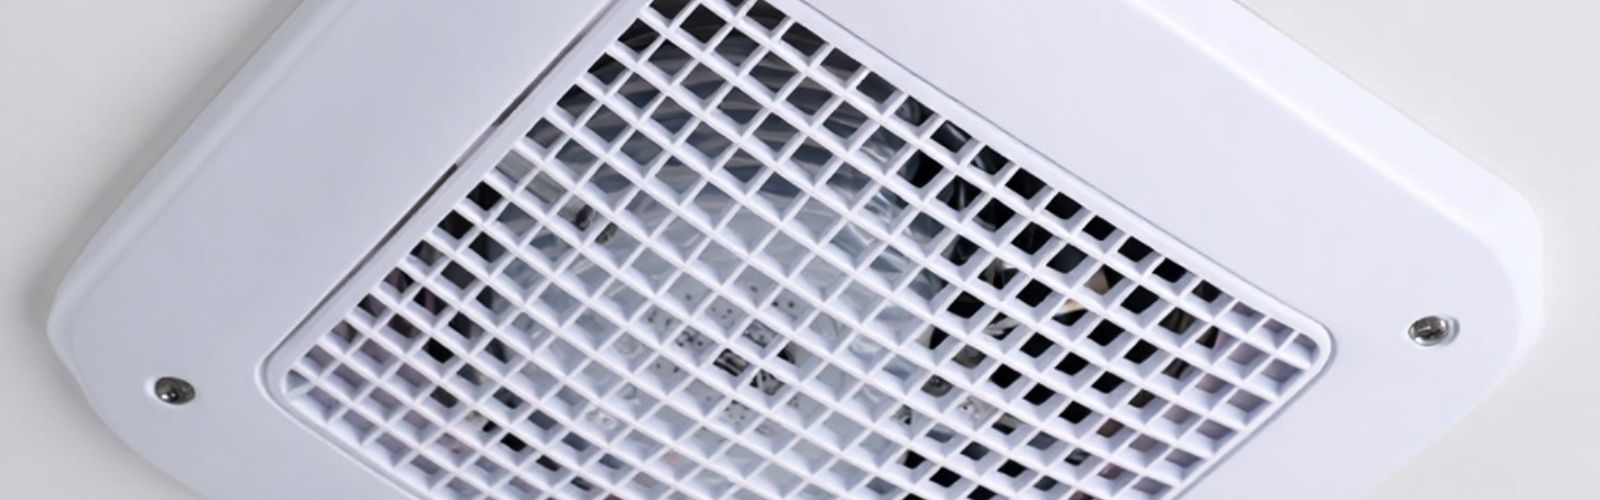
Your bathroom fan has two main responsibilities: it takes out the steamy air from showers and helps get rid of any bad odors. The motor spins the blades or blower wheel, creating airflow that pushes moist air out through the exhaust duct. Clearing out excess humidity stops mold and mildew from forming on your walls, ceiling, and fixtures. Since it’s working in a damp environment, the fan can collect dust, lint, and other buildup over time, especially if not cleaned regularly.
Some fans come with a heater or a light, while others just ventilate. Each type has its own setup but typically consists of several key parts, including:

- Fan blade: The rotating blades that create airflow to expel moisture and air from the bathroom.
- Motor: Powers the fan blade, making it spin to generate airflow. It is typically located inside the fan housing.
- Fan housing: The outer casing that holds all the internal parts, including the motor and fan blade. It’s typically installed in the ceiling or wall.
- Grill/grille: The cover that sits on the ceiling or wall and protects the fan while allowing air to pass through.
- Ductwork: The system of pipes or ducts that directs the expelled air from the fan to the outside of the building, often through the roof or side of the house.
- Damper: A flap or valve that prevents outside air from entering the ductwork when the fan is not in use. It also prevents drafts and insects from entering.
- Switch: The electrical part used to turn the fan on or off, which can sometimes be integrated with a light switch.
- Cap: The external cover on the end of the ductwork, typically located outside the building, to prevent rain or debris from entering.
- Wiring: The electrical parts that connect the fan motor to the power supply, allowing it to operate.
If you’re scratching your head about your fan’s make and model, swing by our guide on finding your appliance’s model number. Understanding your fan’s layout makes it easier to order the right parts when you need them.
Why using your fan the right way matters
One of the easiest ways to extend the life of your fan is by turning it on only when you need to and not over-running it. Turn it on during showers or baths to pull the damp air out of the room. Letting it run nonstop or keeping it on in a dry bathroom just puts extra wear on the motor and other parts.
Think about installing a model with a timer switch or a humidity sensor switch. A timer lets you set the fan to run for a few minutes after your shower, so it doesn’t run forever. A humidity sensor switch turns the fan on when things get steamy and shuts it off when everything’s back to normal. Making these small changes can save energy and keep your fan’s parts from wearing out too fast.
Keep it clean and tidy
Dust and debris are your bathroom fan’s worst enemies. Over time, they can coat the blades, motor housing, and grille, making the fan work harder to move air. Regular check-ins can catch early signs of wear, like weird noises or wobbles. Here’s how you can spruce up your fan:
- Turn off the power to the bathroom fan at your breaker box to play it safe.
- Take off the fan cover or grille. Usually, you can gently pull it down until you see spring clips, then squeeze those to release. If yours is different, check the manual.
- Use a soft brush or cloth to dust off the grille and fan blades. Compressed air can help blow out dust from tight spots, just be gentle.
- Wipe down the blades with a damp cloth. Skip harsh chemicals that might damage them.
- Vacuum around the motor housing. If you decide to remove the fan assembly for a deeper clean, make sure all the wiring connections are snug before putting it back together.
- Put the cover or grille back on. Turn the power back on at the breaker, and give the fan a quick test run to make sure everything’s humming smoothly.
- Stick to a cleaning schedule. Giving the fan a once-over every three to six months does the trick, but if your home’s extra humid or dusty, you might want to do it more often.
Make sure your bathroom has good airflow
Even if you’re on top of maintenance, your fan can still get overworked if your bathroom doesn’t have proper airflow. If the fan’s ducts are blocked or too narrow, or if there’s not enough space for the exhaust, the motor has to work overtime. That extra effort can wear out the motor bearings and other parts faster.
Here are some tips to keep the air moving:
- Crack a window or door a bit after a shower. Letting fresh air in helps the fan do its job of removing moisture.
- Check the vent cover on the outside of your house. Clear away any leaves, lint, or gunk that might be blocking it.
- Make sure your ductwork is the right size for your fan. If the duct’s too small, the fan has to struggle. If you’re not sure, take a look at the manufacturer’s guidelines.
- Avoid super long or twisty duct runs. The farther the air has to travel to get outside, the harder the fan has to push.
Keep an eye out for wear and tear
Regular inspections can catch little problems before they turn into big headaches. When you’re checking out your bathroom fan, look for things like cracked blades, worn-out motor bearings, or frayed wires. If you spot cracks or damage, you should replace the parts to keep things running safely and efficiently. You can find what you need by browsing AppliancePartsPros.com. If you’re not sure which part fits your fan, our repair help section can point you in the right direction.
Wrapping up
Keeping your bathroom fan in good shape doesn’t have to be complicated or pricey. Simple habits can make a big difference. Taking care of it now can save you from sudden breakdowns and costly repairs later on.
If you ever need replacement parts or some personalized repair help, swing by AppliancePartsPros.com. We’ve got a huge range of parts to back you up in your DIY adventures.
Got questions? Don’t hesitate to reach out. We’re here to help make sure your bathroom fan stays a trusty sidekick in keeping your home comfy and healthy. Follow us on Facebook and Twitter for more appliance tips and updates.
Keep Reading:
How to address a bathroom fan that vibrates excessively
With nearly a decade of experience in providing top-notch customer service regarding appliance parts and repair, Steven enjoys sharing practical advice, troubleshooting tips, and interesting information to help readers stay informed.