20 Must-Know Dryer Parts For Easy DIY Repairs
Steven E / Tuesday April 8, 2025
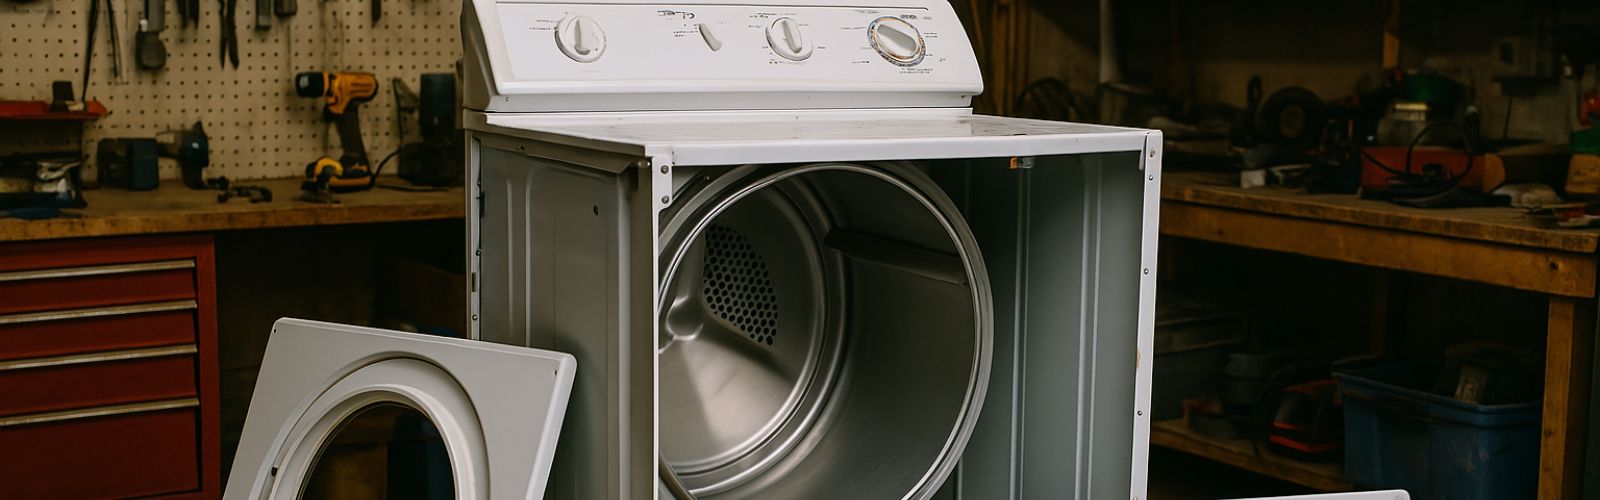
Hey there! Welcome to our down-to-earth DIY guide on 20 essential dryer parts every homeowner should know about. Whether you’re trying to figure out those odd clanks or just want your machine running without a hitch, knowing these parts can seriously boost your confidence in tackling repairs. Read on for a step-by-step lowdown on how each piece works, what red flags to watch for, and quick tips to inspect your dryer safely. And remember – always unplug your dryer (and shut off the gas if needed) before you start poking around!
Moving Parts
- Drum: Think of the drum as the big metal barrel where your clothes tumble around. It rotates during the cycle, spreading the heat evenly so your laundry dries properly. Keep an eye out for scratches, dents, or chips – these imperfections can snag your clothes and create unusual noises.
- Drive Belt: This slim rubber belt wraps around the drum, motor pulley, and idler pulley, channeling the motor’s power to spin the drum. A broken or loose belt is a common culprit when you hear the motor whir but the drum refuses to turn.
- Drive Motor: The drive motor is the powerhouse behind your dryer – it turns the drum and often runs the fan that circulates hot air. If your dryer hums but the drum doesn’t spin, a failing motor might be to blame. Knowing its role can help you zone in on the issue.
- Drum Rollers (Support Wheels): These are the little wheels that support the drum’s weight and let it spin smoothly. Worn or misaligned rollers can cause squeaking, thumping, or grinding noises. Regular checks help you spot issues early.
- Idler Pulley (Tension Pulley): This little part keeps the drive belt tight by pressing it against the drum and motor pulleys. A bad idler pulley can let the belt slip or create a squealing noise when the drum spins.
- Drum Seals (Felt Seals): Made typically from felt or heat-resistant fabric, these seals line the drum and prevent hot air from escaping around the edges. Damaged seals can mean longer drying times or even snag your clothes. Keeping them in top shape is key to efficient drying.
Heating System
- Heating Element (Electric Dryers): The heating element is essentially a coiled wire that heats up as current passes through it, giving you the heat needed to dry your clothes. If your dryer tumbles but doesn’t warm up, the heating element could be broken, burned out, or cracked.
- Gas Burner Assembly (Gas Dryers): In gas dryers, the burner assembly is what heats up your air by burning natural gas or propane. It includes parts like the gas valve, igniter, and burner tube. If any part of the burner assembly is off, you might not get any heat at all.
- Igniter (Gas Dryers): The igniter heats up to a high temperature so it can light the gas in the burner assembly – a small but crucial part for safety. If the igniter doesn’t glow or shows cracks, it won’t properly ignite the gas, leaving your dryer cold.
- Gas Valve (Gas Dryers): The gas valve controls the flow of gas to the burner. It activates once the igniter gets hot and the thermostats call for heat. If your igniter glows but no flame appears, a faulty gas valve might be the issue.
Airflow & Exhaust
- Lint Screen / Filter: The lint screen traps the fluff and lint that comes off your clothes, keeping it from clogging the dryer’s internals and exhaust. A clean lint screen not only helps your dryer work more efficiently but also cuts down on fire risks.
- Lint Trap Housing: This is the compartment where the lint screen sits. Over time, lint and debris can sneak in around or below the screen. Buildup in the housing can block airflow, leading to longer drying times and extra heat buildup.
- Blower Wheel / Fan: Powered by the drive motor, the blower wheel pulls air through the heating element and forces the moist, linty air outside. A misbehaving blower can mean weak airflow, which makes drying less effective and might lead to overheating.
- Vent Hose / Duct: This hose connects the dryer’s exhaust outlet to the outside vent, channeling out hot, moist, and lint-filled air. A blocked, crushed, or poorly installed vent hose can seriously slow down drying times and even become a fire hazard.
Controls & Safety
- Control Panel / Timer / Electronic Control Board: This is the brain of your dryer – handling cycle settings, heat levels, and duration, whether it runs off a mechanical timer or an electronic board. When this part acts up – whether it’s unresponsive buttons, wonky cycles, or error codes.
- Door Switch: The door switch is a simple yet crucial part that makes sure the dryer only runs when the door is properly closed. If your dryer won’t start or stops unexpectedly, a faulty door switch might be the culprit.
- Thermal Fuse: Acting as a one-shot safety device, the thermal fuse cuts off power if the dryer overheats, helping to prevent any fire hazard. A blown thermal fuse is often why a dryer might suddenly stop working, it’s usually a sign of an airflow issue that needs attention.
- Thermostats (Cycling, High-Limit, Safety): These thermostats work together to control the temperature inside your dryer. The cycling thermostat toggles the heating element on and off, while the high-limit and safety thermostats shut things down if it gets too hot. If a thermostat isn’t working right, you might not get enough heat or risk overheating. Keeping an eye on them ensures your dryer works safely and efficiently.
- Start Switch / Button: This is the button that kicks off the drying cycle. Depending on your model, you might need to press it firmly or hold it down briefly. If nothing happens when you press start, a wonky switch could be the simple fix you need.
- Moisture Sensor (on Newer/Higher-End Models): These sensors, usually metal strips inside the drum, gauge how damp your clothes are and adjust the cycle length automatically. A dirty or faulty sensor can end the drying cycle too early or let it run too long, leaving your clothes damp or over-dried. A quick clean-up can make a world of difference.
Additional information
Thanks for reading! If you need any replacement parts for your appliances, you can enter your model number at AppliancePartsPros.com to locate and order them. Most orders arrive in just two business days, and we have tons of great information in our repair help section and YouTube videos to help you troubleshoot.
Stay connected with the latest DIY tips, tutorial videos, and repair guides by following us on Facebook, Instagram and Twitter. We love hearing about your repair stories and successes. If you need more help or want personalized guidance, feel free to reach out to us. Let us know how we can help you tackle your next project with confidence.
The information in this article may not apply to your specific appliance model. We recommend consulting your manufacturer’s documentation or contact us with any questions.

Keep Reading:
How to clean & replace a Whirlpool dryer vent
Electric Whirlpool dryer not starting: A troubleshooting guide
With nearly a decade of experience in providing top-notch customer service regarding appliance parts and repair, Steven enjoys sharing practical advice, troubleshooting tips, and interesting information to help readers stay informed.