Whirlpool gas range orifice tube WP5787D105-60 replacement
Steven E / Monday May 19, 2025
Is your Whirlpool gas range acting up with lazy flames or uneven heating? You’re not alone, as these common problems often point to a clogged or damaged orifice tube assembly. Discover how you can easily tackle this repair yourself with our step-by-step guide and accompanying how-to video just below to get your kitchen back in full swing!
Looking for the right part? Enter your appliance model number below to find the exact match and get your appliance running like new again!
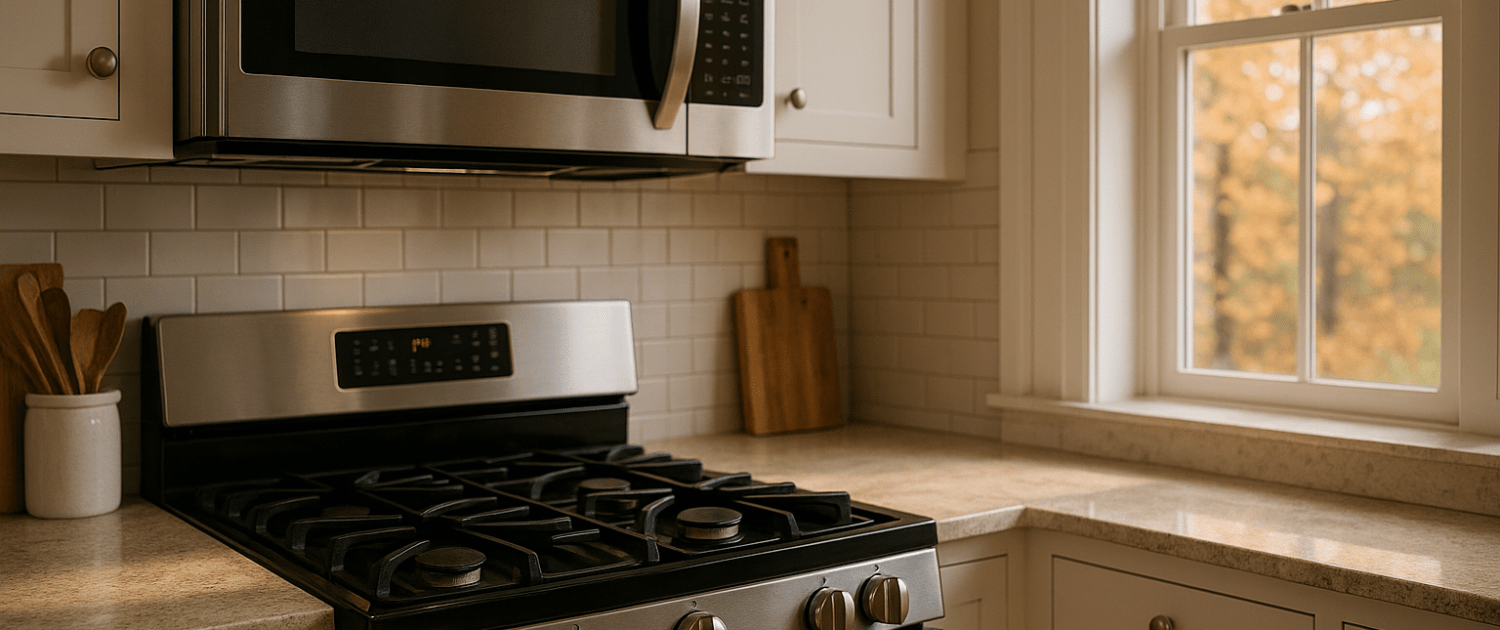
Do you have issues with your Whirlpool gas range’s burners? Do you notice lazy flames, uneven heating, or other burner problems? There’s a good chance the orifice tube assembly needs to be replaced. This important part delivers gas from the valve to the burner head and regulates proper gas flow. Over time, the range orifice tube can become clogged or damaged, disrupting the burner’s performance.

Replacing this part is a straightforward repair that you can tackle yourself, as long as you exercise caution when working with gas appliances. With a few basic tools and a new orifice tube assembly kit, you can have your gas burners running again.
Watch: How to replace orifice tube assembly
The information in this article may not apply to your specific appliance model. We recommend consulting your manufacturer’s documentation or contact us with any questions.
Why Replace the Orifice Tube Assembly?
Before diving into the nitty-gritty of the repair process, let’s look at why you may need to replace the orifice tubes in the first place. Here are some of the most common signs that the orifice assembly is malfunctioning:
- Lazy orange flames on the burner heads
- Yellow or yellow-tipped flames
- Soot buildup on pots and pans
- Burners not igniting
- Burners ignite but the flame goes out
- Uneven cooking temperatures
- Popping or sputtering noises
- Gas odor even when burners are off
These issues point to problems with the gas flow to the burners. Clogged orifices don’t allow the right amount of gas to mix with air, resulting in abnormal flames and poor burner performance. Replacing the orifice tubes restores proper gas flow.
Over time, small openings in the orifice tubes can get blocked with sediment, rust, grease, and other contaminants. The tubes themselves can also crack or sustain other damage. As gas ranges age and see heavy use, the orifice assemblies wear out.
You can swap out the old faulty orifice assembly for a brand new one and get your gas range burning cleanly and cooking evenly again.
What You’ll Need
Let’s go over the materials you’ll need to complete this repair:
- Orifice tube assembly kit – This contains the new orifice tubes for your range model. Use your model number to locate the correct part for your unit.
- Strap wrench – This tool helps grip and turn the burner heads to remove them. A rubber strap wrench works best.
- Flat blade screwdriver – For disconnecting wires from burner heads.
- Phillips screwdriver – To remove screws securing the top panel.
- Putty knife – Inserted under the top panel to release locking clips.
- 1/2 inch wrench – For loosening and tightening gas supply line nuts.
- Pipe wrench – Optional, but can provide extra grip on stubborn nuts.
- Gloves
- Safety goggles
Turn Off Gas and Electric
Before touching anything on your gas range, make sure to turn off the gas supply and shut off power to the appliance. This crucial first step helps prevent electric shocks or gas leaks during the repair.
- Locate the gas shut-off valve adjacent to the range and turn it clockwise to the off position.
- Next, unplug the range if it has a standard wall outlet connection. For a hardwired unit, either unplug or turn off the correct circuit breaker in your electrical panel.
With gas and electricity safely powered down, you can now start disassembling the range top.
Remove Range Top Panels and Components
With the gas and power disconnected, we’re ready to take apart the range to access the orifice tube assembly.
- Lift off grates – Remove all grates from the range top and set aside.
- Remove burner heads – Use the strap wrench to loosen each burner head by turning it counterclockwise. Fully unscrew and remove each burner.
- Disconnect wires – Detach the wires running to each burner head using a flat-blade screwdriver.
- Remove top panel screws – Use the Phillips head screwdriver to remove the screws around the outer edge of the range top. These screws secure the top panel.
- Release locking clips – Insert the putty knife under each corner of the top panel. Gently pry up to release the locking clips.
- Lift off top panel – With all screws removed and clips released, carefully lift the top panel straight up. Set it aside.
Remove Old Orifice Tube Assembly
With the range top removed, locating the orifice tubes is easy. You’ll find them connected by short metal tubes to the gas valves.
- Use wrenches to disconnect supply lines – Use the 1/2 inch wrench, and pipe wrench if needed, to loosen the nuts connecting the orifice tubes to the gas valves’ supply lines. Turn the nuts counterclockwise to unscrew them.
- Carefully maneuver tubes out – Once disconnected, gently wiggle and maneuver the orifice tubes to free them from the range. Take care not to bend or damage the supply lines.
- Inspect assembly – Examine the old assembly, looking for any cracked tubes, damaged o-rings, corrosion, obstructions, or other issues. This can help you diagnose what went wrong to cause replacement.
Install New Orifice Tube Assembly
You’re in the home stretch of this repair now. Installing the new orifice tubes is a straightforward process:
- Align the tubes with the supply lines, inserting them into the gas valve openings.
- Hand thread the flared nuts back onto the supply lines.
- Use the wrenches to tighten the nuts. Be sure they are snug, but do not over-tighten.
- Double-check that the tubes are seated properly into the grommets in the range top panel.
That’s it – the new orifice assembly is installed!
Before wrapping up, be very careful to check for leaks. Turn the gas supply back on and use a soapy water solution to test each connection point on the orifice tubes and supply lines. Bubbles indicate a leak. Tighten joints as needed to eliminate any leaks before moving to the next steps.
Reassemble the Range
- Replace the range top panel by lowering it into position. Press down firmly so the locking clips engage.
- Reinstall the screws around the outer edge using your Phillips screwdriver.
- Reconnect the wires to the burner valve stems.
- Replace each burner head by setting them into the openings and turning clockwise to tighten.
- Replace all grates on the range top.
- Restore power and gas supplies.
- Ignite each burner, adjusting flames if needed.
With that, your orifice tube replacement is complete!
Where To Find Us
If you need any replacement parts for your appliances, you can enter your model number at AppliancePartsPros.com to locate and order them quickly. Most orders arrive in just two business days, and we have tons of great information in our repair help section and YouTube videos to help you troubleshoot.
Stay connected with the latest DIY tips, tutorial videos, and repair guides by following us on Facebook, Instagram, and Twitter. We love hearing about your repair stories and successes. If you need more help or want personalized guidance, feel free to reach out. We’re ready to help you take on your next project with confidence!
 https://www.appliancepartspros.com/b/wp-content/uploads/2025/12/20250429_1559_Early-Morning-Kitchen_simple_compose_01jt1j32s1fttttheyf8zzt359.png
1024
1536
Steven E
https://www.appliancepartspros.com/b/wp-content/uploads/2020/11/app-logo-std.png
Steven E2025-12-16 12:47:252025-12-16 12:47:32How to Fix a JennAir Slide-In Electric Downdraft Range That Won’t Broil
https://www.appliancepartspros.com/b/wp-content/uploads/2025/12/20250429_1559_Early-Morning-Kitchen_simple_compose_01jt1j32s1fttttheyf8zzt359.png
1024
1536
Steven E
https://www.appliancepartspros.com/b/wp-content/uploads/2020/11/app-logo-std.png
Steven E2025-12-16 12:47:252025-12-16 12:47:32How to Fix a JennAir Slide-In Electric Downdraft Range That Won’t Broil https://www.appliancepartspros.com/b/wp-content/uploads/2025/10/20250618_1508_Country-Kitchen-Oven_simple_compose_01jy26zs6rf9esjy9e3tgff7et.png
1024
1536
Steven E
https://www.appliancepartspros.com/b/wp-content/uploads/2020/11/app-logo-std.png
Steven E2025-10-31 07:42:172025-10-31 07:42:49Easy Way to Troubleshoot Whirlpool Oven Broil Element Issues
https://www.appliancepartspros.com/b/wp-content/uploads/2025/10/20250618_1508_Country-Kitchen-Oven_simple_compose_01jy26zs6rf9esjy9e3tgff7et.png
1024
1536
Steven E
https://www.appliancepartspros.com/b/wp-content/uploads/2020/11/app-logo-std.png
Steven E2025-10-31 07:42:172025-10-31 07:42:49Easy Way to Troubleshoot Whirlpool Oven Broil Element Issues https://www.appliancepartspros.com/b/wp-content/uploads/2025/09/20250618_1508_Country-Kitchen-Oven_simple_compose_01jy26zs6tfz49rvn6pf1w94ev.png
1024
1536
Steven E
https://www.appliancepartspros.com/b/wp-content/uploads/2020/11/app-logo-std.png
Steven E2025-09-26 12:20:062025-09-26 12:20:17Is Your Samsung Oven Baking Element Dead? Find Out Now!
https://www.appliancepartspros.com/b/wp-content/uploads/2025/09/20250618_1508_Country-Kitchen-Oven_simple_compose_01jy26zs6tfz49rvn6pf1w94ev.png
1024
1536
Steven E
https://www.appliancepartspros.com/b/wp-content/uploads/2020/11/app-logo-std.png
Steven E2025-09-26 12:20:062025-09-26 12:20:17Is Your Samsung Oven Baking Element Dead? Find Out Now!With nearly a decade of experience in providing top-notch customer service regarding appliance parts and repair, Steven enjoys sharing practical advice, troubleshooting tips, and interesting information to help readers stay informed.