Ice Maker or Auger Not Working in KitchenAid Fridge
Steven E / Wednesday May 28, 2025
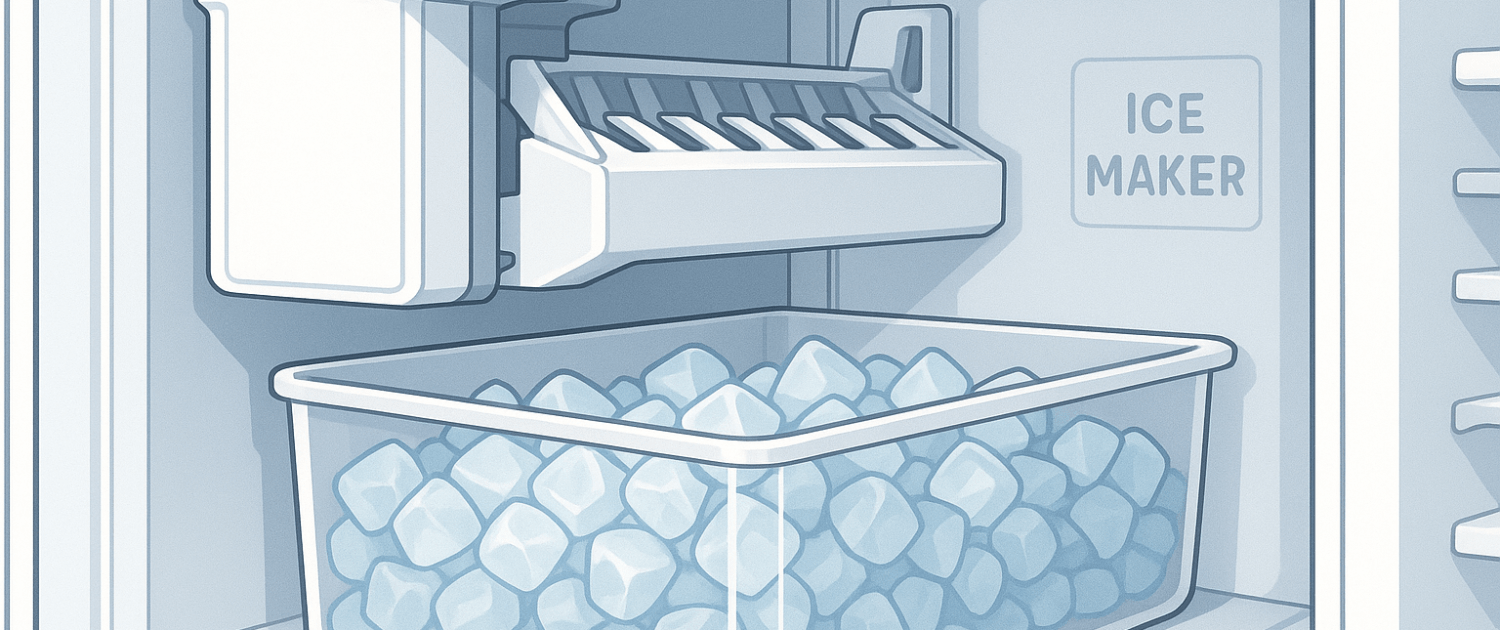
Having trouble with your KitchenAid side-by-side refrigerator’s in-door ice maker or auger not working? We’ll guide you through troubleshooting the issue so you can fix it yourself without calling a repair service. A faulty auger motor, a jammed ice chute, or a frozen water line could be causing the problem, and we’ll help you identify what needs to be replaced.
If you need any replacement parts for your KitchenAid refrigerator, you can enter your model number at AppliancePartsPros.com to order them. Most orders arrive in just two business days, and we have thousands of free guides to show you how to install your new parts.
We recommend consulting your manufacturer’s documentation or contact us with any questions.

Necessary supplies
- Multimeter
- 1/4″ nut driver
- Phillips head screwdriver
- Flathead screwdriver
- Jumper wire
The specific tools required may vary depending on the model of your appliance and the type of fasteners used on it.
Safety tips
When working on any appliance, remember to keep safety first. Here are some tips to keep in mind:
- Always power off and unplug your appliance or switch off the circuit breaker before you attempt any maintenance or replacement work. This keeps you safe by eliminating any risk of electric shock.
- If the appliance has recently been used, give it plenty of time to cool down before working on it.
- Take your time while working to prevent accidents and personal injuries. Rushing is the enemy of precision.
- Work in a well-lit area so you can see and access appliance parts.
- Keep your workspace free of clutter and other obstacles. Keep children and pets away from the work area.
- Never work on internal parts with wet hands. Make sure the work area is completely dry.
- Check the user manual to see if there are specific installation or safety instructions related to your appliance or replacement part.
- Be gentle when handling or removing parts. Excessive force might damage the appliance or cause personal injury.
- Wear insulated work gloves to protect your hands from sharp metal parts and debris.
- When working with wires, avoid touching any exposed wires or terminals. If you need to touch a wire, use a non-conductive tool or wear insulating gloves to prevent electrical shock.
- Always take photos or make a note of wiring terminals or other connections before disconnecting them to make reassembly easier.
- Don’t test live voltage with a multimeter if you’re unfamiliar with how to prevent short-circuiting.
- Consider wearing safety glasses and/or a dust mask when working with chemicals, dust or a large amount of debris to prevent irritation or injury.
How to troubleshoot a non-working KitchenAid side by side refrigerator with an in-door ice maker or auger
Below are the steps to diagnose and fix issues with the ice maker, auger motor, and freezer door, including testing wiring harnesses and replacing the door if necessary.
Step 1. Check the door harness for damage
- Disconnect power by unplugging the power cord or turning off the circuit breaker.
- Remove the toe plate at the front of the refrigerator.
- Open the freezer door and inspect the harness where it enters the lower part of the door.
- Look for any pinched or damaged wires.
- Remove the protective covering around the harness if needed for a more thorough inspection.
- If any wires are damaged, replace the freezer door.
Step 2. Test the ice maker in-door harness
- If the ice maker is not working properly, disconnect the harness with the White, Tan, Black with White tracer, and Green with Yellow tracer wires.
- Remove the ice bin to access the ice maker and harnesses.
- Remove the two Phillips head screws securing the frame to the upper freezer door.
- Use a flathead screwdriver to pop off the harness cover on the door.
- Disconnect the harness from the ice maker to the door.
- Insert a jumper wire into the connector coming from the door where the White and Black wires are.
- Set the multimeter to read continuity.
- At the bottom of the door, connect the leads to the same wires that were jumped at the top.
- If there is no continuity, replace the door.
- If the ice maker cycles but the water valve does not activate, jump the Tan wire to the White wire and check continuity again.
- If continuity is present, the issue is with the ice maker, valve, control board, or wiring between these parts.
Step 3. Test the auger motor and in-door harness
- If the auger motor does not run when ice is requested, but the ice door is opening, check the auger motor and harness.
- Disconnect the harness at the bottom of the door that has the Gray with Orange tracer and Blue wires.
- Set the multimeter to read resistance in Ohms.
- Measure the resistance across the wires in the connector.
- A typical resistance range is 100 to 200 Ohms.
- If resistance is within range, the issue is with the wiring through the unit to the door or the main control board.
- If the circuit is open, check the auger motor.
- Remove the ice bin and frame from the door, noting the placement of insulation panels.
- Remove the four ¼-inch hex head screws securing the auger plate and ice bin frame.
- Remove the spring from the auger output.
- Take out the four screws holding the auger motor in place.
- Lift the auger motor and disconnect its harness from the door.
- Take a resistance reading on the harness pigtail to the auger motor harness.
- If the circuit is open, replace the auger motor.
- If resistance is within range, replace the freezer door.
NOTE: Generally, for every 1 degree in temperature difference, 2 Ohms could be added or subtracted. If the temperature in your home is cooler, resistance would be subtracted.
Step 4. Remove the freezer door for replacement
- Disconnect any remaining harnesses and the water line at the bottom of the door.
- Close the freezer door.
- Remove the screw securing the top hinge cover and take off the cover.
- Remove the remaining screws from the top left hinge.
- Lift the freezer door straight up off the lower hinge.
Step 5. Install the new freezer door
- Feed the dispenser tube through the lower hinge.
- Lower the new door onto the hinge as close to the closed position as possible.
- Reinstall the top hinge and screws.
- Reattach the top hinge cover and its screw.
- Reconnect the harnesses and water line at the bottom of the door.
- Reattach the base grille and secure it with screws.
- Transfer the handles and any necessary parts from the original door to the new door.
- Verify that all harnesses are securely connected.
- Confirm that the ice maker and auger motor function properly.
- Check that the freezer door seals correctly.
- Run a test cycle to confirm normal operation.
Let us help
Thanks for stopping by! We hope this guide helped you with the KitchenAid refrigerator.
If you run into any issues, just give us a call at 1-877-477-7278 or start a chat with a pro on our website so we can help you through it. We’ve got many more troubleshooting and repair guides on our DIY blog and YouTube channel, plus all the parts you need to do it yourself at AppliancePartsPros.com.
Connect with us on Facebook, X and Instagram!
The information in this article may not apply to your specific appliance model.
- Disconnect power before you start — unplug it or switch off the breaker, and confirm it’s dead.
- Follow your local electrical code.
- Anything involving household wiring, outlets, or the breaker panel itself is licensed-electrician territory.
 https://www.appliancepartspros.com/b/wp-content/uploads/2025/09/groovetopia_macro_shot_of_frost_crystals_forming_irregular_patt_37deb777-ed26-4ba3-927c-946d5393a753.png
816
1456
AppliancePartsPros Team
https://www.appliancepartspros.com/b/wp-content/uploads/2020/11/app-logo-std.png
AppliancePartsPros Team2025-09-24 13:04:442026-07-14 07:42:39Refrigerator Sealed Systems: Where DIY Stops and Gauges Begin
https://www.appliancepartspros.com/b/wp-content/uploads/2025/09/groovetopia_macro_shot_of_frost_crystals_forming_irregular_patt_37deb777-ed26-4ba3-927c-946d5393a753.png
816
1456
AppliancePartsPros Team
https://www.appliancepartspros.com/b/wp-content/uploads/2020/11/app-logo-std.png
AppliancePartsPros Team2025-09-24 13:04:442026-07-14 07:42:39Refrigerator Sealed Systems: Where DIY Stops and Gauges Begin https://www.appliancepartspros.com/b/wp-content/uploads/2025/06/20250618_1202_Refrigerator-Door-Gasket-Issue_simple_compose_01jy1wbpw8fxvvpx4nn5ejvsk3.png
1024
1536
Steven E
https://www.appliancepartspros.com/b/wp-content/uploads/2020/11/app-logo-std.png
Steven E2025-06-20 06:21:482025-08-20 12:16:14How to Replace Door Gasket W10355582 on a Whirlpool Fridge
https://www.appliancepartspros.com/b/wp-content/uploads/2025/06/20250618_1202_Refrigerator-Door-Gasket-Issue_simple_compose_01jy1wbpw8fxvvpx4nn5ejvsk3.png
1024
1536
Steven E
https://www.appliancepartspros.com/b/wp-content/uploads/2020/11/app-logo-std.png
Steven E2025-06-20 06:21:482025-08-20 12:16:14How to Replace Door Gasket W10355582 on a Whirlpool Fridge https://www.appliancepartspros.com/b/wp-content/uploads/2025/06/20250617_1527_Refrigerators-Ice-Maker_simple_compose_01jxznp0v6ebzsggaqpx90xtq8.png
1024
1536
Steven E
https://www.appliancepartspros.com/b/wp-content/uploads/2020/11/app-logo-std.png
Steven E2025-06-20 06:06:492026-07-14 12:51:36Whirlpool Fridge Not Making Ice? How To Troubleshoot the Sensor
https://www.appliancepartspros.com/b/wp-content/uploads/2025/06/20250617_1527_Refrigerators-Ice-Maker_simple_compose_01jxznp0v6ebzsggaqpx90xtq8.png
1024
1536
Steven E
https://www.appliancepartspros.com/b/wp-content/uploads/2020/11/app-logo-std.png
Steven E2025-06-20 06:06:492026-07-14 12:51:36Whirlpool Fridge Not Making Ice? How To Troubleshoot the SensorWith nearly a decade of experience in providing top-notch customer service regarding appliance parts and repair, Steven enjoys sharing practical advice, troubleshooting tips, and interesting information to help readers stay informed.