How to Fix a Steam Closet That Leaves Clothes Unevenly Steamed
Steven E / Thursday July 3, 2025
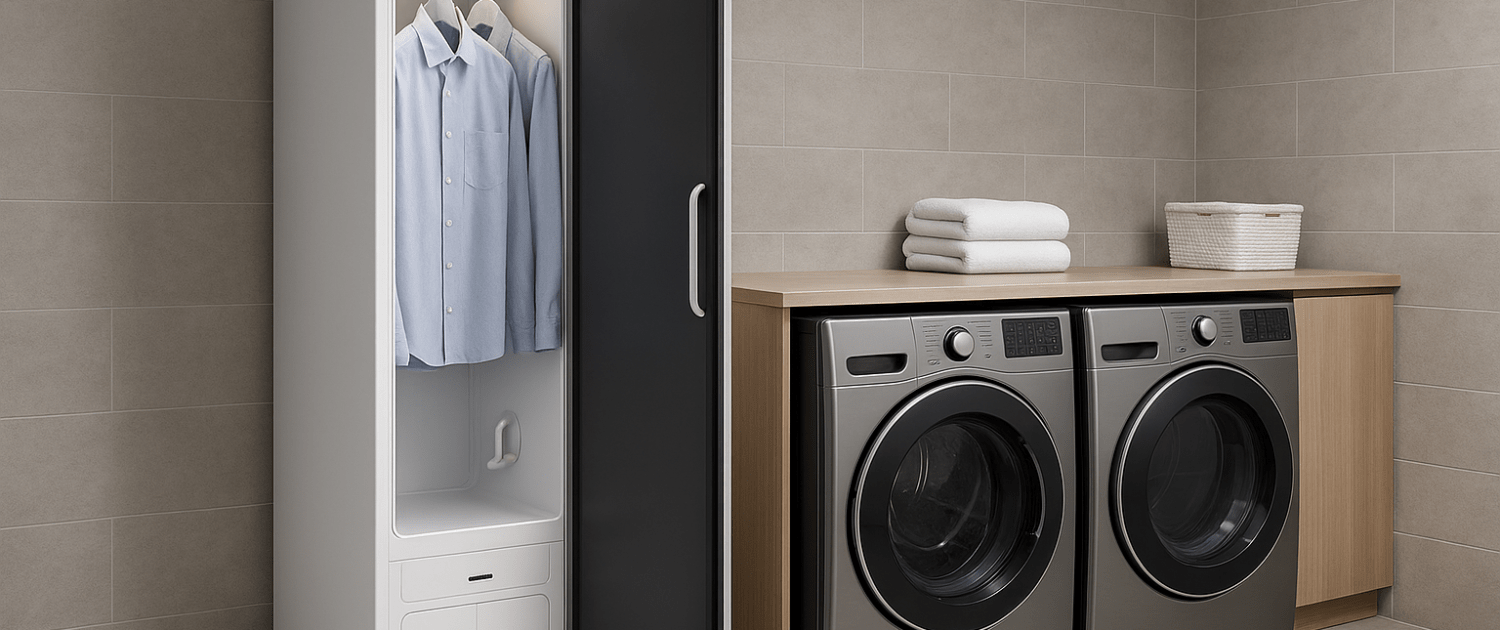
A laundry steam closet is a fantastic appliance for keeping clothes fresh, wrinkle-free, and sanitized without the hassle of ironing. But what happens when your steam closet stops heating evenly? You hang up your shirts, close the door, and start the cycle, only to find that one side is steamy and warm while the other is lukewarm or even cool.
The good news is that many causes of uneven heating are easy to identify and fix with a little effort. Stick around, because by the end of this article, you’ll know exactly how!
The information in this article may not apply to your specific appliance model. We recommend consulting your manufacturer’s documentation or contact us with any questions.
What Causes Uneven Heating in a Steam Closet?
Steam closets are designed to maintain a consistent temperature throughout the chamber so that all garments receive the same treatment. Uneven heating can leave some clothes damp or wrinkled, defeat the sanitizing benefits of the steam, and even shorten the lifespan of your closet’s components if left unchecked.

Several common factors can lead to uneven heating in your laundry steam closet:
- Blocked or clogged steam outlets
- Malfunctioning fans that fail to circulate steam
- Mineral buildup inside the steam generator
- Damaged or misaligned heater elements
- Faulty sensors or thermostats
- Leaks or gaps in seals and gaskets
Let’s tackle these one at a time, starting with the simplest fixes and moving to more advanced repairs.
Step 1: Check the Steam Outlets
The first thing to inspect is the steam distribution system. Steam closets have nozzles or outlets strategically placed to distribute steam evenly throughout the chamber. If any of these are clogged or partially blocked, you’ll notice hot and cold spots.
What to Do:
- Turn off and unplug the closet.
- Open the door and locate the steam outlets, typically near the bottom, sides, or back wall.
- Inspect each outlet for lint, dust, or mineral deposits.
- Use a pin or small brush to clear debris.
- Wipe around each opening with a damp microfiber cloth.
If the outlets were dirty or blocked, a good cleaning may immediately solve your problem.
Step 2: Clean the Steam Generator
Over time, minerals from hard water can build up in the steam generator, restricting steam production and flow. This often results in uneven or weak heating on one side of the closet.
How to Clean It:
- Turn off and unplug the unit.
- Access the steam generator compartment (refer to your manual if needed).
- Drain any remaining water from the generator.
- Fill it with a 50/50 mix of white vinegar and water.
- Let it sit for about 30 minutes to dissolve mineral buildup.
- Drain and rinse with clean water several times to remove all vinegar residue.
Regular descaling of the steam generator helps ensure full, even steam production and prolongs the life of your unit.
Step 3: Test the Circulation Fan
Many steam closets use a fan to circulate heat and steam throughout the chamber. If the fan stops working or slows down, steam may pool in one area, leaving other parts cooler.
How to Check the Fan:
- Turn on the closet and listen for the fan motor.
- Place a lightweight strip of tissue in front of the vents to see if it moves, indicating airflow.
- If the fan isn’t spinning or is noisy, turn off the power and access the fan housing.
- Check for lint or debris jamming the blades. Clean with a soft brush or vacuum if needed.
- Spin the blades by hand to feel for resistance.
Step 4: Inspect Heating Elements
The heating elements inside your steam closet are responsible for converting electrical energy into heat and generating steam. If one section of an element is damaged or burned out, it can create uneven heating.
How to Test Heating Elements:
- Unplug the unit and access the heating element assembly.
- Disconnect the element’s wiring.
- Use a multimeter set to the resistance (ohms) setting to test the element’s continuity.
- A properly functioning element should show consistent resistance. If it shows an open circuit or extreme variability, replace it.
Step 5: Examine Door Seals and Gaskets
Leaky door seals can allow steam and heat to escape unevenly, leaving cold spots in the chamber.
How to Inspect:
- Close the door and look for gaps between the seal and the cabinet.
- Run your hand around the edge to feel for escaping air.
- Open the door and check the gasket for cracks, warping, or hardened spots.
How to Fix:
- Clean the gasket with warm, soapy water and dry it thoroughly.
- If the gasket is damaged, peel it off and replace it with a new one designed for your model.
A good seal keeps steam where it belongs, so you get consistent heating.
Step 6: Test and Calibrate Sensors
Modern steam closets rely on temperature and humidity sensors to regulate performance. If one of these sensors drifts out of calibration, the closet may misread temperatures and fail to heat certain areas properly.
How to Check:
- Locate the sensors, often inside the chamber walls or behind the control panel.
- Use a multimeter or infrared thermometer to compare actual temperatures to displayed settings.
- If readings are significantly off, replace the faulty sensor.
Many sensors simply unplug and pop out of their housings, making replacement a quick fix.
Step 7: Look at the Control Board
If you’ve cleaned and tested all mechanical parts but still have uneven heating, the issue might lie in the control board. A malfunctioning board can mismanage power to heating elements or fans.
How to Replace:
- Unplug the unit and access the control board behind the front or rear panel.
- Take a picture of all wiring connections before removing.
- Disconnect wires, remove mounting screws, and swap in the new board.
- Reconnect wires, reassemble the panel, and run a test cycle.
Where To Find Us
If you need any replacement parts for your appliances, you can enter your model number at AppliancePartsPros.com to locate and order them quickly. Most orders arrive in just two business days, and we have tons of great information in our repair help section and YouTube videos to help you troubleshoot.
Stay connected with the latest DIY tips, tutorial videos, and repair guides by following us on Facebook, Instagram, and Twitter. We love hearing about your repair stories and successes. If you need more help or want personalized guidance, feel free to reach out. We’re ready to help you take on your next project with confidence!
 https://www.appliancepartspros.com/b/wp-content/uploads/2025/09/20250902_1604_Cozy-Country-Laundry_simple_compose_01k460chwnemn9kxzss4s0w8yr.png
1024
1536
Steven E
https://www.appliancepartspros.com/b/wp-content/uploads/2020/11/app-logo-std.png
Steven E2025-09-05 10:33:302025-09-05 10:33:38When and How to Clean Your Steam Closet’s Water Tank
https://www.appliancepartspros.com/b/wp-content/uploads/2025/09/20250902_1604_Cozy-Country-Laundry_simple_compose_01k460chwnemn9kxzss4s0w8yr.png
1024
1536
Steven E
https://www.appliancepartspros.com/b/wp-content/uploads/2020/11/app-logo-std.png
Steven E2025-09-05 10:33:302025-09-05 10:33:38When and How to Clean Your Steam Closet’s Water Tank https://www.appliancepartspros.com/b/wp-content/uploads/2025/09/20250626_1532_Luxury-Laundry-Retreat_simple_compose_01jypvj1sye128rnzdeje9fzse.png
1024
1536
Steven E
https://www.appliancepartspros.com/b/wp-content/uploads/2020/11/app-logo-std.png
Steven E2025-09-05 10:21:462025-09-05 10:21:54How to Fix Lint Buildup in a Laundry Steam Closet
https://www.appliancepartspros.com/b/wp-content/uploads/2025/09/20250626_1532_Luxury-Laundry-Retreat_simple_compose_01jypvj1sye128rnzdeje9fzse.png
1024
1536
Steven E
https://www.appliancepartspros.com/b/wp-content/uploads/2020/11/app-logo-std.png
Steven E2025-09-05 10:21:462025-09-05 10:21:54How to Fix Lint Buildup in a Laundry Steam Closet https://www.appliancepartspros.com/b/wp-content/uploads/2025/09/20250905_1121_Elegant-Laundry-Room_simple_compose_01k4d7e16qe33aqsnbg4pgwtwh.png
1024
1536
Steven E
https://www.appliancepartspros.com/b/wp-content/uploads/2020/11/app-logo-std.png
Steven E2025-09-05 10:13:342025-09-05 10:14:09How to Descale and Flush the Water System in a Steam Closet
https://www.appliancepartspros.com/b/wp-content/uploads/2025/09/20250905_1121_Elegant-Laundry-Room_simple_compose_01k4d7e16qe33aqsnbg4pgwtwh.png
1024
1536
Steven E
https://www.appliancepartspros.com/b/wp-content/uploads/2020/11/app-logo-std.png
Steven E2025-09-05 10:13:342025-09-05 10:14:09How to Descale and Flush the Water System in a Steam ClosetWith nearly a decade of experience in providing top-notch customer service regarding appliance parts and repair, Steven enjoys sharing practical advice, troubleshooting tips, and interesting information to help readers stay informed.