KitchenAid Mixer Storage Tips for Small Kitchens and Tight Spaces
Steven E / Friday September 5, 2025
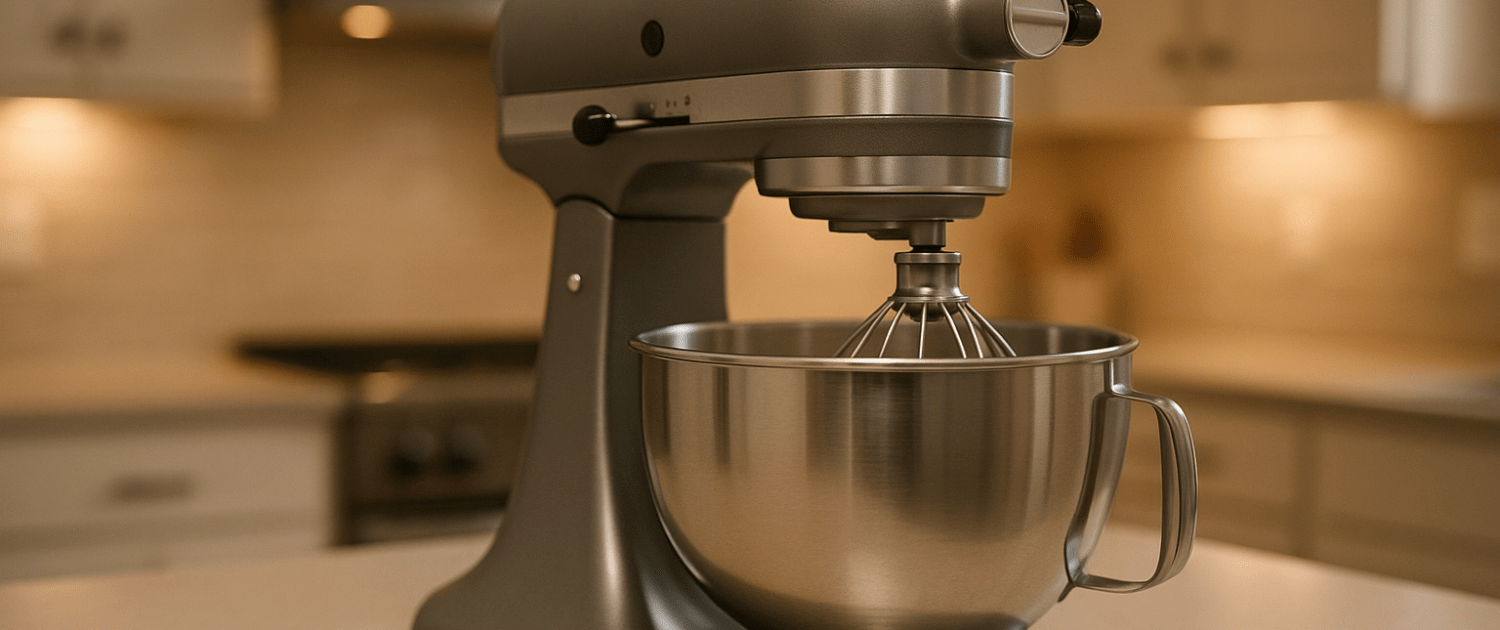
If your kitchen is the size of a studio apartment’s closet and your KitchenAid stand mixer weighs about the same as a small asteroid, welcome, you’re among friends. That mixer is a joy machine, but it’s also a chonky boi that hogs space if you let it. The good news? With a few smart tweaks, you can keep it close, keep it clean, and keep your counters open for, you know, actual cooking.
This guide is packed with small-kitchen strategies that make your mixer feel light on its feet (figuratively), easy to grab, and simple to stow, even if your “pantry” is one cabinet.
Step 1: Take a 5-Minute Space Audit
Before you buy gadgets or rearrange your entire life, measure two things:
- Your mixer’s footprint and height. Tilt-head models are shorter with the head down; bowl-lift models run taller. And remember: you need extra clearance to tilt the head or raise the bowl.
- Your best parking zones. Corners with outlets, the top of a sturdy cart, a waist-high pantry shelf, or the base cabinet nearest your prep surface.
Then ask the key question: How often do you actually use it?

- Weekly or more: Keep it out or make it a one-move grab.
- Monthly or seasonally: Conceal it, but make sure the path from storage to counter is short and friendly.
Option A: Countertop
Keeping your mixer on the counter is the simplest solution, and in a small kitchen, it can work if you set it up right.
The slide-and-hide trick
Place your mixer on a cutting board, stone slab, or thin glide mat so you can pull it forward to use and push it back when not in use. Furniture sliders under the board are magic for heavy models.
Corner command center
Tuck the mixer into a corner where other appliances don’t fit. Add a low-profile bin or narrow canister behind or beside it for everyday attachments (flat beater, dough hook, whisk). Keep the cord wrapped with a Velcro tie so it doesn’t get in the way.
Anti-vibration mat
A thin silicone or rubber mat under the base tamps down noise and keeps the mixer from “walking” during bread-dough mixing.
Dust without drama
If you bake weekly, skip the cover. If you’re more occasional, a washable fabric cover (or even a clean tea towel) keeps grease film and dust from settling in nooks and crannies.
Pros: Always ready, zero lifting.
Cons: Lives on your counter, taking up space.
Option B: The Appliance Garage
An appliance garage is a countertop cabinet with a roll-up or flip-up door. If you’ve got one, it can be the perfect compromise: mixer lives on the counter, clutter lives behind a door.
- Measure head-tilt/ bowl-lift clearance.
- Outlet inside? You can mix with the door open and slide the mixer forward on your board.
- Vent a little. Some air space helps with moisture control.
Pros: Invisible when you want it to be.
Cons: Needs the right cabinet and careful measuring.
Option C: Rolling Cart
No pantry? No problem. A slim rolling cart with locking casters turns one square foot of floor into a fully operational mixer station.
- Mixer on top at counter height.
- Two bins below: “Everyday” attachments and “Specialty” (pasta, grinder, slicer, ice cream).
- Lock those wheels before mixing.
- Power strip with surge protection mounted to the cart’s side (mind the load on your circuit).
- Park it next to the fridge or in a hallway nook; roll it out when it’s go time.
Option D: Pantry or Tall Cabinet Shelf
If you can spare a shelf, aim for mid-torso height so you can slide the mixer out rather than hoist it. Add a thin anti-slip mat or keep it on that same cutting board “sled” to ease the in-and-out.
- Keep heavier items (bowl + attachments) together so you don’t play scavenger hunt across cabinets.
- Label a clear bin for rarely used accessories, and stash a microfiber cloth inside. Wipe before you put away, always.
Option E: Drawer With a Lift
A mixer lift is hardware that lives in a base cabinet and swings the mixer up to counter height. It’s ergonomic heaven in a small kitchen.
- Confirm the weight rating for your mixer.
- The shelf should land flush with the counter so the bowl is stable during use.
- Plan outlet access (rear of the cabinet is typical).
Option F: Wall Shelf
If cabinet space is not an option, a heavy-duty wall shelf mounted into studs can work. Keep it below shoulder height and use industrial brackets. Add a tiny front lip or rail as a “do not fall” line. Make sure it doesn’t block your head tilt or bowl lift.
Small-Space Storage Do’s & Don’ts
Do:
- Measure height with head up or bowl raised before committing a cabinet or shelf.
- Store attachments together so you’re not scavenging.
- Keep a microfiber cloth next to the mixer for instant wipe-downs.
- Use clear, labeled bins so you can see what you’ve got at a glance.
Don’t:
- Stash the mixer above shoulder height.
- Overload flimsy shelves; these machines are heavy.
- Let the cord dangle off the counter edge.
- Put the mixer away while dirty.
Where To Find Us
If you need any replacement parts for your appliances, you can enter your model number at AppliancePartsPros.com to locate and order them quickly. Most orders arrive in just two business days, and we have tons of great information in our repair help section and YouTube videos to help you troubleshoot.
Stay connected with the latest DIY tips, tutorial videos, and repair guides by following us on Facebook, Instagram, and Twitter. We love hearing about your repair stories and successes. If you need more help or want personalized guidance, feel free to contact or call us at 877-477-7278. We’re ready to help you take on your next project with confidence!
Since 1999, AppliancePartsPros.com has helped millions of people repair their broken appliances by providing high-quality original parts at well below retail prices, free support and troubleshooting, and award-winning customer service from an expert, friendly, US-based customer support team!
Looking for the right part? Enter your appliance model number below to find the exact match and get your appliance running like new again!
 https://www.appliancepartspros.com/b/wp-content/uploads/2025/09/20250709_1340_Modern-Kitchen-Setup_simple_compose_01jzr47f29eta8qkm70jtkda7v.png
1024
1536
Steven E
https://www.appliancepartspros.com/b/wp-content/uploads/2020/11/app-logo-std.png
Steven E2025-09-05 10:48:472025-09-05 10:48:54How to Clean KitchenAid Mixer Attachments Without Damaging Them
https://www.appliancepartspros.com/b/wp-content/uploads/2025/09/20250709_1340_Modern-Kitchen-Setup_simple_compose_01jzr47f29eta8qkm70jtkda7v.png
1024
1536
Steven E
https://www.appliancepartspros.com/b/wp-content/uploads/2020/11/app-logo-std.png
Steven E2025-09-05 10:48:472025-09-05 10:48:54How to Clean KitchenAid Mixer Attachments Without Damaging Them https://www.appliancepartspros.com/b/wp-content/uploads/2025/09/20250709_1340_Modern-Kitchen-Setup_simple_compose_01jzr47f2cenv9y2rk00bw2z7x.png
1024
1536
Steven E
https://www.appliancepartspros.com/b/wp-content/uploads/2020/11/app-logo-std.png
Steven E2025-09-05 10:44:172025-09-05 10:44:25Keep Your KitchenAid Stand Mixer Fresh: Daily Cleaning Guide
https://www.appliancepartspros.com/b/wp-content/uploads/2025/09/20250709_1340_Modern-Kitchen-Setup_simple_compose_01jzr47f2cenv9y2rk00bw2z7x.png
1024
1536
Steven E
https://www.appliancepartspros.com/b/wp-content/uploads/2020/11/app-logo-std.png
Steven E2025-09-05 10:44:172025-09-05 10:44:25Keep Your KitchenAid Stand Mixer Fresh: Daily Cleaning Guide https://www.appliancepartspros.com/b/wp-content/uploads/2025/09/20250709_1336_Luxury-Kitchen-Baking-Scene_simple_compose_01jzr40p6pe09bgx9cmjyb2agj.png
1024
1536
Steven E
https://www.appliancepartspros.com/b/wp-content/uploads/2020/11/app-logo-std.png
Steven E2025-09-05 08:53:312025-09-05 08:53:41KitchenAid Stand Mixers: Classic vs. Digital Comparison
https://www.appliancepartspros.com/b/wp-content/uploads/2025/09/20250709_1336_Luxury-Kitchen-Baking-Scene_simple_compose_01jzr40p6pe09bgx9cmjyb2agj.png
1024
1536
Steven E
https://www.appliancepartspros.com/b/wp-content/uploads/2020/11/app-logo-std.png
Steven E2025-09-05 08:53:312025-09-05 08:53:41KitchenAid Stand Mixers: Classic vs. Digital ComparisonWith nearly a decade of experience in providing top-notch customer service regarding appliance parts and repair, Steven enjoys sharing practical advice, troubleshooting tips, and interesting information to help readers stay informed.
Leave a Reply
Want to join the discussion?Feel free to contribute!