How to replace a Frigidaire fridge control board
Steven E / Tuesday February 13, 2024
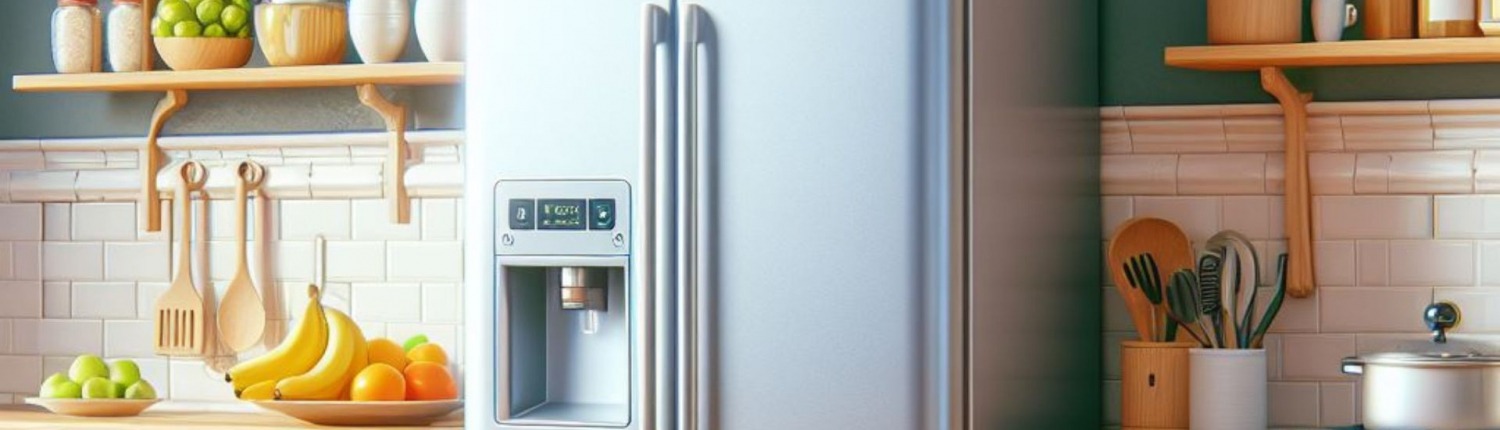
Is your Frigidaire fridge misbehaving and acting up? Before you give it the cold shoulder, the problem might be a faulty control board! This little brain chip controls pretty much everything in the fridge, so when it fritzes out, things can go haywire.
Thankfully, replacing the main control board is an easy DIY fix that can get your refrigerator back in working order. Let’s thaw out the steps so you can swap out that bad board faster than ice melts.
You can find replacement Frigidaire control boards here. If you need other replacement parts for your fridge, just enter your model number at AppliancePartsPros.com to find them. It’s that easy! Most orders arrive in just two business days, and we have thousands of guides to show you how to install your new parts.
Disclaimer: The part replacement information provided in this article is based on general service manuals and may not apply to your specific appliance model. While we strive to offer helpful advice for DIY appliance repairs, variations in models and configurations can lead to differences in troubleshooting steps, error codes and part replacements. For the most accurate guidance, we strongly recommend consulting the technical sheet for your specific appliance model.

What you need
- 1/4-inch nut driver
- Replacement control board (make sure it’s compatible with your fridge model)
Disclaimer: The part replacement information provided in this article is based on general service manuals and may not apply to your specific appliance model. While we strive to offer helpful advice for DIY appliance repairs, variations in models and configurations can lead to differences in troubleshooting steps, error codes and part replacements. For the most accurate guidance, we strongly recommend consulting the technical sheet for your specific appliance model.
Safety precautions
When working on any appliance, remember to keep safety first. Here are some tips to keep in mind:
- Always power off and unplug your appliance or switch off the circuit breaker before you attempt any maintenance or replacement work. This keeps you safe by preventing any risk of electric shock.
- Turn off the water supply at the outlet before beginning repairs. Keep towels ready to catch any residual water in the system when removing parts.
- If the appliance has recently been used, give it plenty of time to cool down before working on it.
- Take your time while working to prevent accidents and personal injuries. Rushing is the enemy of precision.
- Work in a well-lit area so you can clearly see and access appliance parts.
- Keep your workspace free of clutter and other obstacles. Keep children and pets away from the work area.
- Never work on internal parts with wet hands. Make sure the work area is completely dry.
- Check the user manual to see if there are specific installation or safety instructions related to your appliance or replacement part.
- Be gentle when handling or removing parts. Excessive force might damage the appliance or cause personal injury.
- Wear insulated work gloves to protect your hands from sharp metal parts and debris.
- When working with wires, avoid touching any exposed wires or terminals. If you need to touch a wire, use a non-conductive tool or wear insulating gloves to prevent electrical shock.
- Consider wearing safety glasses and/or a dust mask when working with chemicals, dust or a large amount of debris to prevent irritation or injury.
Replacement instructions
Step 1 – Access the control board
- Turn off the fridge and unplug it.
- Remove the 3 – 1/4-inch screws under the control panel. These will be recessed into the panel.
- Take out the filter.
- At the back of the refrigerator at the top, find the 1/4-inch screw on the right side behind where the filter is. Remove this screw.
- Drop the cover down.
- Remove the 1/4-inch screw under the cover at the back of where the filter would be.
- Find 2 – 1/4-inch screws on the corner of the left side that are recessed in. Remove both of them.
- Drop the control housing down so you can access the control board.
- Remove the control board from the housing by pushing the two clips that hold it in place.
- Take a photo of the wires on the control board so that you have a reference for reconnecting them later.
Step 2 – Install the new board
- Use the photo you took earlier to reconnect the wiring.
- Slide the new control board into place and lock it into the tabs.
- Put the control housing back on the ceiling and install the 3 – 1/4-inch screws that hold the housing in place.
- Install the 2 – 1/4-inch screws in the side panel at the upper side.
- Install the single 1/4-inch screw behind the water filter.
- Put the cover back over the tubing and install the 1/4-inch screw that holds it in place.
More information
Thanks for reading! We hope this guide helped you replace the control board in your Frigidaire refrigerator.
If you still need some replacement parts, grab your model number and head over to AppliancePartsPros.com. We offer over two million parts and most orders arrive in two business days. If you need some help with finding the right part or placing an order, you can contact our team at 1 (877) 477-7278.
While you’re waiting for your new part to arrive, you can explore our DIY blog and watch thousands of video tutorials on our YouTube channel. We can also help you troubleshoot common fridge problems here.
Be sure to follow us on Facebook, Twitter and Instagram to see our latest repair guides!
With nearly a decade of experience in providing top-notch customer service regarding appliance parts and repair, Steven enjoys sharing practical advice, troubleshooting tips, and interesting information to help readers stay informed.