How to fix a Frigidaire fridge that won’t dispense ice
Steven E / Wednesday April 3, 2024
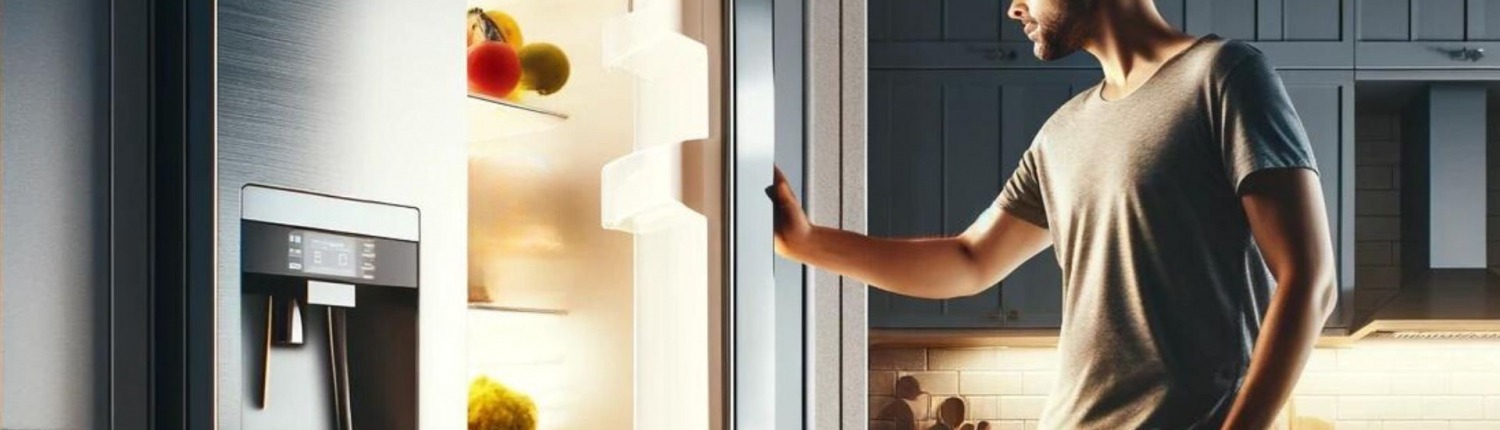
Is your Frigidaire refrigerator refusing to dispense ice? Don’t worry – we’ve got you covered! Let’s walk through all the parts you can check to find out what’s going wrong.
If you need any replacement parts for your Frigidaire fridge, you can enter your model number at AppliancePartsPros.com to order them. Most orders arrive in just two business days, and we have thousands of free guides to show you how to install your new parts.
Disclaimer: The troubleshooting information provided in this article is based on general service manuals and may not apply to your specific appliance model. While we strive to offer helpful advice for DIY appliance repairs, variations in models and configurations can lead to differences in troubleshooting steps, error codes and part replacements. For the most accurate guidance, we strongly recommend consulting the technical sheet for your specific appliance model.
What you need
- 1/4″ nut driver
- Multimeter
- Phillips head screwdriver
Disclaimer: The specific tools required may vary depending on the model of your appliance and the type of fasteners used on it. Always consult the user manual or refer to any specific instructions provided by the manufacturer for the recommended tools for your appliance model.

Keep safety first
- Always power off and unplug your appliance or switch off the circuit breaker before you attempt any maintenance or replacement work. This keeps you safe by preventing any risk of electric shock.
- Turn off the water supply at the outlet before beginning repairs. Keep towels ready to catch any residual water in the system when removing parts.
- If the appliance has recently been used, give it plenty of time to cool down before working on it.
- Take your time while working to prevent accidents and personal injuries. Rushing is the enemy of precision.
- Work in a well-lit area so you can clearly see and access appliance parts.
- Keep your workspace free of clutter and other obstacles. Keep children and pets away from the work area.
- Check the user manual to see if there are specific installation or safety instructions related to your appliance or replacement part.
- Be gentle when handling or removing parts. Excessive force might damage the appliance or cause personal injury.
- Wear insulated work gloves to protect your hands from sharp metal parts and debris.
- When working with wires, avoid touching any exposed wires or terminals. If you need to touch a wire, use a non-conductive tool or wear insulating gloves to prevent electrical shock.
- Don’t test live voltage with a multimeter if you’re unfamiliar with how to prevent short-circuiting.
How to troubleshoot a Frigidaire fridge that won’t dispense ice
Step 1: Test the auger motor
The auger motor drives the auger (a corkscrew-like part) in the ice bin to push out ice from the bucket to the door. If the auger motor isn’t turning, then the ice can’t be dispensed.
LIVE VOLTAGE WARNING: For this test, the fridge needs to be plugged in and powered on. Please be very careful to protect yourself from electric shock, which has the potential to cause serious injuries. Don’t ever test live voltage if you’re uncomfortable using a multimeter.
- Make sure the fridge is plugged in and powered on.
- Open the freezer door and slide out the ice bin.
- Press the actuator again. If the auger turns, then there’s a problem with the ice bin. If the auger doesn’t turn, continue.
- Find the two 1/4-inch screws at the bottom of the auger housing and remove them.
- Lift the auger housing up and off the rails. Place it on the uppermost freezer shelf.
- Set a multimeter to measure VAC.
- Use the multimeter probes to test from the purple wire to the light blue wire on the auger motor.
- Tape off the light switch and check for 120 VAC to the auger motor when you push the dispenser switch.
If you get 120 VAC but the auger motor isn’t working, then it needs to be replaced. If you don’t get 120 VAC, move on to the next step.
Step 2: Check the drive plate
Even if the auger motor is working, a damaged drive plate can prevent ice from being dispensed.
Inspect the auger motor drive plate for any signs of damage or stripping. If the drive plate is damaged, it’ll need to be replaced.
If the auger drive plate looks good, then you can move on to the next step.
Step 3: Test the dispenser switch
If the auger motor isn’t receiving power, the issue may lie with the dispenser switch.
- Remove the dispenser tray from the dispenser assembly by unscrewing the three screws under the tray on the front.
- Lift off the dispenser cover.
- Disconnect the wiring harness from the dispenser control board.
- Remove the four screws holding the dispenser housing in place and slide it out.
- Find the switch that’s in the center of the housing.
- Set your multimeter to continuity.
- Disconnect the brown and gray wires from the ice dispenser switch.
- Touch one meter lead to one terminal and the other to the second terminal. You shouldn’t get any continuity at this point.
- Push the dispenser switch button. You should get continuity.
If there’s no continuity when the button is pushed, the dispenser switch is faulty and needs to be replaced.
If you get continuity when the button is pushed, then the switch is good and you can move on to the next step.
Read more: How To Use A Multimeter To Check Appliance Parts
Step 4: Test the dispenser control board
If you’ve followed the steps above, you should have access to this since you already got into the dispenser area.
LIVE VOLTAGE WARNING: For this test, the fridge needs to be plugged in and powered on. Please be very careful to protect yourself from electric shock, which has the potential to cause serious injuries. Don’t ever test live voltage if you’re uncomfortable using a multimeter.
- Make sure the fridge is plugged in and turned on.
- Set your multimeter to VAC.
- Touch one meter lead to the light blue wire and the other one to the purple wire.
- Push the dispenser lever. You should get a reading of 120 VAC at this point.
If you don’t get 120 VAC, then the dispenser control board is faulty and needs to be replaced.
If you do get 120 VAC, then the dispenser control board is good and you’ll need to move on to the next step to do more testing.
Step 5: Test the switch board and wire harness
This should be easy to check since you should already have access to the harness and switch board if you’ve followed the steps above.
- Make sure the fridge is unplugged.
- Disconnect the wire harness that’s going into the dispenser control board and switchboard.
- Set your multimeter to continuity.
- Use the meter probes to test from pin number 3 on each end of the wire harness. Then test on pin 8 on each end. You should get continuity at both of these contact points and the meter should beep.
- If the harness tested good, plug it back into the switch board and switch the board to the cube or crush setting. When you test from pin 3 to pin 8 on the wire harness, there should be continuity.
If there’s no continuity, then the switch board is bad and needs to be replaced.
If you get continuity, then the switch board and wire harness are both good and you can move on to the next step.
Step 6: Check the dispenser lever
A broken or damaged dispenser lever can also prevent ice from being dispensed.
Take a look over the lever to make sure it’s not cracked or damaged.
If the lever is damaged, it’ll need to be replaced.
Read more: How to clean and maintain your refrigerator’s water dispenser
Step 7: Test the wire harness for the freezer door
You should already have access to the wiring in the dispenser, but you’ll also need to access the wiring at the bottom of the door.
- Remove the kickplate at the bottom of the refrigerator and disconnect the connector.
- Set your multimeter to continuity.
- Use the meter probes to test each wire from the connector at the dispenser to the wire connector at the bottom of the door.
- Touch one meter lead to the orange/white wire at the bottom of the door and then the other at the dispenser. Then touch from the red to the red/black wires at the same locations. Then from the light blue to light blue, from the tan to tan, from the purple to purple and from the blue/white to blue/white. There should be continuity at each of these connection points and your meter should beep.
- Check for any damaged wiring at the bottom of the door. If it’s damaged, you’ll need to replace the harness.
If any of the wiring doesn’t have continuity or is damaged, you’ll need to replace the wire harness.
If the wiring is good, then you’ll need to move on to the next step.
Step 8: Check the auger
The auger is the corkscrew-looking piece that’s inside the ice bin. It helps drive the ice forward so it can be dispensed.
Inspect the auger in the ice bin for any signs of damage. If the auger is damaged, it’ll need to be replaced.
Step 9: Check the drive plate
The drive plate helps hold the drum in place so it doesn’t move around on the auger.
See if the drive plate is bent or if the drive plate hole has widened, which would allow it to shift on the auger. If the drive plate is damaged, you’ll need to replace it.
Read more: How To Clean Refrigerator Coils In 5 Easy Steps & Why To Do It
Step 10: Drive drum check
Last but not least, let’s examine the drive drum. This part pulls the ice from the bin into the crusher so it can drop into the ice chute.
Look over the drive drum to see if any part of it is broken. If it’s busted, it won’t grab the ice from the bin. If the drum is damaged, you’ll need to replace it.
If you’ve followed all the steps above and the drum looks good, then there may be an internal wiring problem in the fridge cabinet.
Step 11: Replace the faulty part & put the fridge back together
- Remove the faulty part (e.g. dispenser switch, auger motor, etc.).
- Install the new part and secure it.
- Reconnect any wiring harnesses.
- Put the dispenser cover back in place.
- Reassemble the auger area by putting the housing back in place and securing it with screws.
- Replace the ice bin.
- Plug in your refrigerator or turn the circuit breaker back on.
More information
Thanks for reading! If you have any other appliance repair needs or projects, you can find more resources including our DIY blog at AppliancePartsPros.com. There, you can enter your model number to order the exact parts you need. Most orders arrive in two business days.
You can also reach our award-winning customer service team at 1-877-477-7278, chat with a pro on our website and watch thousands of free video tutorials on our YouTube channel. We can also help you troubleshoot common fridge problems here.
With nearly a decade of experience in providing top-notch customer service regarding appliance parts and repair, Steven enjoys sharing practical advice, troubleshooting tips, and interesting information to help readers stay informed.