F3T1 error on a Whirlpool microwave: A troubleshooting guide
Steven E / Tuesday June 25, 2024
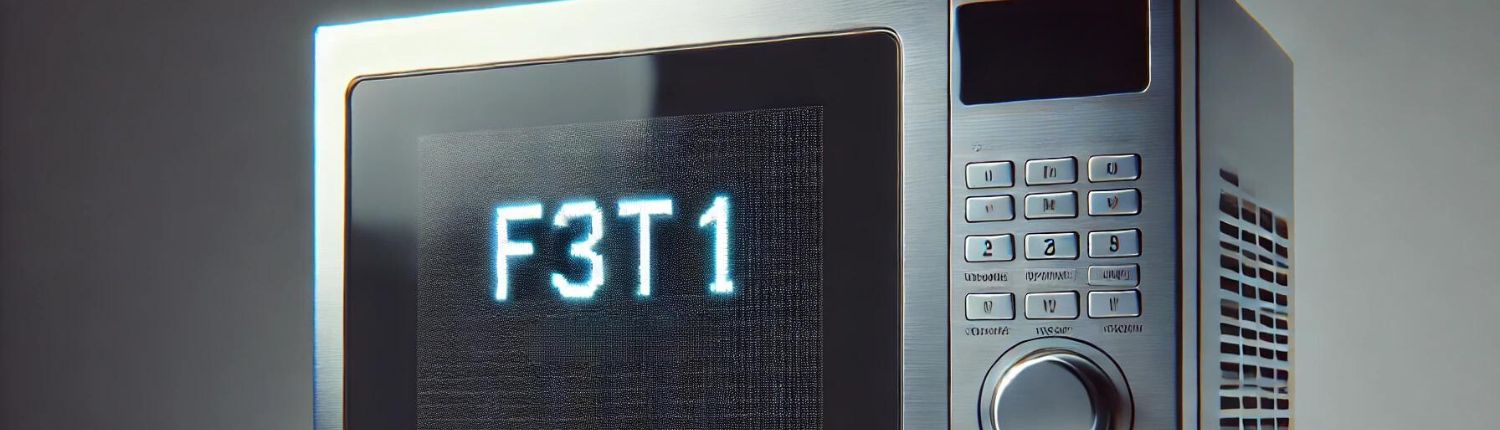
If you’re seeing the F3T1 error on your Whirlpool microwave, it usually indicates a specific issue with the user interface board (UIB) thermistor.
Before you chuck the microwave in the trash, try your hand at some troubleshooting if you’re comfortable doing so.
If you find out that you need any replacement parts for your Whirlpool microwave while you’re troubleshooting, you can enter your model number at AppliancePartsPros.com to order them. Most orders arrive in just two business days, and we have thousands of free guides to show you how to install your new parts.

What does the F3T1 error code mean?
On Whirlpool microwave ovens, the F3T1 error specifically refers to an issue with the user interface board (UIB) thermistor. This small thermistor sensor monitors the temperature of the control board area.
The microwave’s control system uses input from the UIB thermistor to determine if ventilation needs to be increased to prevent the microwave from overheating. If the thermistor fails or the control board stops receiving the correct temperature readings, then an F3T1 error code will be shown.
Read more: Why is my microwave turning on by itself?
Safety tips
Microwaves contain high-voltage parts and can store voltage even when they’re disconnected from a power source. Please be very careful while working on a microwave’s internal parts to avoid electrocution, which has the potential to cause serious injuries or death.
- Always unplug the microwave before troubleshooting or making repairs.
- Discharge the high-voltage capacitor before working on high-voltage parts to eliminate the risk of electric shock.
- Never attempt to run the microwave while its casing is open or when internal parts are exposed. Always completely reassemble the microwave before testing or using it.
- Never attempt to bypass any microwave safety features.
- With the microwave unplugged, remove the outer case to gain internal access.
- Wear insulated gloves and use insulated tools when testing any parts.
- Check all parts for damage before reassembling and powering up the microwave again.
- Take your time and don’t rush while working to prevent accidents and personal injuries.
- Work in a well-lit area so you can clearly see and access the interior parts.
- Clear your workspace of clutter and other obstacles. Keep children and pets away from the work area.
- Never work on internal parts with bare wet hands. Make sure the work area is completely dry.
- Check your user manual to see if there are specific installation or safety instructions for your part or appliance.
- Be gentle when handling or removing parts. Excessive force might damage the appliance or cause injury.
- If the appliance has recently been used, give it plenty of time for any heating parts to cool down before working on it.
- Take pictures or make a note of wiring terminals or other connections before disconnecting to prevent any problems with reassembly.
- When working with wires, avoid touching any exposed wires or terminals. If you need to touch a wire, use a non-conductive tool or wear insulating gloves to prevent electrical shock.
Read more: How to Clean a Microwave
How to resolve the F3T1 error code
Follow these steps to clear the F3T1 fault code from your Whirlpool microwave.
Step 1: Discharge the capacitor
IMPORTANT: Carefully follow the correct handling and discharge procedures since exposure to the voltage levels inside a microwave can potentially cause severe injury or death. Prioritize safety at all times and follow the instructions and recommendations provided by the manufacturer. If you do not feel comfortable discharging a capacitor, do not attempt to do it yourself.
- Unplug the microwave from the power source.
- Grab a screwdriver with good insulation on the handle to protect against electric shock.
- Gently touch the insulated screwdriver blade to one terminal of the capacitor.
- Slowly and gently slide the screwdriver forward until it reaches the other terminal of the capacitor. Hold it there for a few seconds. This discharge process often results in a loud and startling ‘POP’ sound.
- Repeat the process to create a short circuit between each capacitor terminal and the chassis (bare metal mounting plate surface). If the capacitor has three terminals, use the same method.
Step 2: Check the UIB thermistor
Find the UIB thermistor, which will have a pair of wires connected to it. Inspect the wiring and make sure the connections are secure and undamaged.
See if the connection from the thermistor to the relay control board is loose or damaged. If it’s loose, reseat it. If it’s damaged, replace the wiring.
If the UIB thermistor or wiring connection to it appears damaged, it will need to be replaced.
If the UIB and wiring look good, move on to the next step.
Step 2: Check the UIB-relay control connections
The user interface board (UIB) communicates with the relay control board, which is the “brain” of the microwave.
Trace the wiring from the UIB to the relay control board. Examine all the connectors and make sure they’re fully seated and the pins aren’t bent or corroded. Take a good look at P51, P52, P53, P54, P55, P56 and P57 to see if there are any signs of overheating or any signs of failure due to loose wires, bad crimping, etc.
If any of the connections appear damaged, the wiring harness may need to be replaced.
If all the connections look good, continue to the next step.
Step 3: Replace the relay control board
If the issue with the microwave continues after checking the UIB thermistor and the connections, the problem may be with the relay control board itself.
Follow the manufacturer’s instructions carefully when removing the old relay control board and installing the new one. Once the new board is installed, test the microwave to see if the F3T1 error has been resolved.
IMPORTANT: Don’t try to repair or make adjustments to the relay board. Only replace it with a new one if needed.
If you’re still seeing the F3T1 error on your microwave even after replacing the relay control board, you’ll need to replace the user interface board as a last resort.
Read more: A guide to understanding microwave wattage
More information
Thank you for reading! We hope our guide helped you get your Whirlpool microwave working again.
If you have any other appliance repair needs or projects, don’t hesitate to explore our thousands of free videos and troubleshooting guides available. If you need replacement parts or some extra help with ordering them, grab your model number and head over to AppliancePartsPros.com, where you can chat with a pro, read our DIY blog and more.
Don’t forget to subscribe to us on YouTube and follow us on Facebook, Twitter and Instagram!
Important: The troubleshooting information in this article is based on general service manuals and may not apply to your specific appliance model. While we strive to offer helpful advice for DIY appliance repairs, variations in models and configurations can lead to differences in troubleshooting steps, error codes and part replacements. For the most accurate guidance, we strongly recommend consulting the technical sheet for your specific appliance model.
- Disconnect power before you start — unplug it or switch off the breaker, and confirm it’s dead.
- Follow your local electrical code.
- Anything involving household wiring, outlets, or the breaker panel itself is licensed-electrician territory.
With nearly a decade of experience in providing top-notch customer service regarding appliance parts and repair, Steven enjoys sharing practical advice, troubleshooting tips, and interesting information to help readers stay informed.