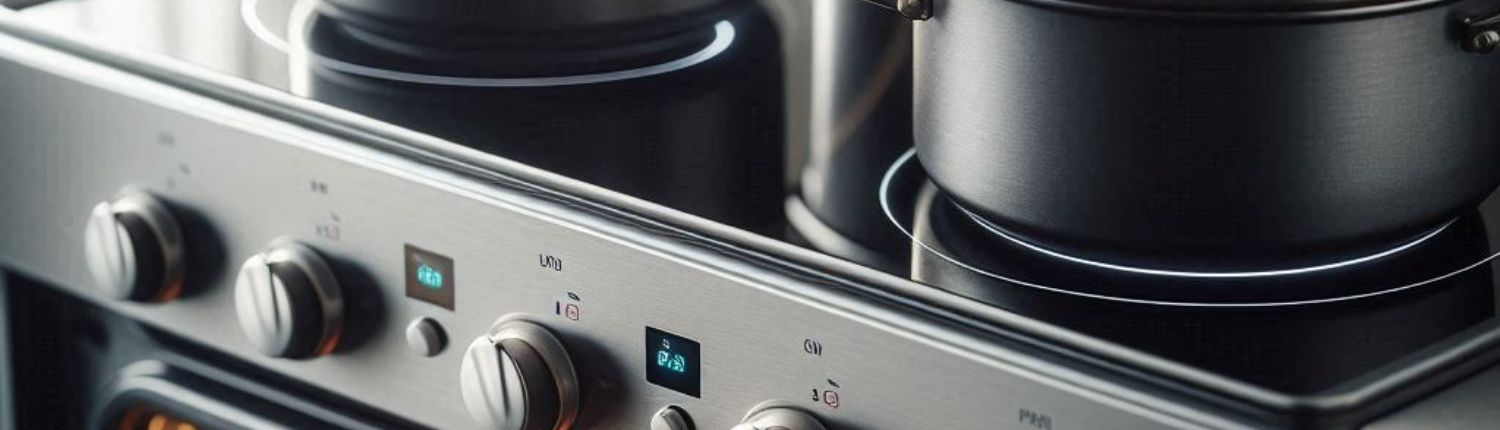
F8 error on a KitchenAid induction cooktop: What it means and how to fix it
Steven E / Friday July 12, 2024
KitchenAid induction cooktops use internal timers that automatically shut off a heating element after it’s been operating past a preset safety limit. If this maximum cooking time limit is exceeded, an F8 error code will appear on the display to disable cooking. Let’s find out how you can diagnose and resolve the F8 error so you can get your KitchenAid cooktop working again.
If you find out that you need any replacement parts for your KitchenAid cooktop while you’re troubleshooting, you can enter your model number at AppliancePartsPros.com to order them. Most orders arrive in just two business days, and we have thousands of free guides to show you how to install your new parts.
Important: The troubleshooting information in this article is based on general service manuals and may not apply to your specific appliance model. While we strive to offer helpful advice for DIY appliance repairs, variations in models and configurations can lead to differences in troubleshooting steps, error codes and part replacements. For the most accurate guidance, we strongly recommend consulting the technical sheet for your specific appliance model.
What causes the F8 error code?
The F8 error code typically indicates that a particular induction cooking zone has surpassed its internal time limit. These limits range from 1 hour on high heat settings up to 10 hours when set to the lowest power level. The F8 shutdown error acts as an important safety mechanism to prevent potential damage or fire hazards.

The following are several possible causes for the appearance of an F8 error code:
- Unattended cookware inadvertently being left on an active heating element for too long
- Failing internal cooling fans, which can cause the internal oven temperature sensor circuit to overheat past safe limits and trigger the safety time-out
- Blocked ventilation openings that prevent proper airflow and heat dissipation
- Physical damage to the induction coil windings
- Loose or corroded wiring connections, which can cause increased resistance and overheating issues
- Electronic control board defects
Read more: How to Repair a Damaged or Broken Glass Stovetop
Safety precautions
When working on any appliance, remember to keep safety first. Here are some tips to keep in mind:
- Always power off and unplug your appliance or switch off the circuit breaker before you attempt any maintenance or replacement work. This keeps you safe by eliminating any risk of electric shock.
- If the appliance has recently been used, give it plenty of time to cool down before working on it.
- Take your time while working to prevent accidents and personal injuries. Rushing is the enemy of precision.
- Work in a well-lit area so you can see and access appliance parts.
- Keep your workspace free of clutter and other obstacles. Keep children and pets away from the work area.
- Never work on internal parts with wet hands. Make sure the work area is completely dry.
- Check the user manual to see if there are specific installation or safety instructions related to your appliance or replacement part.
- Be gentle when handling or removing parts. Excessive force might damage the appliance or cause personal injury.
- Wear insulated work gloves to protect your hands from sharp metal parts and debris.
- When working with wires, avoid touching any exposed wires or terminals. If you need to touch a wire, use a non-conductive tool or wear insulating gloves to prevent electrical shock.
- Always take photos or make a note of wiring terminals or other connections before disconnecting them to make reassembly easier.
- Don’t test live voltage with a multimeter if you’re unfamiliar with how to prevent short-circuiting.
Read more: Ceramic Cooktops: Keeping Your Cooktop Clean and Spotless
How to troubleshoot the F8 error code
Follow these steps to find out what’s causing the F8 error and take the appropriate action to restore your cooktop.
Step 1: Check for unattended cookware
Unattended cookware left on an element is the most common cause of an F8 error. The time safety limit ranges from 1 hour at high power settings and up to 10 hours at the lowest settings.
- Always turn off the cooktop when not actively cooking to prevent triggering the safety time limit.
- Never leave cookware or other items on the stovetop when you’re not cooking.
Step 2: Check the internal cooling fans
- Unplug the cooktop from the power outlet.
- Visually inspect the fans for any seized bearings or damaged blades that would prevent them from rotating properly.
LIVE VOLTAGE WARNING: For this test, the cooktop needs to be plugged in and powered on. Please be very careful to protect yourself from electric shock, which has the potential to cause serious injuries. Don’t ever test live voltage if you’re uncomfortable using a multimeter.
- Plug the cooktop back in.
- Set a multimeter to Volts DC and use the probes to check the fan power connector for the correct voltage. It should have 24 Volts DC.
If you don’t get 24 Volts DC or find that the fans are damaged, replace them. If the cooling fans are good, continue to the next step.
Step 3: Check ventilation openings
- Unplug the cooktop from the power outlet.
- Make sure the air intake and ventilation exhaust openings underneath the induction cooktop chassis are free of dust buildup and debris.
- Use compressed air or a vacuum cleaner to clean out any restrictions through the ventilation holes.
If the ventilation openings look good, continue troubleshooting.
Step 4: Inspect the induction coil
Visually examine the induction coil windings for any signs of physical damage that could contribute to excess heat generation. Look for:
- Cracks or separated enamel insulation that exposes the copper coil windings
- Sections of the coil windings that appear burnt, discolored, or overheated
- Loose or fragmented coil sections that indicate internal shorts between turns
Any physical coil defects mean the induction coil assembly needs to be replaced immediately. Be sure to handle the coils carefully to avoid damaging the insulation.
If the induction coil windings look good, continue to the next step.
Step 5: Test the induction coil
While visually intact, induction coil windings can develop increased resistance from cumulative damage that leads to overheating.
- Refer to the service diagram for your cooktop to find the power wires for the coil.
- Set a multimeter to resistance mode (Ω).
- Touch the meter probes to the coil power wires and note the resistance reading after it stabilizes.
- Compare the reading to the manufacturer’s specifications. If you get incorrect resistance, replace the coil.
If the coil passes testing, continue troubleshooting.
Step 6: Check the wiring connections
- Carefully inspect where the coil power wires connect to the control board. Check for any burned, discolored, or broken connector pins or wire strands.
- Reseat any loose wire terminals to make sure all wires are properly connected.
- Replace any damaged induction coil or fan wiring as needed.
If everything looks and tests good so far, replace the control board as a last resort.
Read more: Pros and cons of induction cooking
Additional information
Thank you for reading! We hope this guide helped you get your KitchenAid cooktop working again.
If you have any other appliance repair needs or projects, don’t hesitate to explore our other troubleshooting guides and videos.
If you need replacement parts or some extra help with ordering them, grab your model number and head over to AppliancePartsPros.com, where you can chat with a pro, read our DIY blog and more.
Don’t forget to subscribe to us on YouTube and follow us on Facebook, Twitter and Instagram!
With nearly a decade of experience in providing top-notch customer service regarding appliance parts and repair, Steven enjoys sharing practical advice, troubleshooting tips, and interesting information to help readers stay informed.