A beginner’s guide to installing a new central AC system
Steven E / Tuesday March 25, 2025
Thinking about putting in a new central AC system? It might sound daunting, but once you know the steps, it’s totally doable. You want to keep your home cool without always having to call in the pros. In this guide, we’ll show you how to plan your installation, gather the right gear, and put it all together so you can enjoy crisp, cool air all season long.
The info in this article might not match your exact appliance model. We try to give helpful advice for all sorts of DIY appliance fixes, but different models and setups can mean different troubleshooting steps, error codes, parts, and so on. For the most accurate info, it’s best to check your appliance’s manufacturer docs or contact us if you’ve got questions.
Planning your installation
Careful planning can save you time, cash, and a lot of hassle when installing your central AC. These systems come in various sizes with different cooling capacities. Think about how much space you need to cool, your home’s layout, and your local climate. Getting these details right helps you get the best performance from your new system.
Start by listing what you need and any special features you’re after. Many modern systems offer things like advanced air filters, smart thermostats, and variable-speed blowers for better comfort and efficiency.

Essential tools
You’ll likely be handling everything from setting up the outdoor condenser to wiring the indoor air handler, so keep these tools handy:
- Screwdrivers (flat and Phillips)
- Adjustable wrenches
- Drill and bits
- Level
- Utility knife
If you need any replacement parts specific to your central AC system or aren’t sure which parts fit your model, check out how to find your appliance’s model number for help. Then you can browse AppliancePartsPros.com for the right parts.
Safety checks and considerations
Installing an AC system involves electricity, refrigerant, and heavy parts. Always turn off power at the circuit breaker before working with electrical parts. If your new system comes pre-charged with refrigerant, handle it carefully. Never release refrigerant into the environment, it’s illegal and harmful.
Check if your current ductwork is in good shape. Leaky ducts can lower efficiency and cause uneven cooling. Seal up duct joints properly and add or replace insulation if needed. If you spot major obstructions or damage, you’ll want to fix that before installing the new unit.
Get rid of old equipment
If you’re taking out an old AC system, make sure to dispose of the old refrigerant properly. You might need to call a local recycling center that can safely recover refrigerant. This helps protect the environment and keeps you on the right side of regulations.
Step-by-step central AC installation
Now that you’ve got everything ready, it’s time to get down to business. This process includes setting up the indoor and outdoor units, connecting refrigerant lines, wiring everything up, and making sure all seals are tight. Here’s a beginner-friendly rundown:
Install the indoor unit (air handler or furnace)
- Shut off power to the area you’re working in. If you’re unsure, use a voltage tester or multimeter to double-check that the power’s off.
- Find a stable, accessible spot for your indoor unit. Check the manufacturer’s instructions for any clearance requirements.
- Mount the unit securely using brackets or a platform. Make sure it’s level to cut down on noise and vibration.
- Connect the supply air duct to the outlet of your air handler and the return air duct to the inlet. Seal all joints with mastic or metal foil tape.
- Set up the condensate drain line so it slopes downward, letting water flow outside or into a proper drain without backing up.
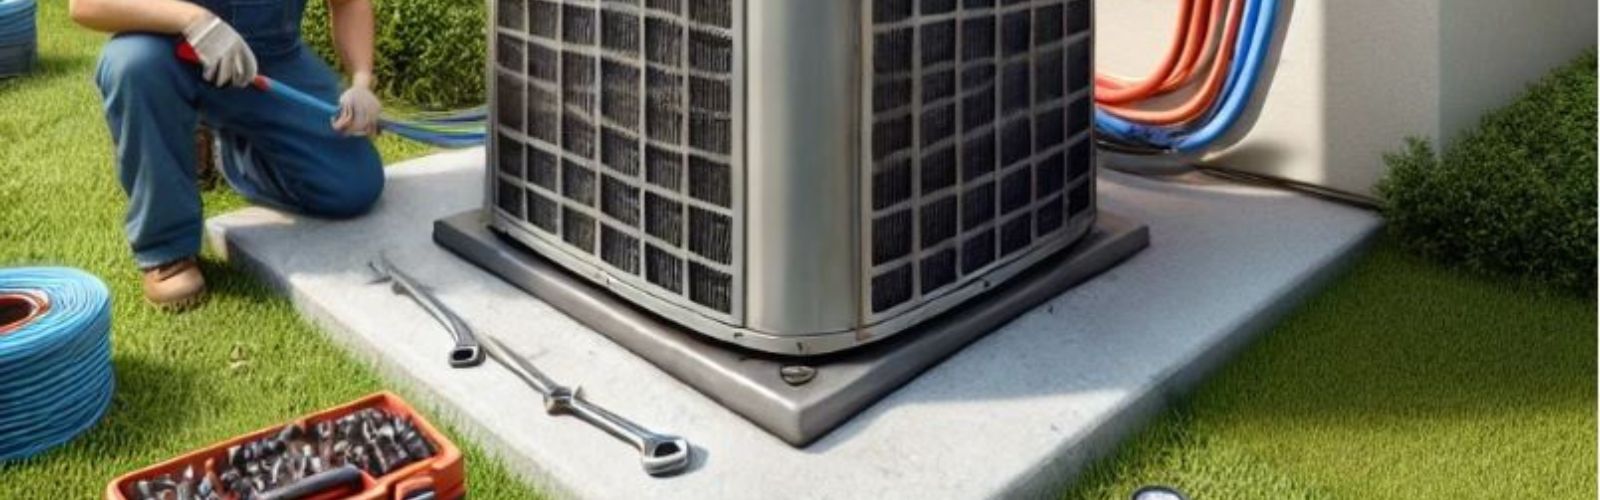
Place the outdoor condenser unit
- Choose a flat surface for the outdoor unit, like a concrete pad or solid platform. Leave enough space around it for good airflow.
- Position the condenser so it lines up well with your home’s layout for easier line set connections. Make sure it’s level.
- Secure the unit with mounting brackets or anchor bolts, following the manufacturer’s recommendations.
- Clear the area around the unit of any plants or debris that could block airflow.
Connect the refrigerant lines
- Measure and cut the copper line set to the right length if it’s not already sized. Pay attention to the liquid and suction lines’ orientation.
- Attach the line set to the indoor and outdoor units, carefully following the manufacturer’s instructions. Use the right fittings and tighten them properly to avoid leaks.
- Insulate the suction line to boost efficiency. Most systems include foam insulation you can wrap and secure with tape or clamps.
- If your system has pre-charged line sets, follow the steps to connect them without letting refrigerant escape. If not, you’ll need a vacuum pump to remove air and moisture from the lines before releasing refrigerant into the system.
Install the electrical connections
- Make sure the circuit breaker in your electrical panel matches your system’s voltage and amperage needs.
- Run the power wiring to a disconnect switch near your outdoor unit. Then, run the final wiring from the disconnect to the condenser’s contactor or control panel.
- Connect any control wiring from the thermostat to both the indoor and outdoor units. This ensures the thermostat can tell the system when to kick on and off.
- Double-check all connections to make sure they’re tight and correctly wired.
Set up the thermostat
- Install or swap out the existing thermostat with your new one. Many modern thermostats include easy-to-follow guides.
- Connect the labeled wires from your central AC system to the matching terminals on the thermostat. Common terminals are R (power), G (fan), Y (compressor), and W (heater) if you’ve got a combo system.
- Mount the thermostat on an inside wall away from direct sunlight or vents for accurate temperature readings.
Final checks and troubleshooting
After everything’s set up and powered, turn on your central AC system and see how it’s running. Listen for any weird noises, check for vibrations, and make sure the air coming from the vents is nice and cool.
Once everything checks out, kick back and enjoy your cool, comfy home. If you hit any snags, our repair help resources offer more guidance. Whether it’s small tweaks or swapping out parts, you’re just a few steps away from the perfect indoor climate.
You might also want to revisit how to find your appliance’s model number if you need extra parts to fine-tune your new central AC system. Knowing your exact model helps when ordering parts or troubleshooting specific issues.
Keep your system in top shape by cleaning or replacing filters, keeping the outdoor condenser clear of debris, and scheduling seasonal checkups. This can extend the life of your new central AC and keep it running smoothly.
Additional information
We hope this guide gives you the confidence to tackle a central AC installation. If you need parts or have questions, visit AppliancePartsPros.com or give us a shout. Don’t forget to follow us on Facebook and Twitter for more appliance repair tips. We’re here to help make your DIY project a success. You can also reach out to our support team directly if you’ve got questions about parts or installation steps.
Read more:
Choosing An Air Conditioner: How Many BTUs Do I Need?
With nearly a decade of experience in providing top-notch customer service regarding appliance parts and repair, Steven enjoys sharing practical advice, troubleshooting tips, and interesting information to help readers stay informed.