Diagnosing a central AC that’s not removing humidity
Steven E / Wednesday March 26, 2025
Ever had your central air running nonstop, yet your home still feels sticky and uncomfortable? It’s super frustrating when your AC isn’t pulling its weight in the humidity department. We’ll explore why your central AC might be slacking on dehumidifying and share some practical tips to help you get that crisp, refreshing air back.
The info we’re sharing might not perfectly match your specific appliance model. We aim to provide helpful advice for all sorts of DIY appliance fixes, but different models and setups can mean the steps, error codes, parts, and so on might vary. For spot-on guidance, it’s best to check your appliance’s manual or give us a shout if you’ve got questions.
Why isn’t my AC getting rid of humidity?
Your central air conditioner cools your home by cooling down warm air and removing the moisture. When air moves across the cold evaporator coil inside your unit, moisture condenses and drains away. But if your AC’s running and the air still feels muggy, something’s probably off, maybe condensation isn’t happening like it should, or moisture isn’t exiting the system properly. Let’s dig into why this might be happening.
AC units are usually sized based on your home’s square footage and typical cooling needs. If your system’s not the right size, too big or too small, it might run too briefly or too long, which can affect its ability to effectively remove moisture. Other problems like dirty filters or poorly insulated ducts can also affect moisture removal. By pinpointing these potential issues, you can zero in on a fix that’ll bring back comfortable humidity levels in your home.

Common issues that affect AC dehumidification
Dirty or clogged air filter
If your AC’s air filter is clogged with dust, pet hair, or other debris, airflow through your system is limited. Without proper airflow over the evaporator coil, moisture removal doesn’t happen. Plus, a dirty filter makes the whole system work harder, which can lead to performance problems over time. Checking and cleaning (or replacing) the filter is a simple step that can easily improve cooling and dehumidification.
Thermostat is set wrong
Sometimes it’s as simple as a thermostat setting. If the temperature’s set too low, your AC might shut off too soon, not giving it enough time to pull out sufficient moisture. Also, make sure your thermostat’s on “cool” mode and not just “fan.” A constantly running fan can blow moisture right off the evaporator coil and back into your living space.
Refrigerant levels are incorrect
Refrigerant courses through your AC system, helping absorb and dump heat. If levels are off, either too low or too high, the evaporator coil can freeze up or fail to cool effectively, causing problems with proper condensation and moisture removal. Handling refrigerants isn’t a DIY job. It’s hazardous and regulated, so you’ll want to call a licensed HVAC technician to check and adjust refrigerant levels.
Ducts are damaged or too small
Your ductwork delivers cool air to various rooms and brings warm, humid air back to the AC for cooling. If your ducts are leaking or undersized, your system might struggle to handle the moisture load. Leaks let in humid, unconditioned air, undermining your AC’s efforts to reduce humidity. Meanwhile, ducts that are too small restrict airflow, which also hampers moisture removal. It’s a good idea to periodically check your ducts for visible leaks or damage and seal them up if needed.
Evaporator coil damage
The evaporator coil is where the cooling happens. It’s also where moisture should condense and drain away. If the coil is dirty or damaged, it can’t cool air efficiently and won’t condense moisture properly. Cleaning the coil can help restore better humidity removal. In some cases, if the coil’s severely corroded or has structural damage, you might need to replace it. Be sure to consult your AC’s manual or any repair help available for your specific unit to find the safest way to access and clean your evaporator coil.
Step-by-step tips to fix humidity issues
Tackling your AC’s humidity problem can be a breeze when you know what steps to take. Below are some DIY tips to help you get that crisp, comfy air back. And remember, always cut the power to your AC at the circuit breaker before poking around inside.
Check your thermostat settings
- Make sure your thermostat’s set to “cool” mode and dialed a few degrees lower than your current indoor temp. This helps the system run long enough to do its thing.
- Don’t set the temperature too low, though, short cycling (when the system turns on and off too frequently) can mess with moisture removal.
- Double-check that the fan setting is on “auto,” not “on.” If it’s “on,” the blower might keep running even after the cooling cycle, blowing moisture back into your home.
Inspect and clean the air filter
- Find the filter housing, usually behind the return vent or near the blower compartment.
- Slide out the filter and see how it looks. If it’s covered in dust and grime, wash it (if it’s reusable) or swap it out for a new one.
- A clean filter ensures maximum airflow, which helps boost condensation and moisture removal.
- If you’re not sure about your appliance’s model number or the right filter size, check out this handy guide on how to find your appliance’s model number.
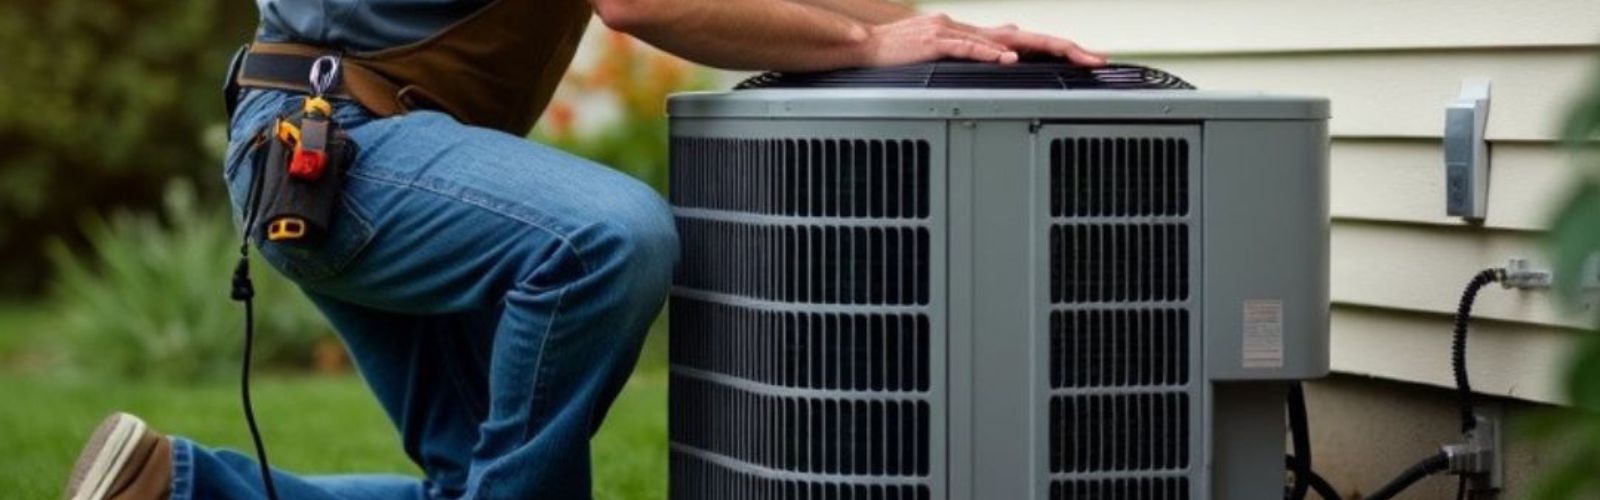
Check out the outdoor unit
- Clear away any plants, leaves, or debris crowding your outdoor condenser. Good airflow around the condenser is key for efficient heat expulsion.
- Give the fins and coils a once-over for dirt buildup. If they’re dirty, gently rinse them off with a garden hose.
- If the fins are bent, you can straighten them out with a fin comb to improve airflow.
Look for condensate drain issues
- Find the drain line, usually a small PVC pipe leading away from the indoor air handler.
- Check for clogs by removing the drain line and running water or a thin brush through it to clear any gunk.
- A clogged drain line can cause water to back up, reducing your system’s ability to pull moisture from the air.
Check the evaporator coil
- After turning off the power, open the access panel to reach the evaporator coil. Consult your AC’s manual for safe instructions on how to do this.
- Take a look at the coil’s surface. If you spot dirt or mold, you can clean it with a coil cleaner made for aluminum fins.
- Wear gloves and eye protection when handling chemical cleaners, and follow the instructions carefully.
- Use a soft brush to gently loosen any debris stuck between the fins, but be careful not to bend them. Keep an eye out for signs of corrosion or leaks, if you see these, the coil might need replacing down the line.
Check for duct leaks
- Inspect accessible ductwork (like in attics, basements, or crawl spaces) for gaps, tears, or loose connections.
- Seal up moderate leaks using metal tape or duct mastic, following the product guidelines for the best seal.
- If you notice temperature differences in different areas of your home, it might signal duct sizing or airflow issues. Adjusting vents or balancing dampers can help even things out.
- Properly sealed ducts help maintain the right mix of cool, dry air and humid return air, which boosts dehumidification.
Call a pro for refrigerant issues
- Off-kilter refrigerant levels can cause problems like a freezing evaporator coil and reduced efficiency.
- If you think your system has a refrigerant leak or the charge is off, it’s time to call a licensed HVAC technician. Handling refrigerant requires special gear and certification due to safety and environmental laws.
- Don’t try to check or adjust refrigerant levels yourself.
More information
If you’re unsure about part compatibility or troubleshooting procedures, come visit us at AppliancePartsPros.com for top-quality parts and more repair help resources. We’re here to help you get the most out of your central AC.
Also, think about following us on social media platforms like Facebook and Twitter for extra tips and tricks. We love sharing the latest insights on appliance maintenance and DIY repairs.
If you’ve got follow-up questions or need more assistance, reach out through our contact options on AppliancePartsPros.com. We’re always ready to support you on your DIY journey.
Read more:
Choosing An Air Conditioner: How Many BTUs Do I Need?
What is a Ductless Mini-Split Air Conditioner And How Does it Work?
With nearly a decade of experience in providing top-notch customer service regarding appliance parts and repair, Steven enjoys sharing practical advice, troubleshooting tips, and interesting information to help readers stay informed.