E22 GE washer error: A troubleshooting guide
Steven E / Friday February 16, 2024
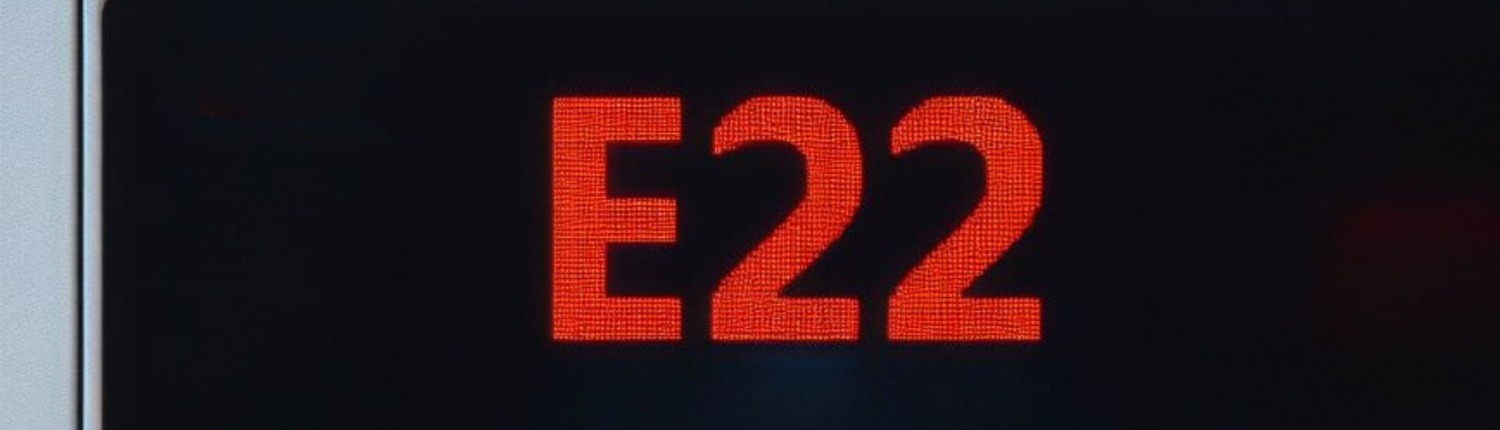
Are you having trouble getting your GE washer to fill up with water and seeing an E22 error code flash on the display? This error code usually indicates that the washer is having trouble filling up within the expected timeframe. But don’t worry – this is an issue you can fix yourself by following a few troubleshooting steps.
If you need any replacement parts for your GE washer, you can enter your model number at AppliancePartsPros.com to order them. Most orders arrive in just two business days, and we have thousands of free guides to show you how to install your new parts.
Disclaimer: The error code information provided in this article is based on general service manuals and may not apply to your specific appliance model. While we strive to offer helpful advice for DIY appliance repairs, variations in models and configurations can lead to differences in troubleshooting steps, error codes and part replacements. For the most accurate guidance, we strongly recommend consulting the technical sheet for your specific appliance model.
What causes the E22 error code?
The E22 error typically points to a fill timeout issue, meaning the washer isn’t filling up with water within the 8-minute timeframe that’s programmed into the machine. There are a few common reasons behind this:

- Closed water supply valves – If the manual shutoff valves for the hot and cold lines aren’t fully open, water can’t flow into the washer.
- Kinked inlet hoses – If the hoses that connect the water supply to the washer’s inlet valves are kinked or obstructed, the water flow will be restricted.
- Clogged water valve screens – Small debris and mineral buildup can get caught in the screens installed on the inlet valves and block water flow.
- Malfunctioning water valves – Problems with the electric solenoid valves can prevent them from opening properly to allow water to flow through.
- Low water pressure – Inadequate home water pressure – under 20 PSI – can cause longer fill times.
Read more: Washer Won’t Fill: Top 5 Problems and Fixes for Top-Loading and Side-Loading Washing Machines
Keep safety first
When working on any appliance, remember to keep safety first. Here are some tips to keep in mind:
- Always power off and unplug your appliance or switch off the circuit breaker before you attempt any maintenance or replacement work. This keeps you safe by preventing any risk of electric shock.
- Turn off the water supply at the outlet before beginning repairs. Keep towels ready to catch any residual water in the system when removing parts.
- Take your time while working to prevent accidents and personal injuries. Rushing is the enemy of precision.
- Work in a well-lit area so you can clearly see and access appliance parts.
- Keep your workspace free of clutter and other obstacles. Keep children and pets away from the work area.
- Be gentle when handling or removing parts. Excessive force might damage the appliance or cause personal injury.
- When working with wires, avoid touching any exposed wires or terminals. If you need to touch a wire, use a non-conductive tool or wear insulating gloves to prevent electrical shock.
Troubleshooting steps
Step 1 – Check the water pressure
Low water pressure (under 20 PSI) can cause slower washer fill times. This may be the problem if you’ve noticed issues with other appliances that use water. Here’s how to check it:
Connect a water pressure gauge to an outdoor spigot to check your household’s static water pressure. If the flow is very slow throughout your home, there’s probably an issue at the main service line or pressure regulator. If that’s the case, check with a plumber to boost the water pressure.
Step 2 – Check the water supply valves
- Turn off the washer and unplug it.
- Turn off the water supply at the outlet.
- Find the hot and cold water supply valves behind the washer.
- Make sure the handles are turned completely parallel to the water lines. Open them up fully if needed.
Step 3 – Check for kinked inlet hoses
Now you can check for any kinks, tight bends, or obstructions in the water inlet hoses that connect the household water lines to the back of the washer.
- Pull the washer out from the wall to access the back and inlet hoses.
- Look over the entire length of the hoses, and make sure to check behind the washer where they can sometimes get pinched.
- Straighten out any kinks and remove any obstructions that you find.
- Check the condition of the hoses while you have the washer pulled out. If the hoses are swollen, bulging, cracked, or otherwise damaged, replace them. Damaged inlet hoses can rupture under pressure and leak.
Step 4 – Clean out water valve screens
Your washing machine’s water valves have small screens installed at the inlet ports to catch debris and sediment in the water supply. Over time, these can get clogged up with mineral buildup and particles. To clean the valve screens:
- Make sure the washer is still off and unplugged.
- Use pliers to disconnect the inlet hoses from the rear of the washer by unscrewing the hoses.
- Use needle-nose pliers to extract the screens from the valve ports. Rinse and clean out any debris.
- Reinsert the cleaned screens into the valve ports and reconnect the water hoses.
Read more: 10 Washing Machine Tips to Get Stains Out
Step 5 – Check the water valves
If water flow is still slow after checking the valves and inlet hoses, the electric water valves themselves could be malfunctioning.
GE washing machines use solenoid valves to control the hot and cold water supply. When activated, these valves open an internal port allowing water to flow. If the solenoids fail to activate, water can’t enter the tub.
You can use the washer’s built-in service test mode to directly test the water valves. Here’s how:
- Enter the service test mode by pressing and holding the buttons: Signal, Delay Start, Signal, then Delay Start. The display will show “t01”.
- Press Start/Pause until “t08” is displayed to run the hot water valve test.
- Press Start/Pause again to activate the hot water valve. It should click as it engages.
- Press Start/Pause until “t09” is displayed to run the cold water valve test.
- Press Start/Pause again to activate the cold water valve.
If either valve fails to activate during the tests, then the water valve assembly will need to be replaced. This usually involves disconnecting the hoses, removing a couple of screws, and swapping in the new part.
How to replace the water valve assembly
If you’ve completed all the previous troubleshooting steps and are still experiencing the E22 fill error, you’ll need to replace the water valve assembly. You can find a new one on this page. Here’s how to do it:
- Turn off and unplug the washer.
- Turn off both the hot and cold water supply lines behind the washer.
- See if there is any residual water left in the hoses or washing machine tub. Drain any leftover water either through the drain hose or into a shallow pan.
- Remove the top panel of the washer to access the valve at the back of the washer.
- At the back of the washer, disconnect the two inlet hoses from the water valve ports.
- Use pliers to release the hoses from the valve.
- Find the electrical connector for the valve solenoids, which will be a wire harness plugged into the side or bottom of the valve assembly. Trace it back and carefully unplug it from the valve body.
- Use a Phillips screwdriver to remove the two screws that hold the water valve assembly to the rear panel of the washing machine cabinet. These are commonly found along the bottom or outer edges of the valve.
- Detach the water valve assembly from the washing machine. Pull it outward and set it aside.
- Seat the new water valve assembly in position on the rear of the washer cabinet.
- Reinstall the two retaining screws. Don’t over-tighten them.
- Plug the electrical harness connector back into the port on the side of the new water valve. An audible click means it’s fully engaged.
- Slide the two water inlet hoses back onto their respective ports on the new valve.
- Make sure the rubber washers are in place, then engage the coupling nuts. Only tighten them by hand.
- Turn the water supply back on and restore power to the washer.
- Run a test cycle and check that the E22 error code has cleared and the washer is filling without any issues.
Read more: Your Laundry Cleaning Chemical Guide
More information
Thanks for reading! If you have any other appliance repair needs or projects, you can find more resources including our DIY blog at AppliancePartsPros.com. There, you can enter your model number to order the exact parts you need. Most orders arrive in two business days.
You can also reach our award-winning customer service team at 1-877-477-7278, chat with a pro on our website and watch thousands of free video tutorials on our YouTube channel. We can also help you troubleshoot common washer problems here.
With nearly a decade of experience in providing top-notch customer service regarding appliance parts and repair, Steven enjoys sharing practical advice, troubleshooting tips, and interesting information to help readers stay informed.