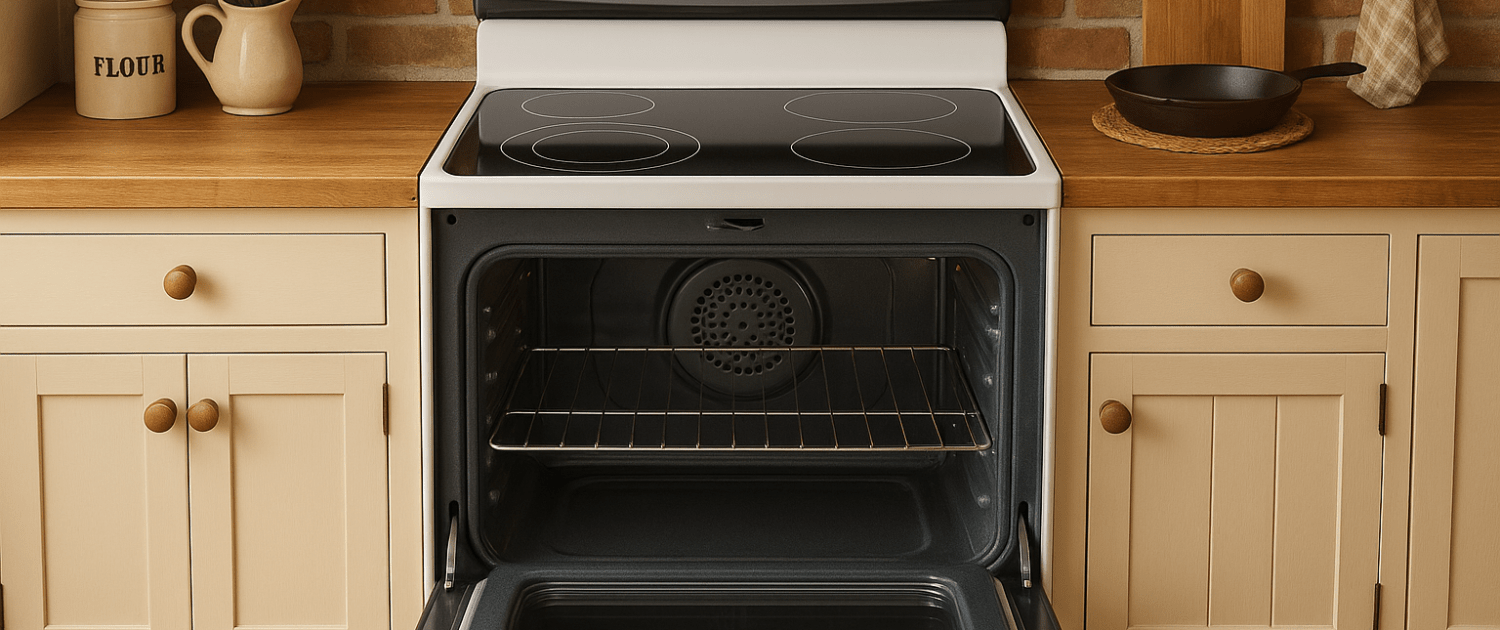
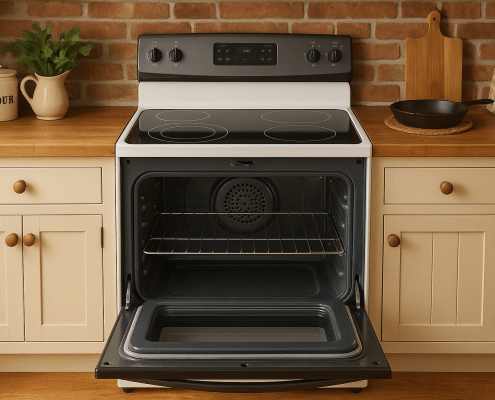
Easy Way to Troubleshoot Whirlpool Oven Broil Element Issues
Steven E / Friday October 31, 2025
Looking for the right part? Enter your appliance model number below to find the exact match and get your appliance running like new again!
Not getting that perfect golden-brown finish from your Whirlpool oven? It might be your broil element acting up. The good news is, it’s an easy fix! Whether it’s not heating, partially glowing, or not turning on at all, we’ll walk you through simple troubleshooting steps to get your oven broiling like new again.
Why the Broil Element Matters
In electric ranges, the broil element is responsible for generating intense, radiant heat from the top of the oven cavity. It’s what makes broiling possible, think golden cheese toppings and crispy finishes, but it also helps regulate temperature during baking.

When it starts to fail, you might notice:
- The oven preheats more slowly than usual.
- Food takes longer to cook.
- Broiling doesn’t produce that even, toasty finish.
- The oven never quite reaches the set temperature.
If any of these sound familiar, it’s worth checking the broil element first.
Understanding How the Broil Element Works
Knowing what your broil element does helps you understand why it’s so important.
When you set your oven to bake or broil, the control board sends voltage to the broil element, which heats up and radiates that energy into the oven cavity. It works in tandem with the bake element (the one at the bottom) to maintain consistent heat.
If the broil element isn’t working:
- Your oven may preheat slowly.
- The top of baked foods might stay pale or undercooked.
- Broil mode won’t work at all.
That’s why checking and replacing a failed element can completely restore performance.
Common Causes of Broil Element Failure
Even though broil elements are designed to last for years, they can eventually wear out. Here are some reasons why:
- Age and usage: Repeated heating and cooling cycles cause metal fatigue.
- Food splatter: Grease or sauces can burn onto the element and cause hot spots.
- Electrical surges: Power spikes may damage internal wiring.
- Loose connections: Vibrations or repeated movement can weaken wire terminals.
Most of these issues build up over time, so if your oven is a few years old and not heating properly, replacing the broil element is a smart move.
Tools You’ll Need
Before getting started, grab these basic tools. You probably already have most of them in your toolbox:
- Phillips-head screwdriver
- Multimeter (for testing electrical resistance)
And remember: safety always comes first. Unplug your range or switch off the breaker before doing anything inside the oven.
How to Know If the Broil Element Is the Problem
When an oven stops heating properly, several parts could be to blame: the bake element, temperature sensor, or control board, among them. But the broil element is easy to check and often the simplest fix.
You’ll find the broil element mounted near the top of the oven cavity. It looks like a thick, bent metal rod, and if it’s visibly blistered, cracked, or burned through, that’s a strong visual clue that it’s failed.
But sometimes the problem isn’t visible. That’s where testing it with a multimeter comes in handy.
Testing the Broil Element
To make sure your broil element is working, you’ll need to test its electrical resistance. This test helps confirm whether electricity can flow through it; if it can’t, the part has failed.
Here’s how to check it:
- Disconnect the power. Always unplug your oven or switch off the breaker first.
- Access the terminals. The broil element’s terminals are typically located behind the rear panel of the oven.
- Use your multimeter. Set it to measure resistance (ohms).
- Touch each probe to a terminal. You should see a reading between 15 to 17 ohms.
If the reading falls outside this range, your broil element has failed and needs to be replaced.
If it reads within range, the issue lies elsewhere, possibly with the oven’s temperature sensor or control board. But for most heating issues, a bad broil element is the top suspect.
Replacing the Broil Element
Replacing a broil element might sound intimidating, but it’s actually one of the easier DIY repairs you can do on an electric range. Once the power is off, it’s mostly about removing screws, unplugging wires, and swapping the old part for the new one.
Here’s how it’s done:
- Unplug the range or turn off the circuit breaker.
- Open the oven door and remove the racks for better access.
- Locate the broil element at the top of the oven cavity.
- Remove the screws securing it to the front and rear brackets.
- Carefully pull the element forward and disconnect the wires attached to the terminals.
If a wire slips back into the oven wall, don’t stress; it can be retrieved later from the back of the oven.
Now, with the old part removed, you’re ready to install the new broil element.
Installing the New Broil Element
Position the new broil element inside the oven cavity, lining it up with the mounting holes. Then:
- Connect the wires to the new element’s terminals.
- Slide the element fully into place.
- Secure it using the Phillips screws at the front and rear brackets.
If one of the wires slipped back during removal, you’ll need to retrieve it by removing the rear cover panel. Reconnect it to the new element’s terminal, then reinstall the back panel once everything is in place.
Finally, reinstall the oven racks and door, reconnect the power, and you’re done.
What to Check If the Broil Element Isn’t the Problem
If your multimeter test shows the broil element is fine, a few other parts could be causing the problem:
- Bake element: The lower heating element may have failed instead.
- Temperature sensor: Sends inaccurate readings, preventing the oven from heating fully.
- Control board: Fails to send power to the elements.
- Thermal fuse or wiring issue: Interrupts power to the heating circuit.
While the broil element is the easiest to check, these other parts are worth testing if you’ve ruled it out.
The Satisfaction of a Successful DIY Repair
There’s something rewarding about fixing an appliance yourself. When your oven starts working again, you’ll know that you saved money, learned something new, and restored your kitchen’s most essential tool with your own hands.
And with the right resources and replacement parts, these types of repairs become easier every time.
AppliancePartsPros.com carries over two million in-stock parts for all major brands, including Whirlpool, and offers everything you need to complete your repair with confidence. Just grab your model number, find your part, and get your oven heating again in no time.
A Quick Recap
Let’s review the key steps for troubleshooting and fixing your Whirlpool oven when it’s not heating properly:
- Check for symptoms: Slow heating, uneven cooking, or no broil function.
- Inspect the broil element: Look for visible damage.
- Test with a multimeter: A reading of 15–17 ohms means it’s good; outside that range means it’s bad.
- Replace the part: Disconnect power, remove screws, and swap in the new element.
- Reassemble and restore power: Test your oven and confirm it’s heating correctly.
That’s it, one of the most common oven issues solved in under an hour.
Wrapping Up
You don’t need to be an appliance technician to handle a Whirlpool oven that’s not heating correctly. With a few tools, a little patience, and the right replacement part, you can bring your oven back to life and keep your kitchen running smoothly.
So, if your Whirlpool electric range isn’t heating properly, start by testing the broil element. If it’s the cause, replacing it is one of the most satisfying and straightforward fixes you can make.
Great work taking control of your appliance repair journey. Keep your tools handy, stay curious, and you’ll be ready for whatever your next project brings.
Where To Find Us
If you need any replacement parts for your appliances, you can enter your model number at AppliancePartsPros.com to locate and order them quickly. Most orders arrive in just two business days, and we have tons of great information in our repair help section and YouTube videos to help you troubleshoot.
Stay connected with the latest DIY tips, tutorial videos, and repair guides by following us on Facebook, Instagram, and Twitter. We love hearing about your repair stories and successes. If you need more help or want personalized guidance, feel free to contact or call us at 877-477-7278. We’re ready to help you take on your next project with confidence!
Since 1999, AppliancePartsPros.com has helped millions of people repair their broken appliances by providing high-quality original parts at well below retail prices, free support and troubleshooting, and award-winning customer service from an expert, friendly, US-based customer support team!
 https://www.appliancepartspros.com/b/wp-content/uploads/2025/10/20250618_1508_Country-Kitchen-Oven_simple_compose_01jy26zs6rf9esjy9e3tgff7et.png
1024
1536
Steven E
https://www.appliancepartspros.com/b/wp-content/uploads/2020/11/app-logo-std.png
Steven E2025-10-31 07:42:172025-10-31 07:42:49Easy Way to Troubleshoot Whirlpool Oven Broil Element Issues
https://www.appliancepartspros.com/b/wp-content/uploads/2025/10/20250618_1508_Country-Kitchen-Oven_simple_compose_01jy26zs6rf9esjy9e3tgff7et.png
1024
1536
Steven E
https://www.appliancepartspros.com/b/wp-content/uploads/2020/11/app-logo-std.png
Steven E2025-10-31 07:42:172025-10-31 07:42:49Easy Way to Troubleshoot Whirlpool Oven Broil Element Issues https://www.appliancepartspros.com/b/wp-content/uploads/2025/09/20250715_0841_Bright-Spacious-Kitchen_simple_compose_01k071jcrwehnsmry5gd66h6f3.png
1024
1536
Steven E
https://www.appliancepartspros.com/b/wp-content/uploads/2020/11/app-logo-std.png
Steven E2025-09-05 09:46:082025-09-05 09:46:16How to Clean Your Oven After a Spill, Naturally and Easily
https://www.appliancepartspros.com/b/wp-content/uploads/2025/09/20250715_0841_Bright-Spacious-Kitchen_simple_compose_01k071jcrwehnsmry5gd66h6f3.png
1024
1536
Steven E
https://www.appliancepartspros.com/b/wp-content/uploads/2020/11/app-logo-std.png
Steven E2025-09-05 09:46:082025-09-05 09:46:16How to Clean Your Oven After a Spill, Naturally and Easily https://www.appliancepartspros.com/b/wp-content/uploads/2025/05/20250519_1022_Sunlit-Kitchen-Oven_simple_compose_01jvmeq4s4ekqbgm8w5zpk3br3.png
1024
1536
Steven E
https://www.appliancepartspros.com/b/wp-content/uploads/2020/11/app-logo-std.png
Steven E2025-05-19 07:25:132025-08-14 09:39:41Whirlpool oven light assembly WP74011278 replacement guide
https://www.appliancepartspros.com/b/wp-content/uploads/2025/05/20250519_1022_Sunlit-Kitchen-Oven_simple_compose_01jvmeq4s4ekqbgm8w5zpk3br3.png
1024
1536
Steven E
https://www.appliancepartspros.com/b/wp-content/uploads/2020/11/app-logo-std.png
Steven E2025-05-19 07:25:132025-08-14 09:39:41Whirlpool oven light assembly WP74011278 replacement guideWith nearly a decade of experience in providing top-notch customer service regarding appliance parts and repair, Steven enjoys sharing practical advice, troubleshooting tips, and interesting information to help readers stay informed.
Leave a Reply
Want to join the discussion?Feel free to contribute!